
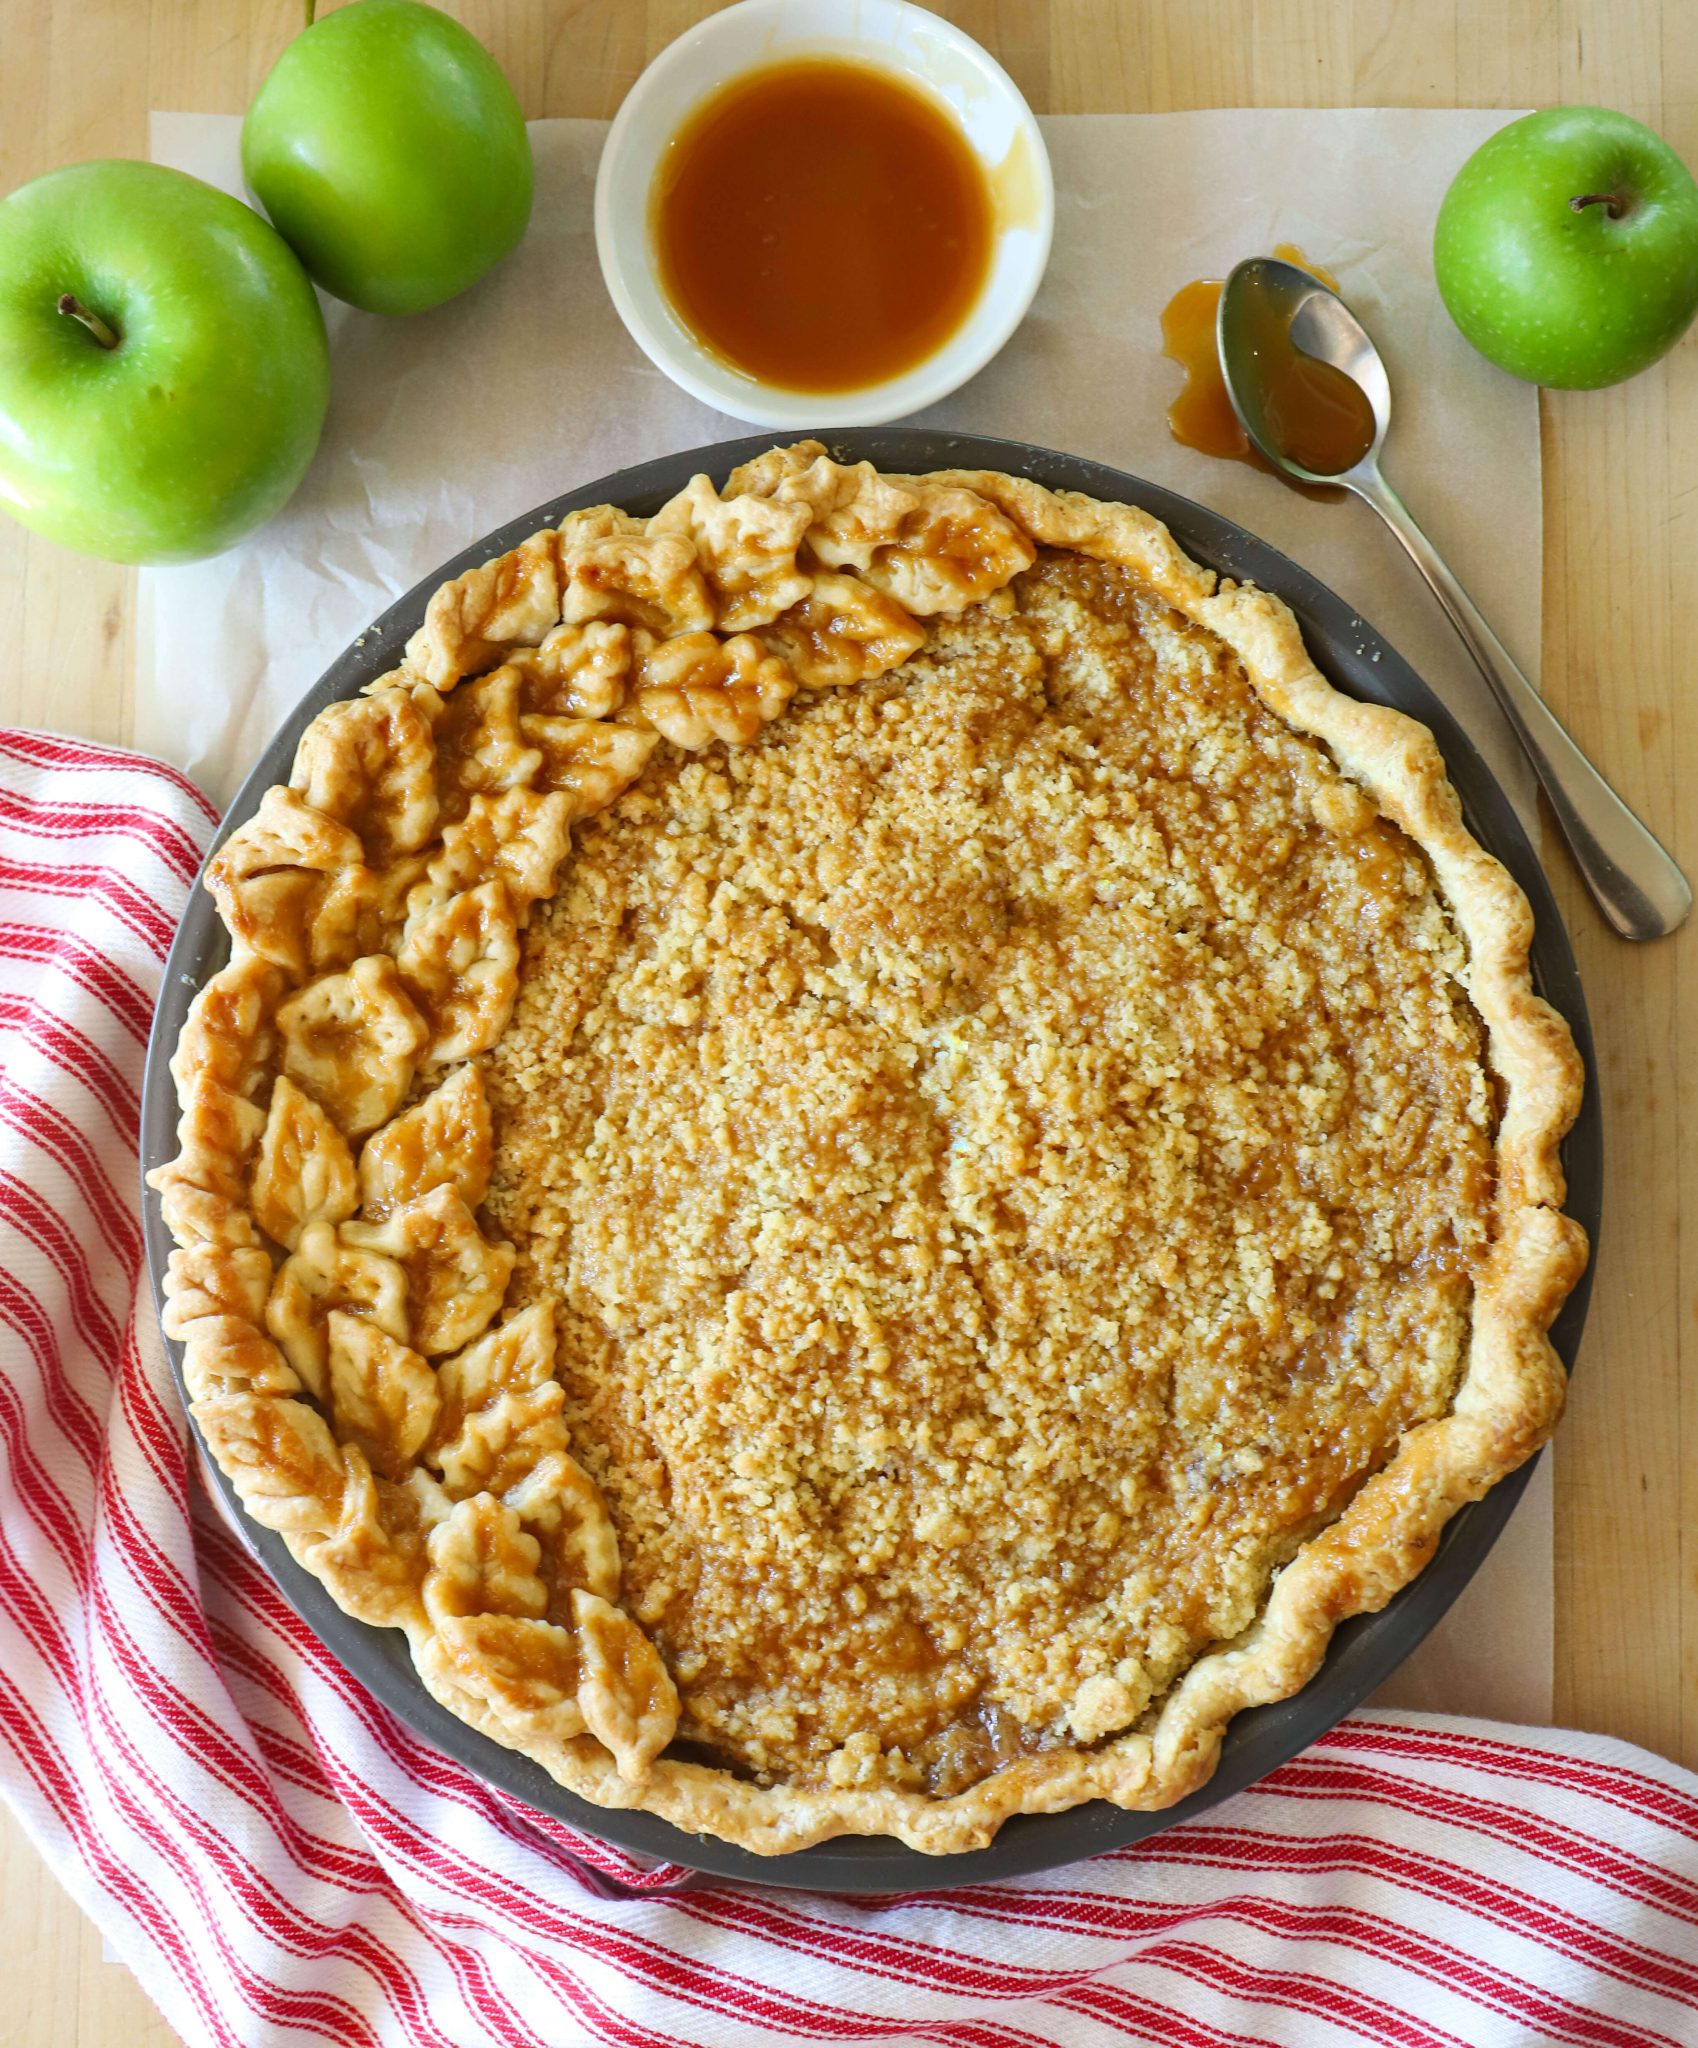
This recipe for Dutch Apple Pie is my new favorite pie recipe! And I can’t wait for you to try it! Here are 3 tips to help ensure a beautiful and delicious result:
Freeze the pie crust once it’s in the pie plate. Freezing the crust will help the crust hold its shape while baking. Freezing the crust also allows you to pre-make the crust. Store the crust in the pie plate, wrapped in plastic wrap, in the freezer for up to one month.
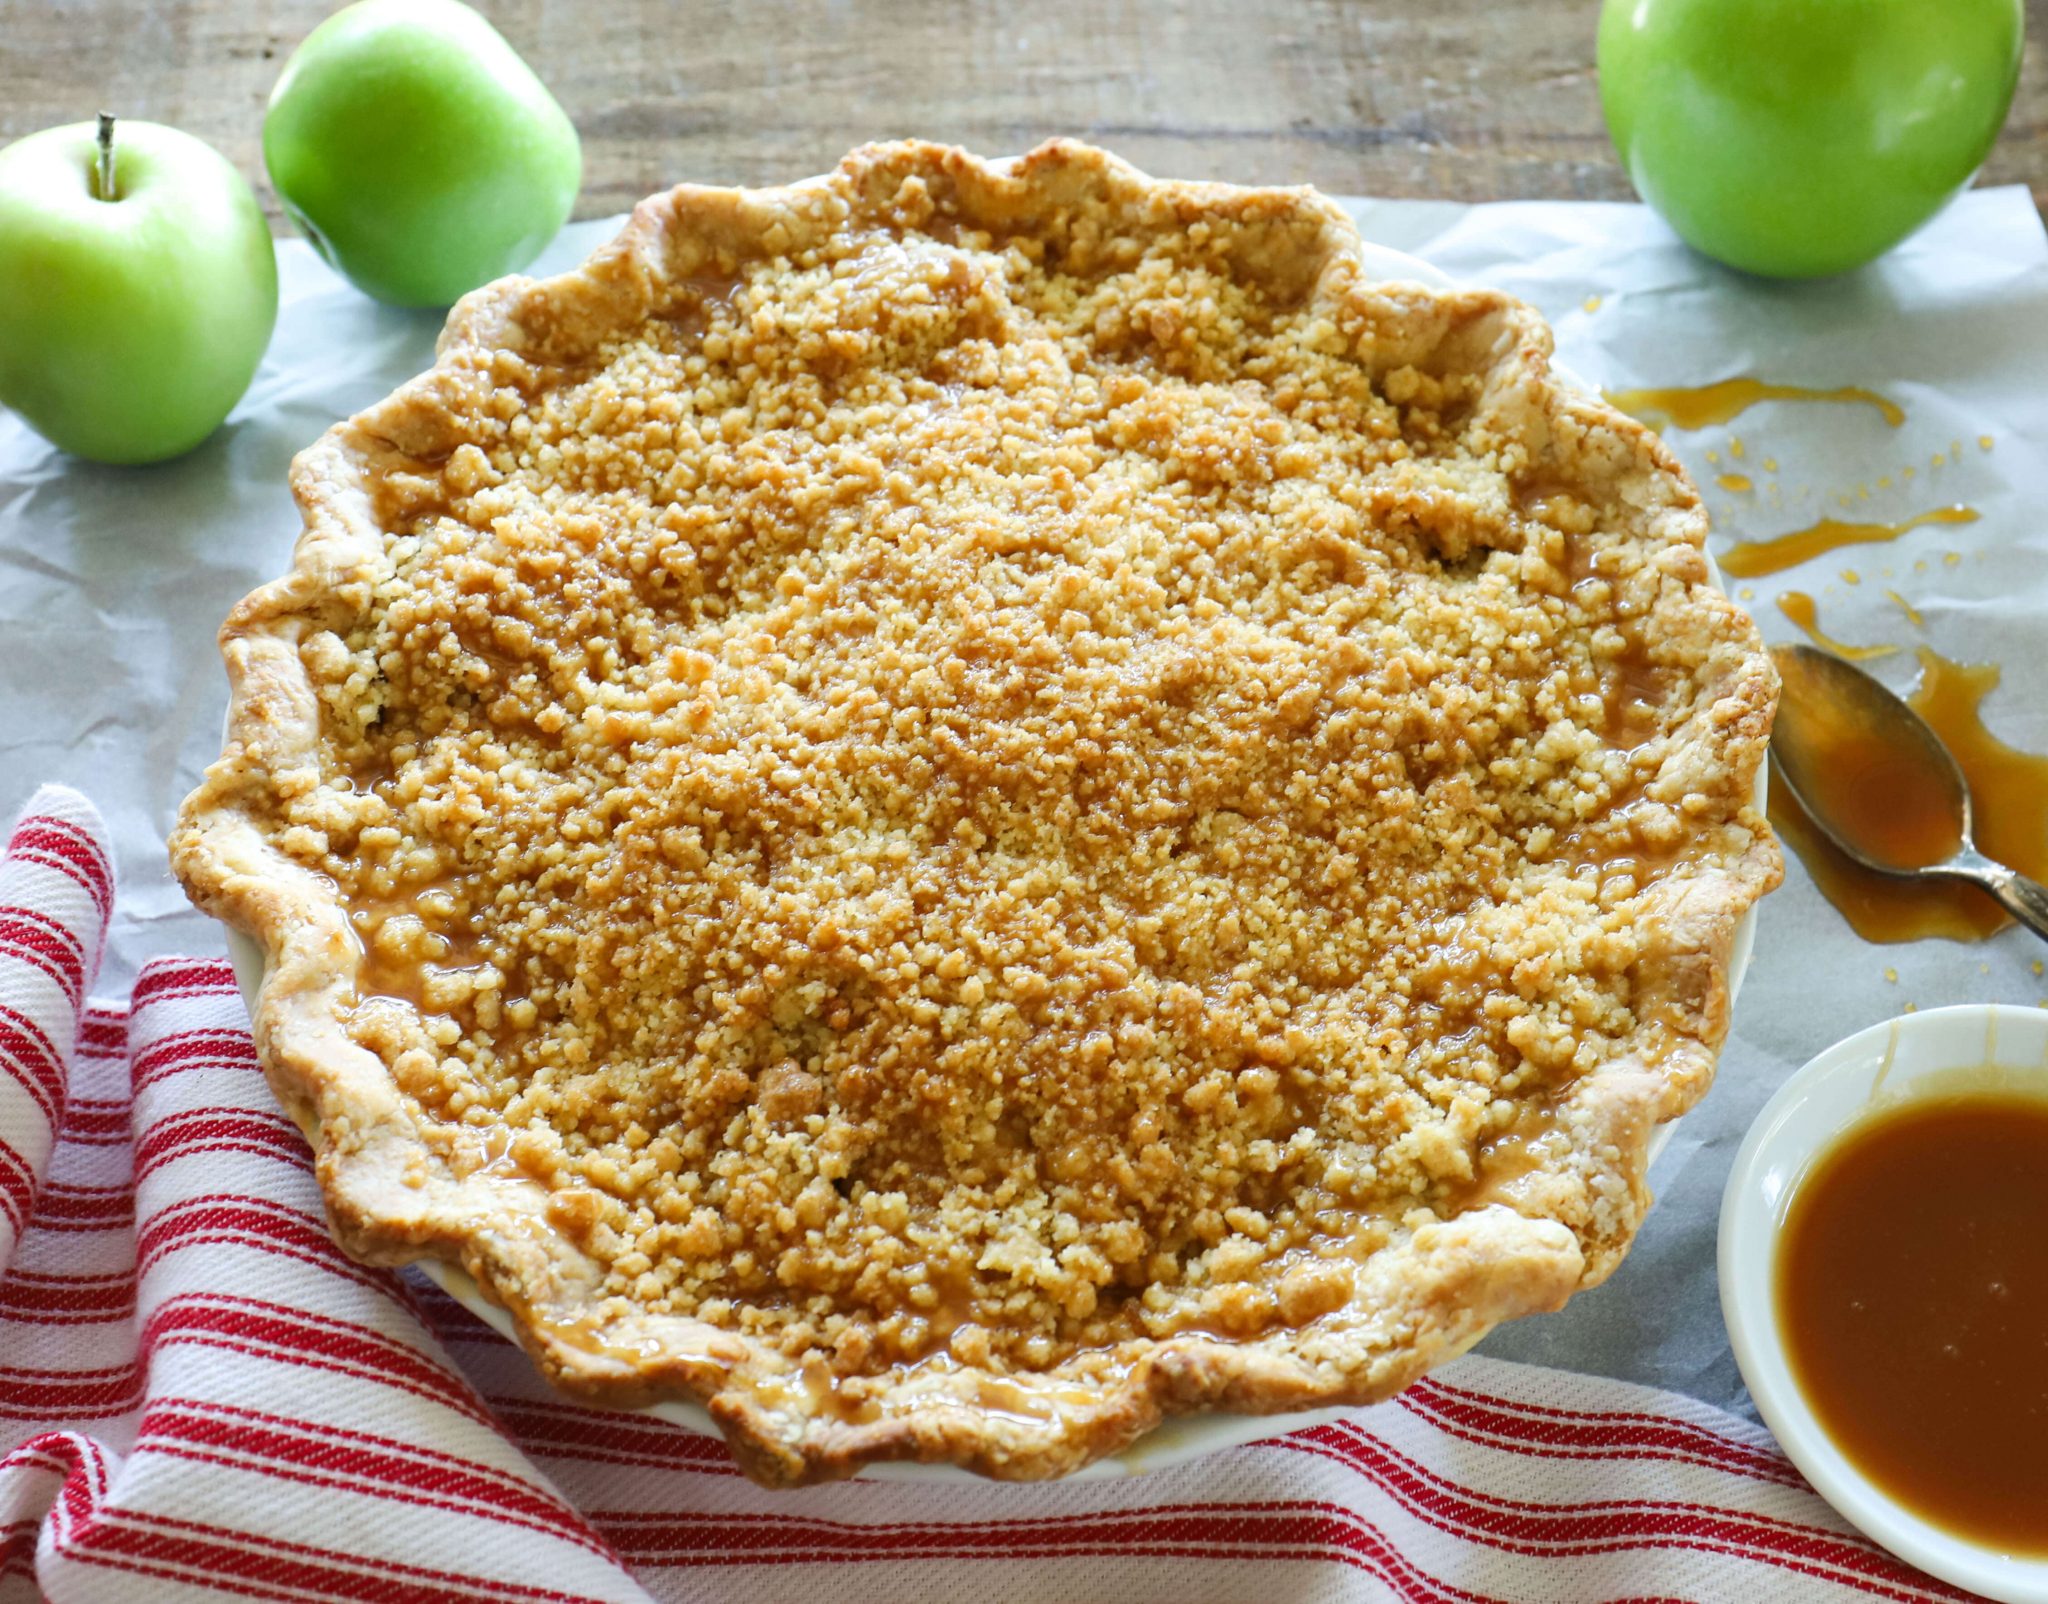
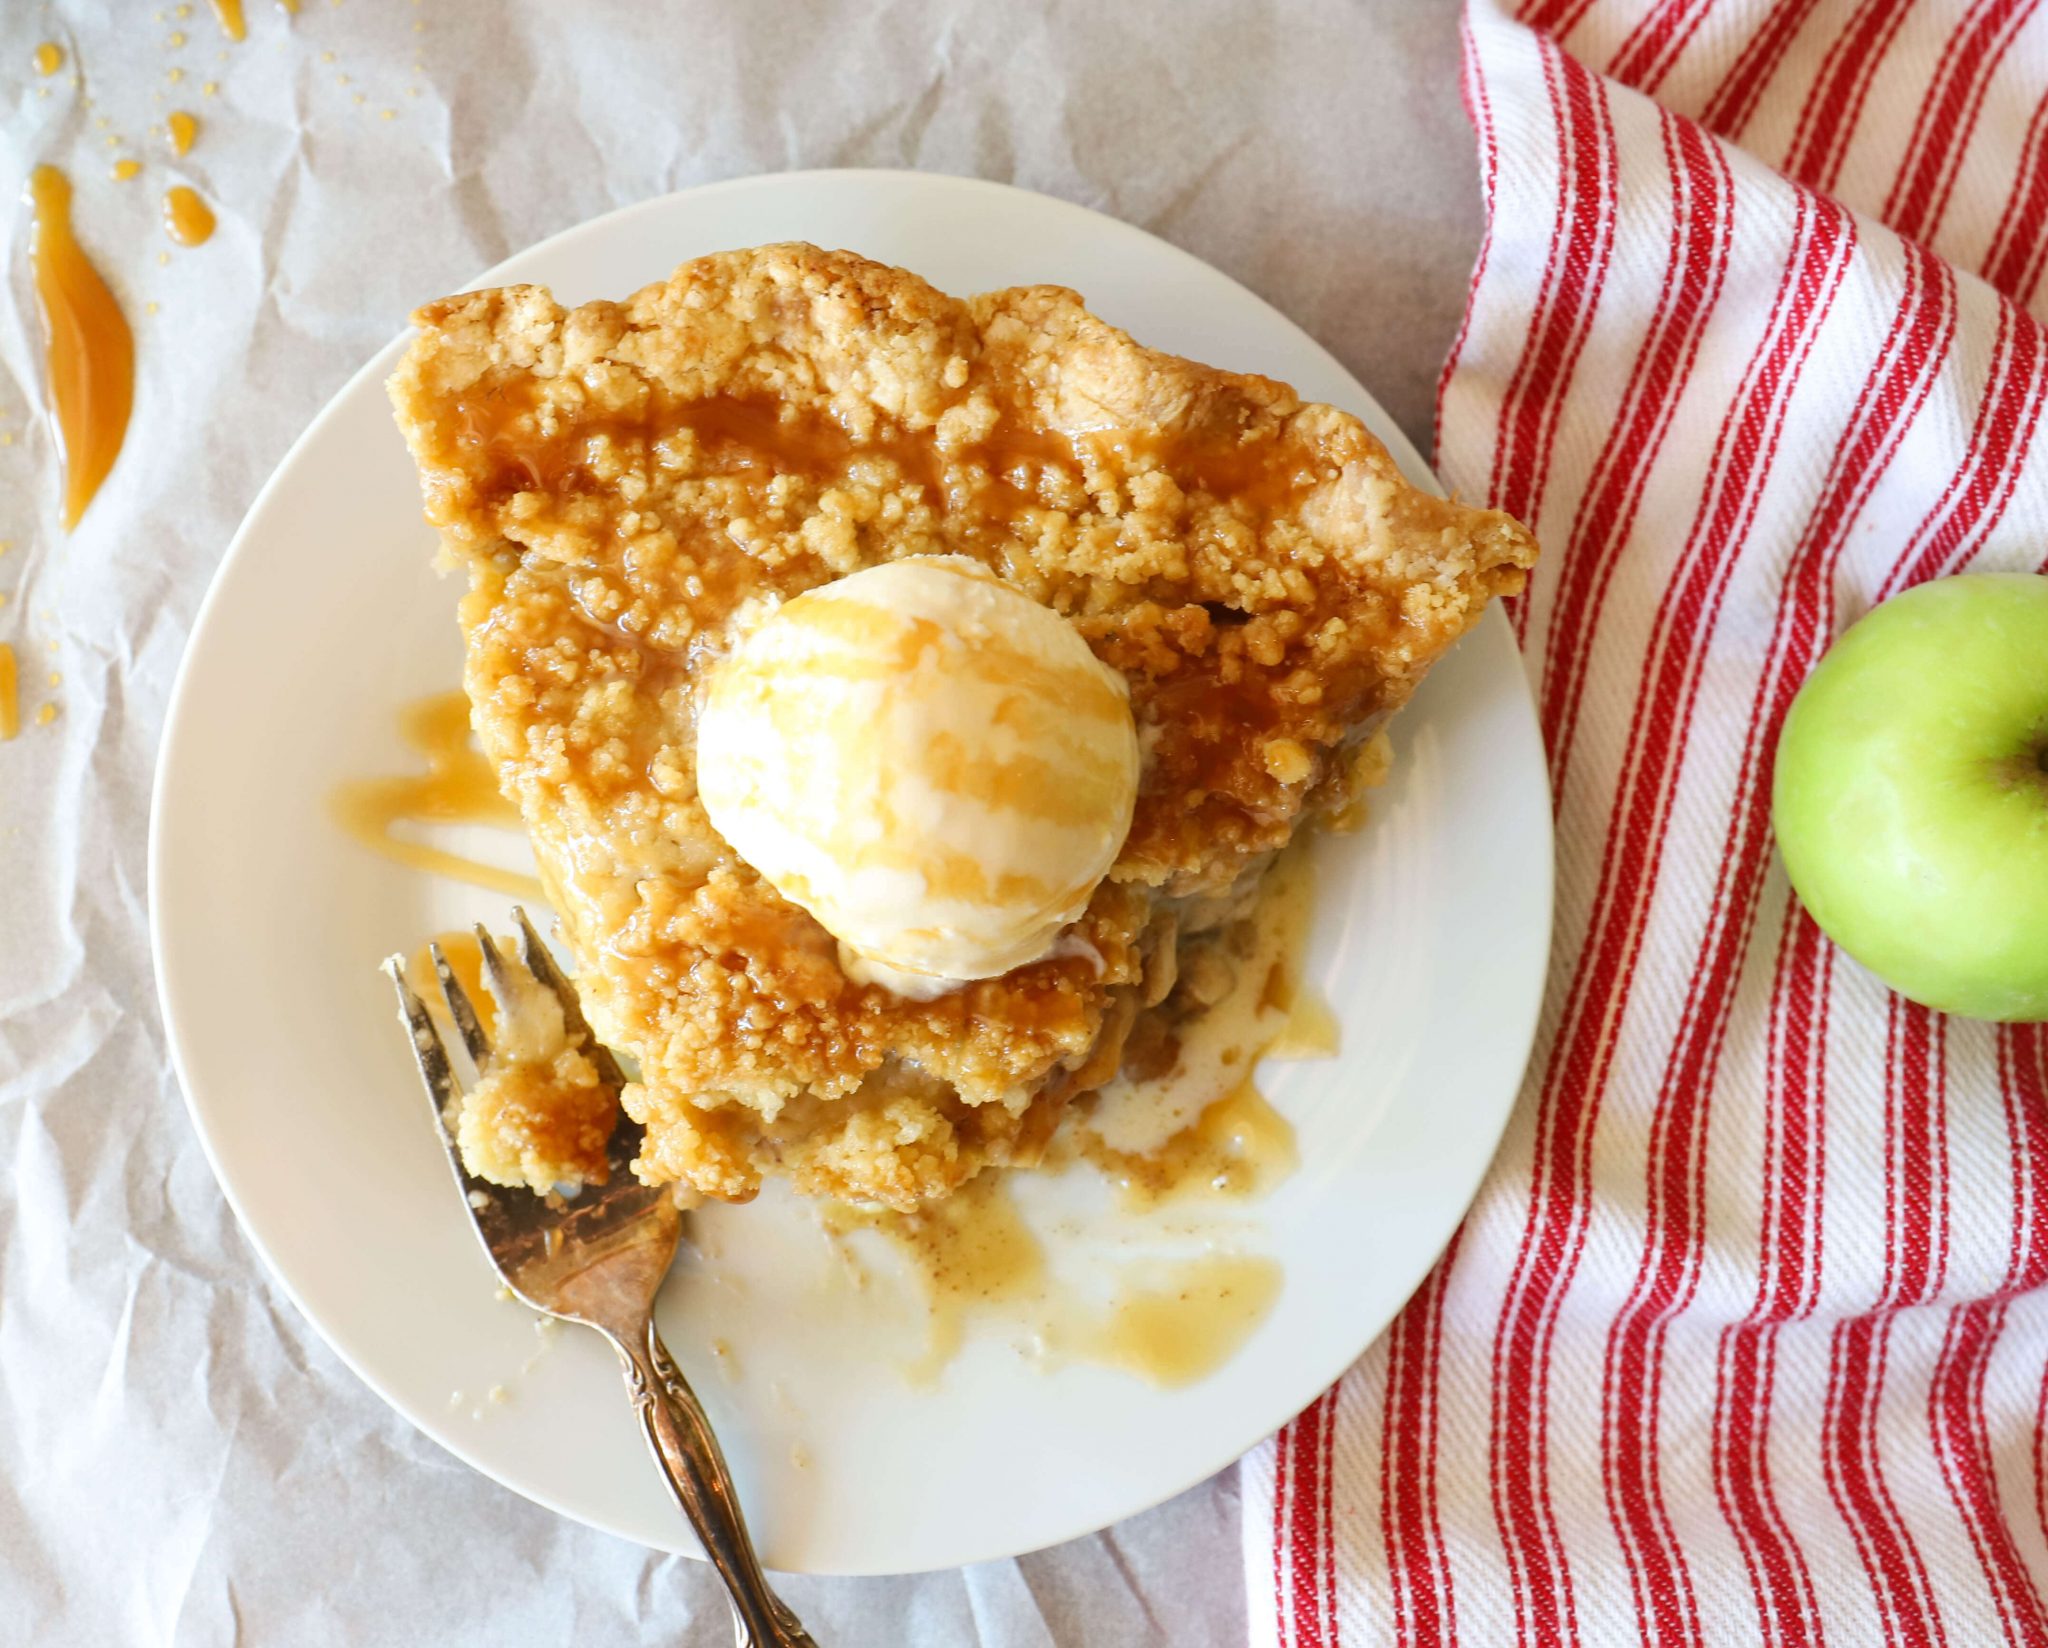
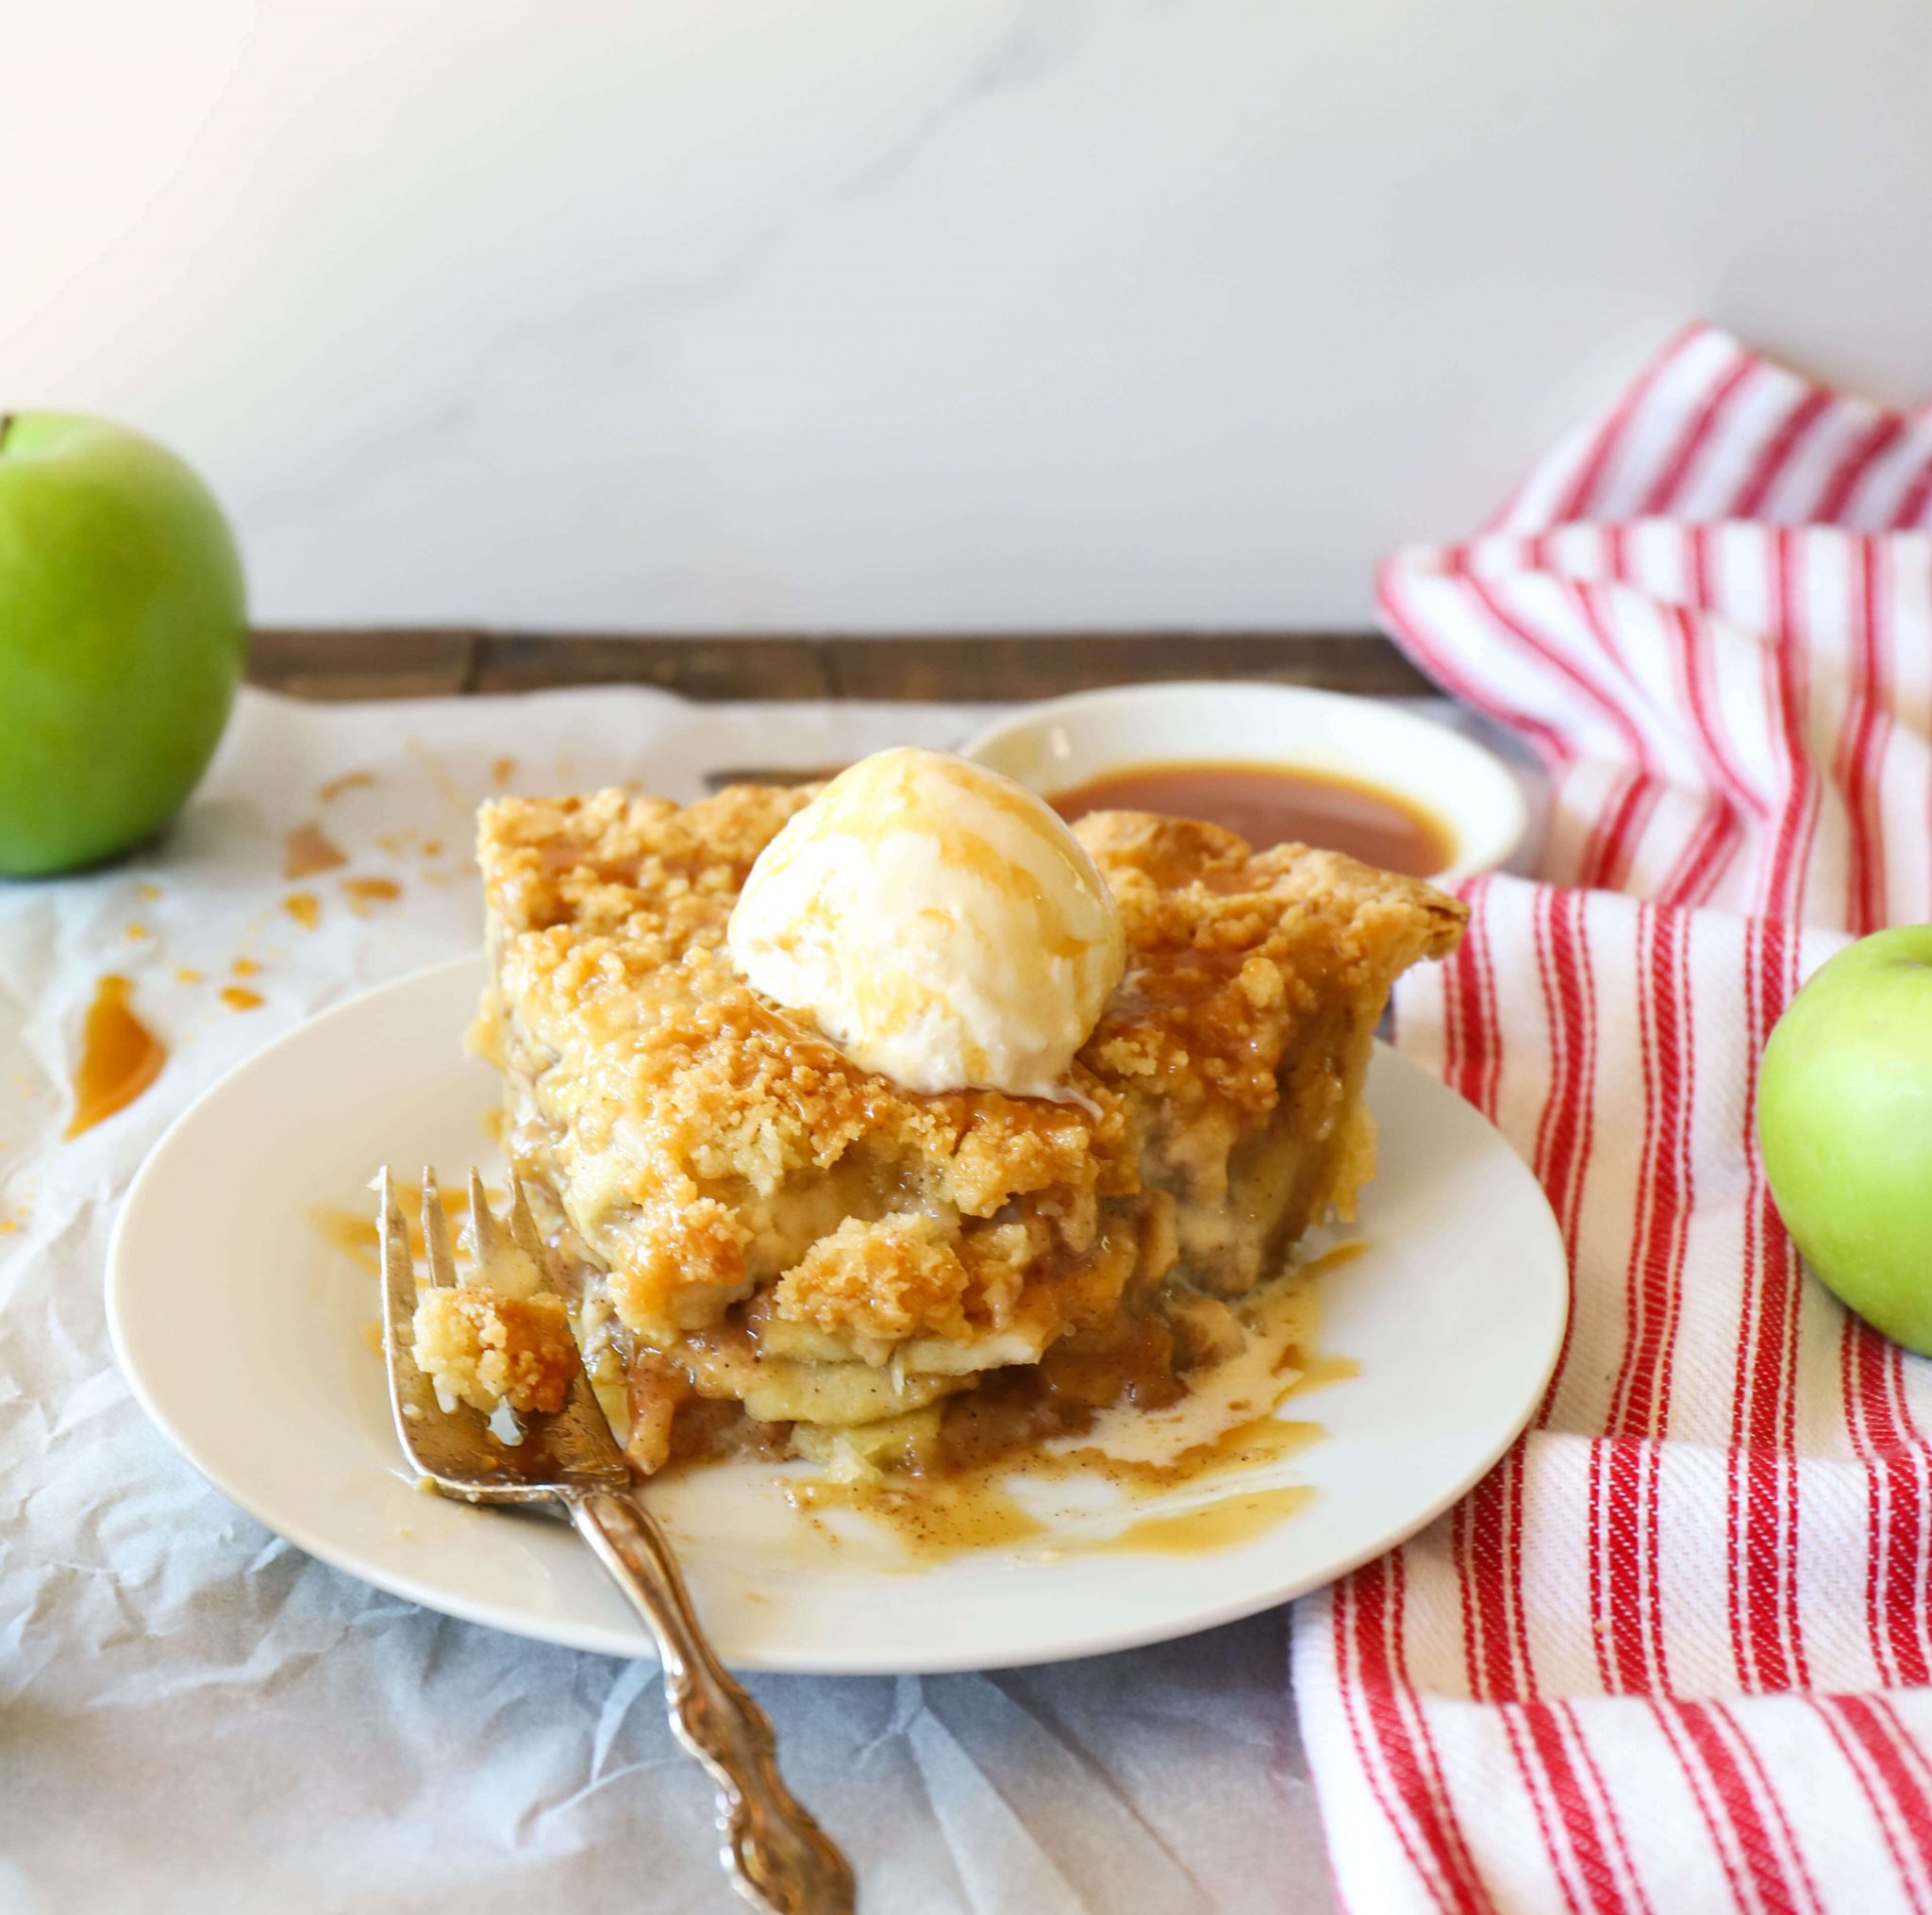
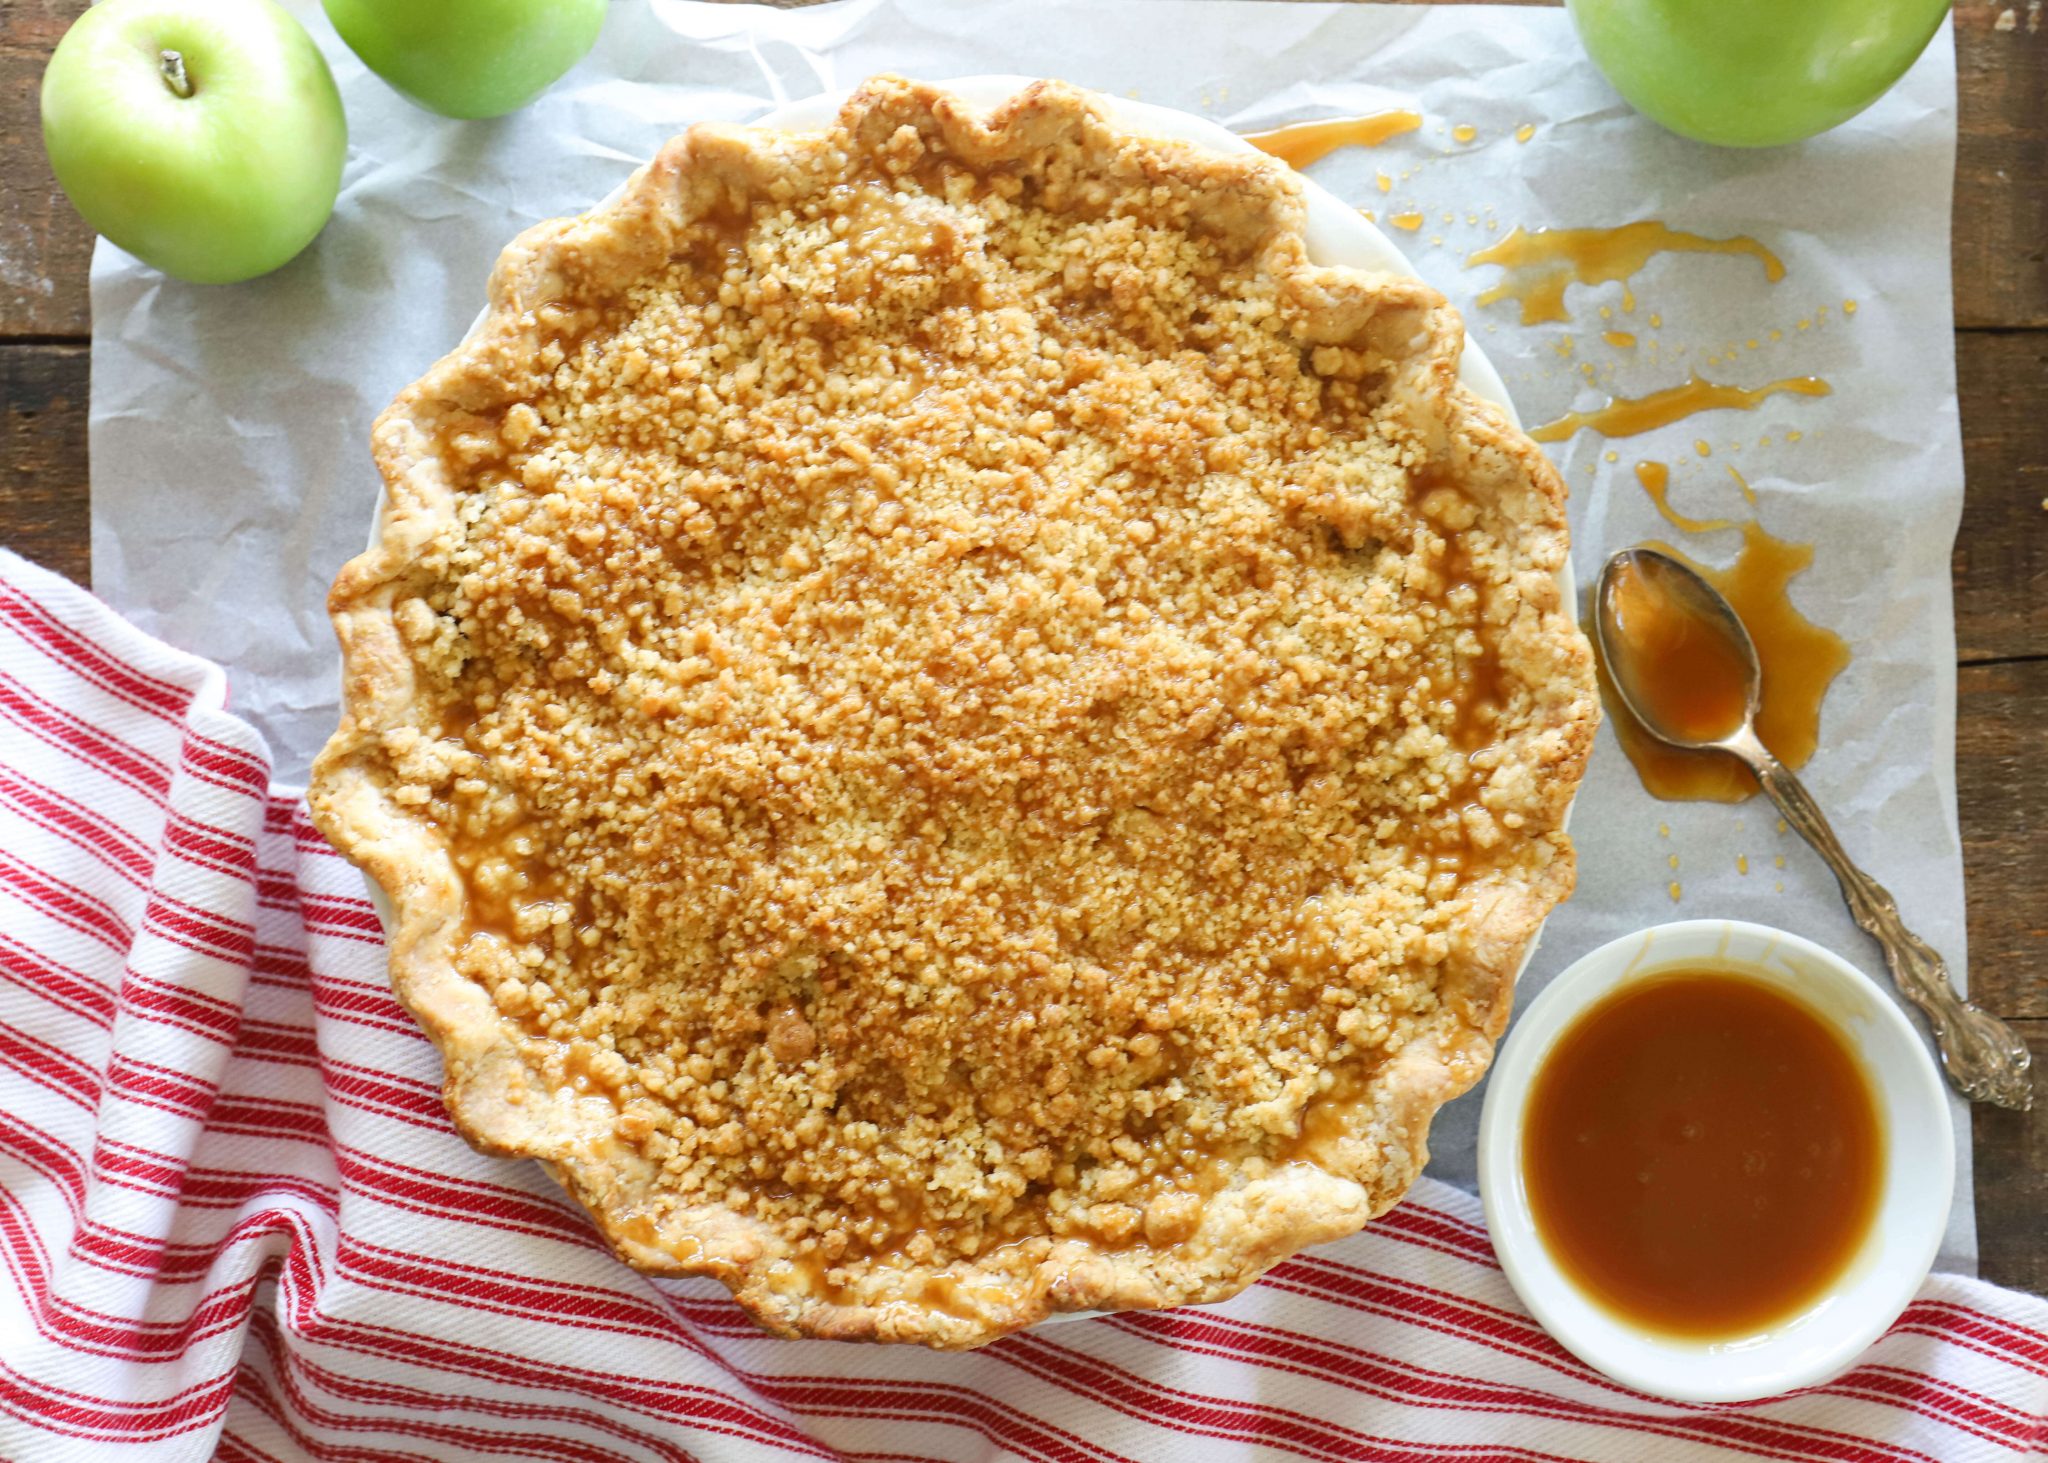
Cook the pie until the filling is thick and bubbling. When you see the filling bubbling, slide a toothpick into the center of the pie and confirm that the apples are soft, too. Then you’ll know the pie is done.
Protect the crust if needed. If the crust starts to get too dark, lay a large piece of aluminum foil over top of the pie. This will protect the crust from burning while the filling continues to cook.
Hope these tips help with your Dutch Apple Pie! And please do comment or email if you have questions — I’d love to troubleshoot with ya! For other pie options, check out our Bourbon Pecan, Key Lime, Peach & Blueberry, or Dulce de Leche pies. They’re all so delicious!


4 Responses
Marie, thanks ever so much for this pie recipe. I made your crust for the first time and even though I am 82 years oils and have been cooking and baking for 60+ years I learned a few things from watching you. The pie is in the oven and I hear the beeper so I need to go and see if it’s done. But first I have a question about the Apple machine. I went to the William Sonoma website but couldn’t find the peeler. Is that where you got it. Thanks again ever so much and keep up the great work.
Hi Sandra! Sorry for the delayed reply! I went to look for the apple peeler and then forgot who I was supposed to respond to 😅 You are correct, unfortunately — it looks like Williams Sonoma no longer carries that peeler. I’m so sad. I was able to find it online at a few other stores. Here’s a link to one:
https://www.kohls.com/product/prd-5354987/pl8-professional-apple-machine.jsp
Hope that helps! I’m so honored and thrilled to have you as a viewer. I love to hear that you made the pie crust and am hoping it turned out well. Do stay in touch and stay tuned for more videos ❤️, Marie
Hi Marie, I’m about to start your Dutch Apple Pie but I’m wondering why you don’t cook the apples before baking the pie in this recipe. And you cook it longer too. Any reason why?
Hi Jeanette! Great to hear from you! One of the main reasons I pre-cook the apples for my new favorite apple pie is because they sink down while cooking, and often leave a large gap between the crust and the apples. With this Dutch apple pie, because there is no top crust (only the crumble), the sinking apples do not create a gap. That said, you are welcome to pre-cook the apples for this recipe too! You could then reduce the cooking time a bit, which would ensure the crust doesn’t get too brown while the apples cook. There is definitely more than one way to make a good apple pie and my techniques are always evolving. Hope that helps! Please let me know if you need anything else ❤️, Marie