
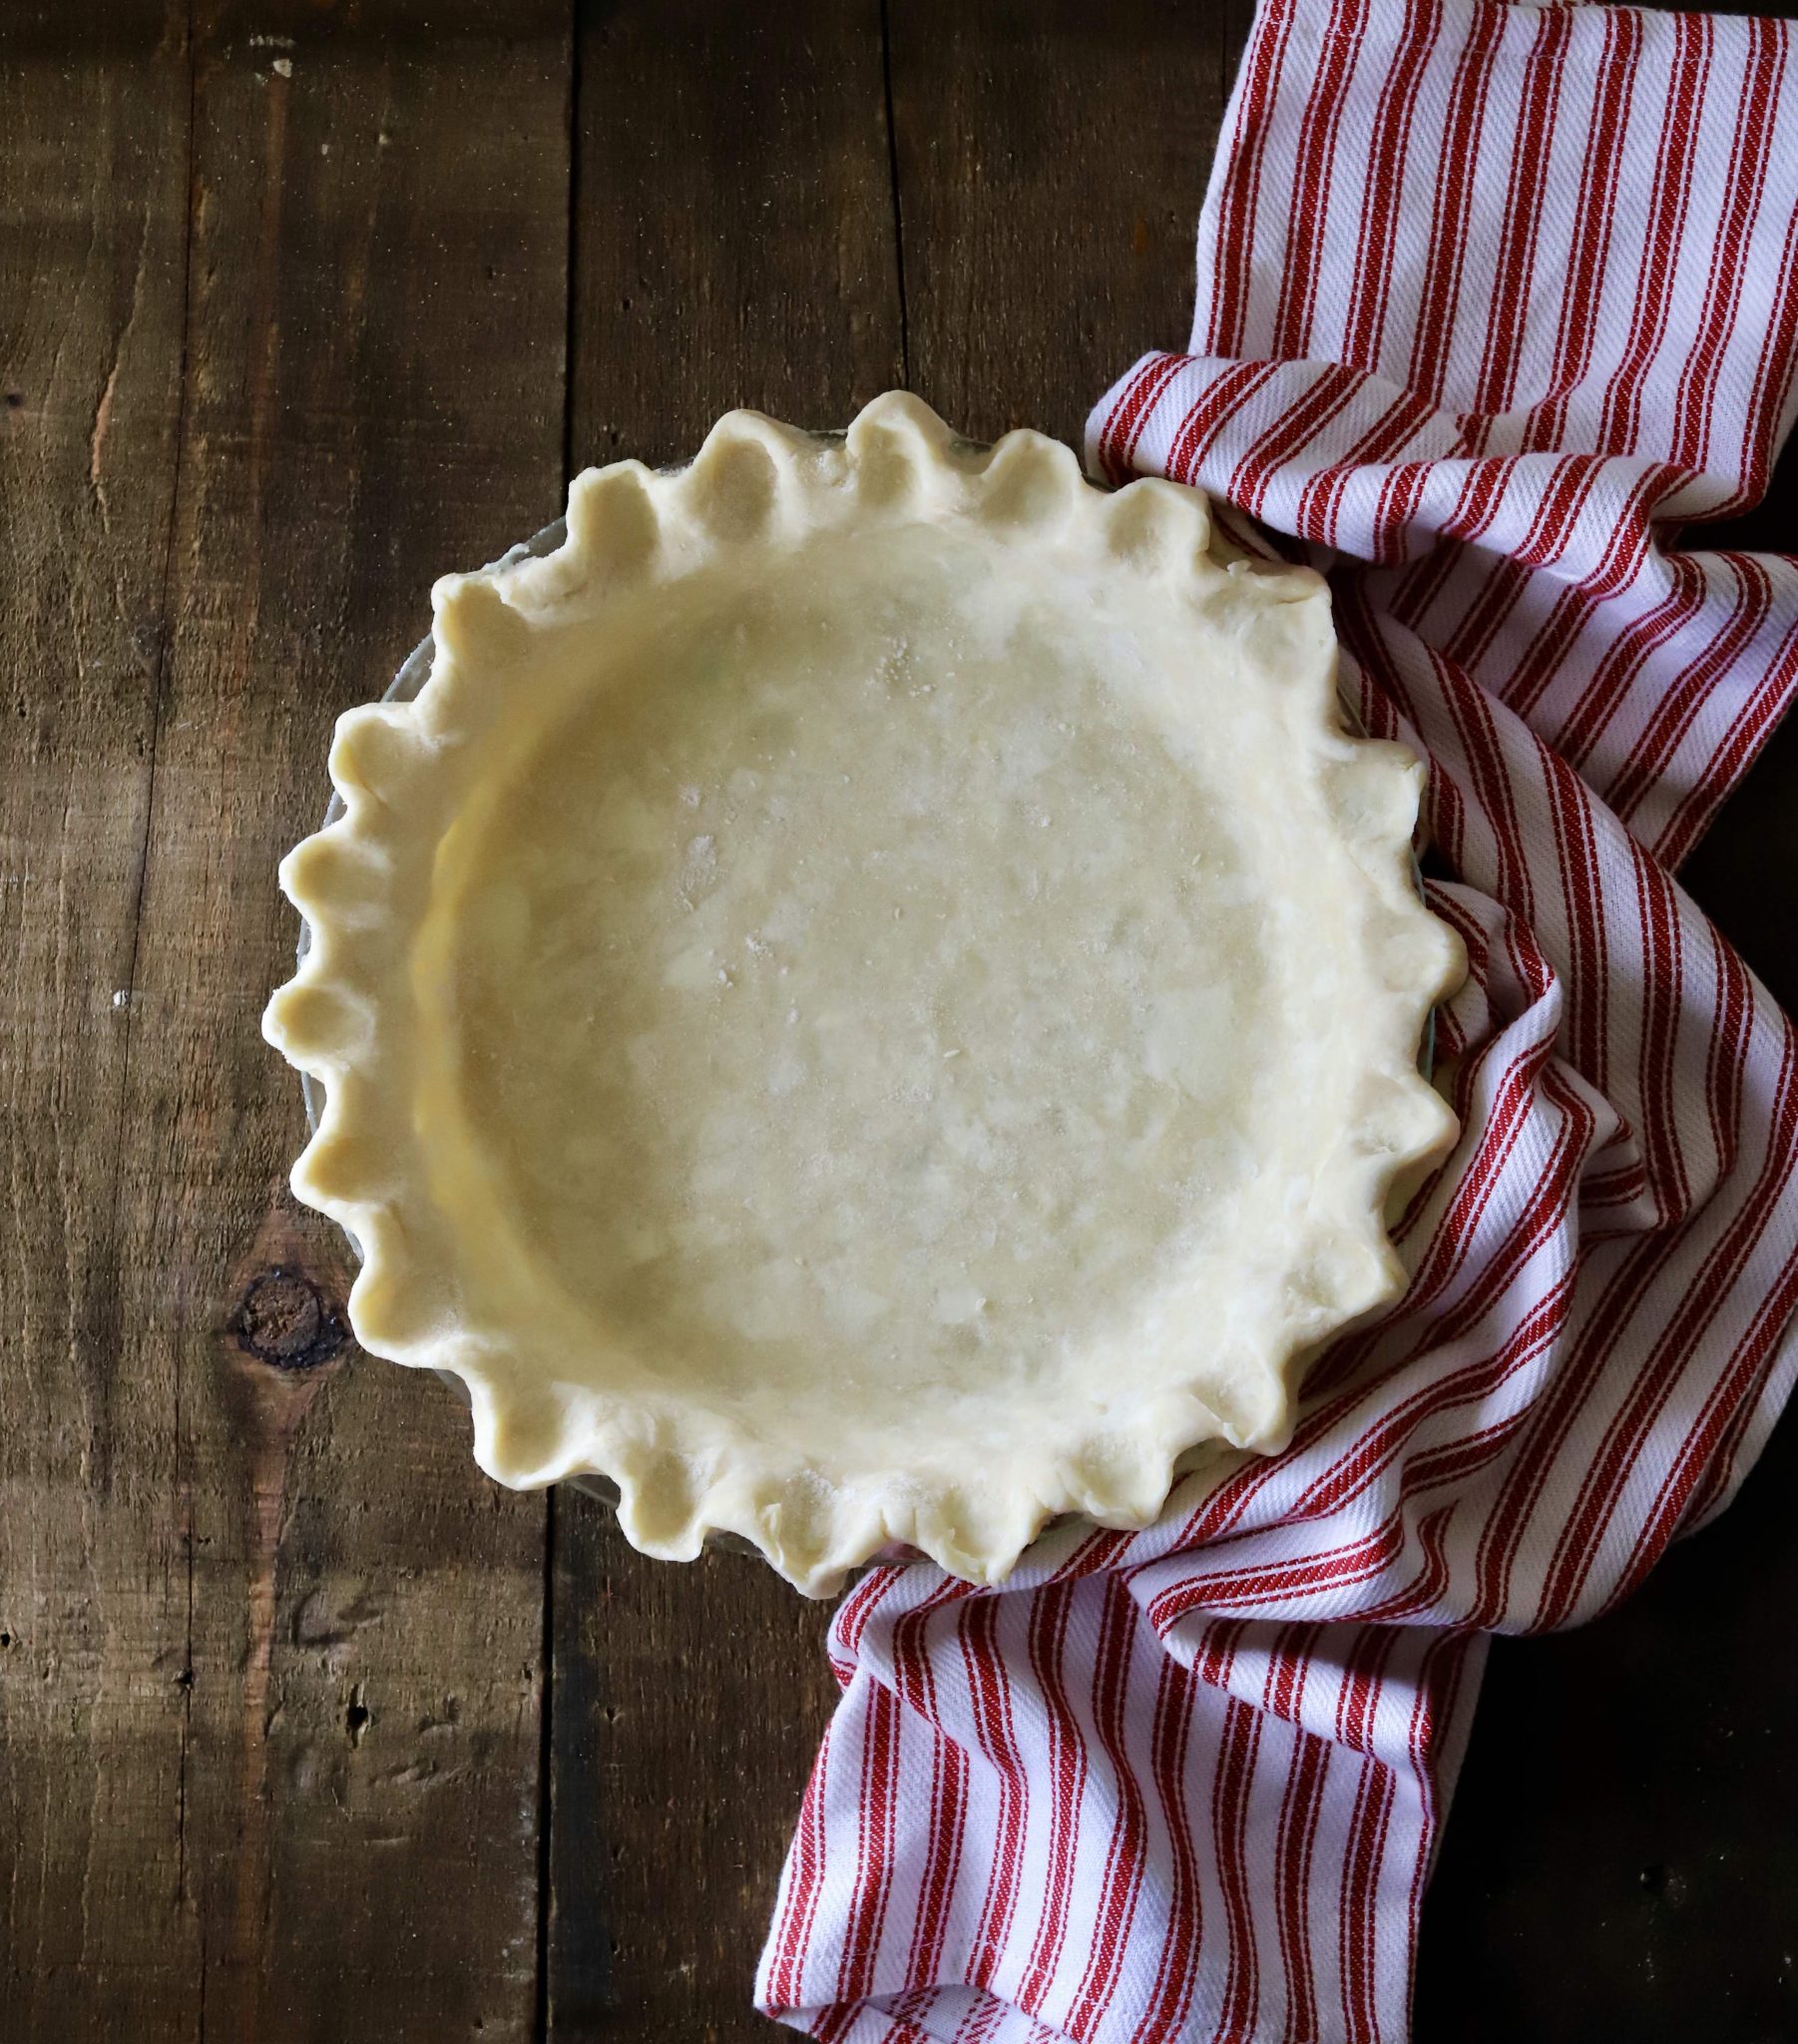
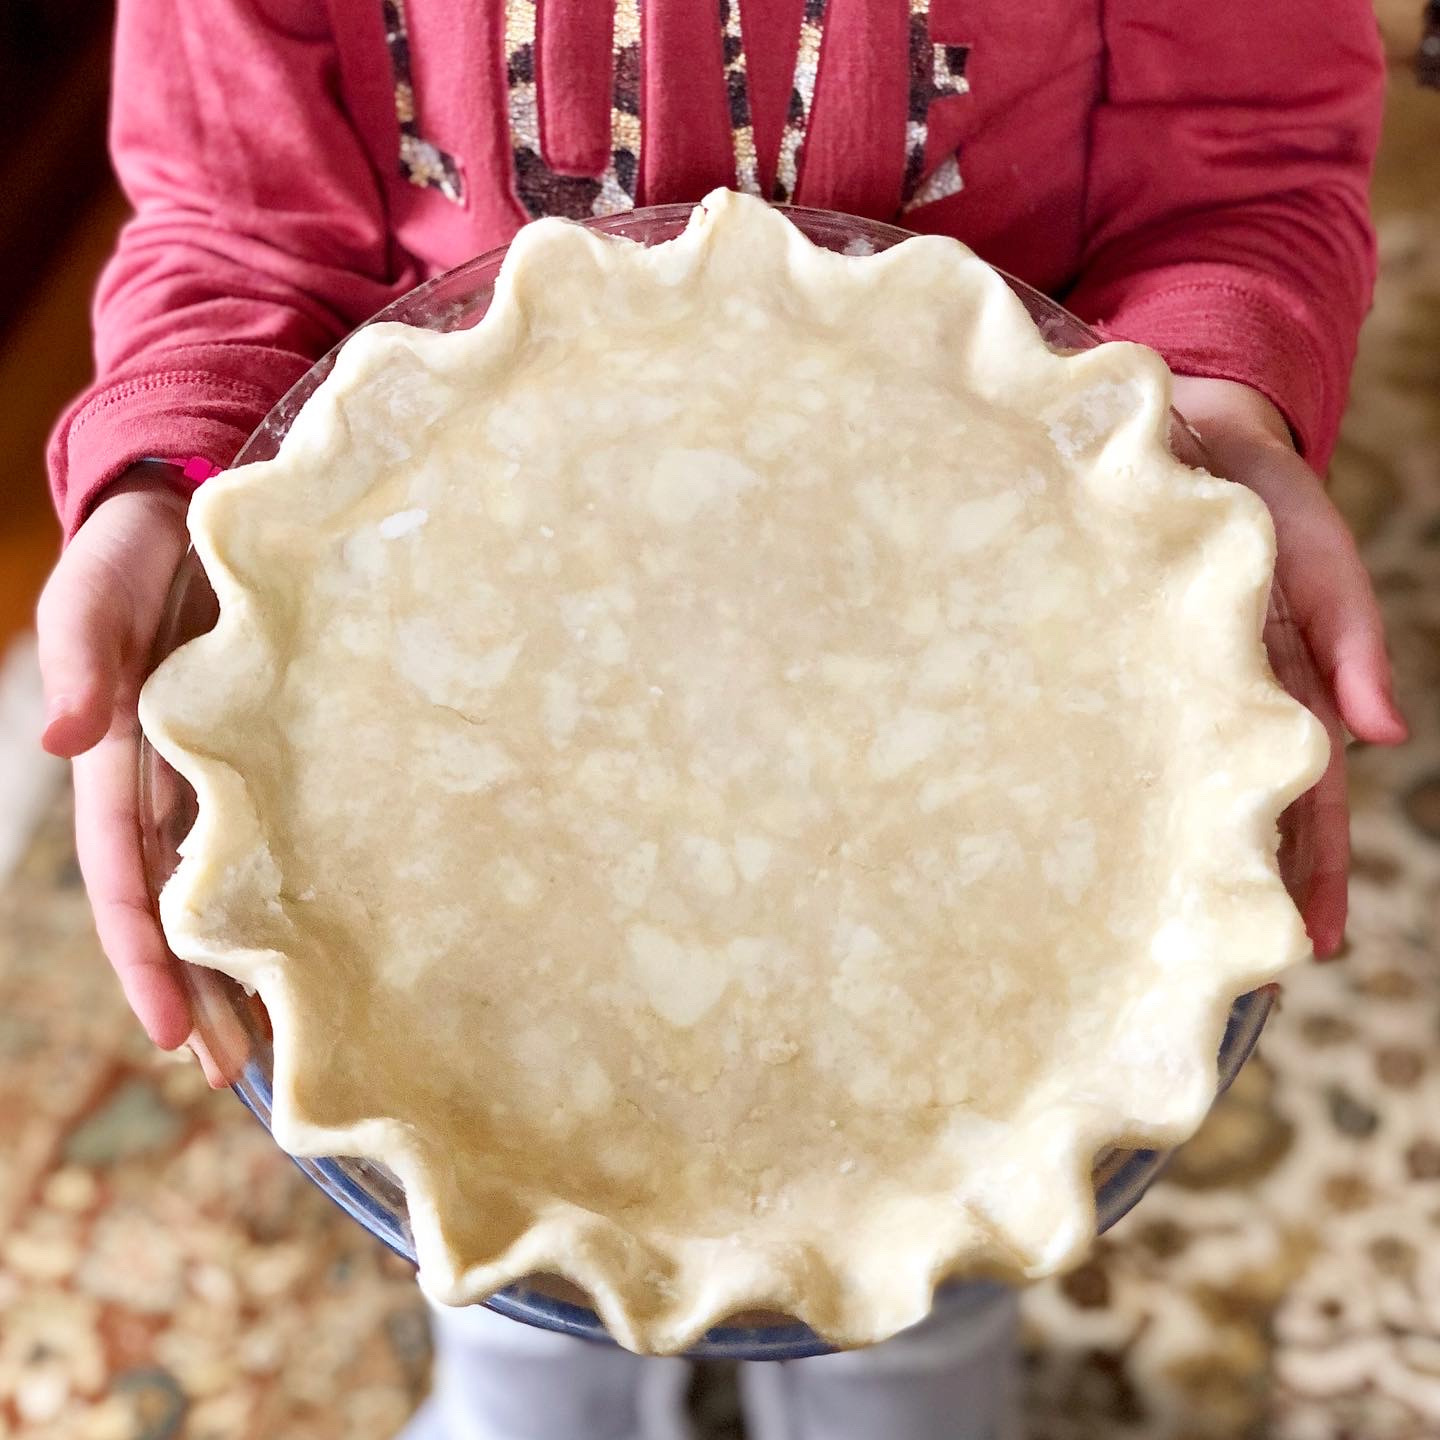
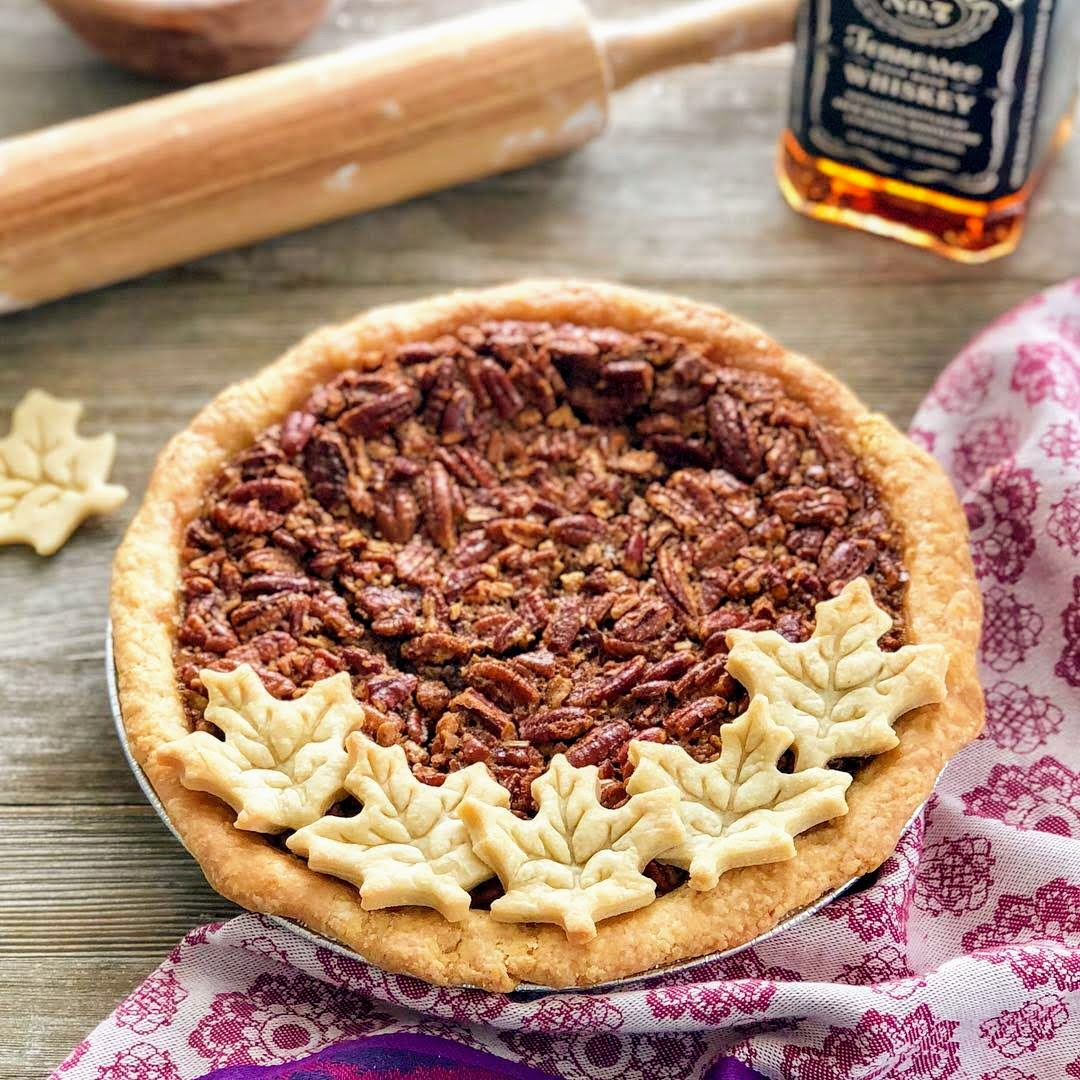
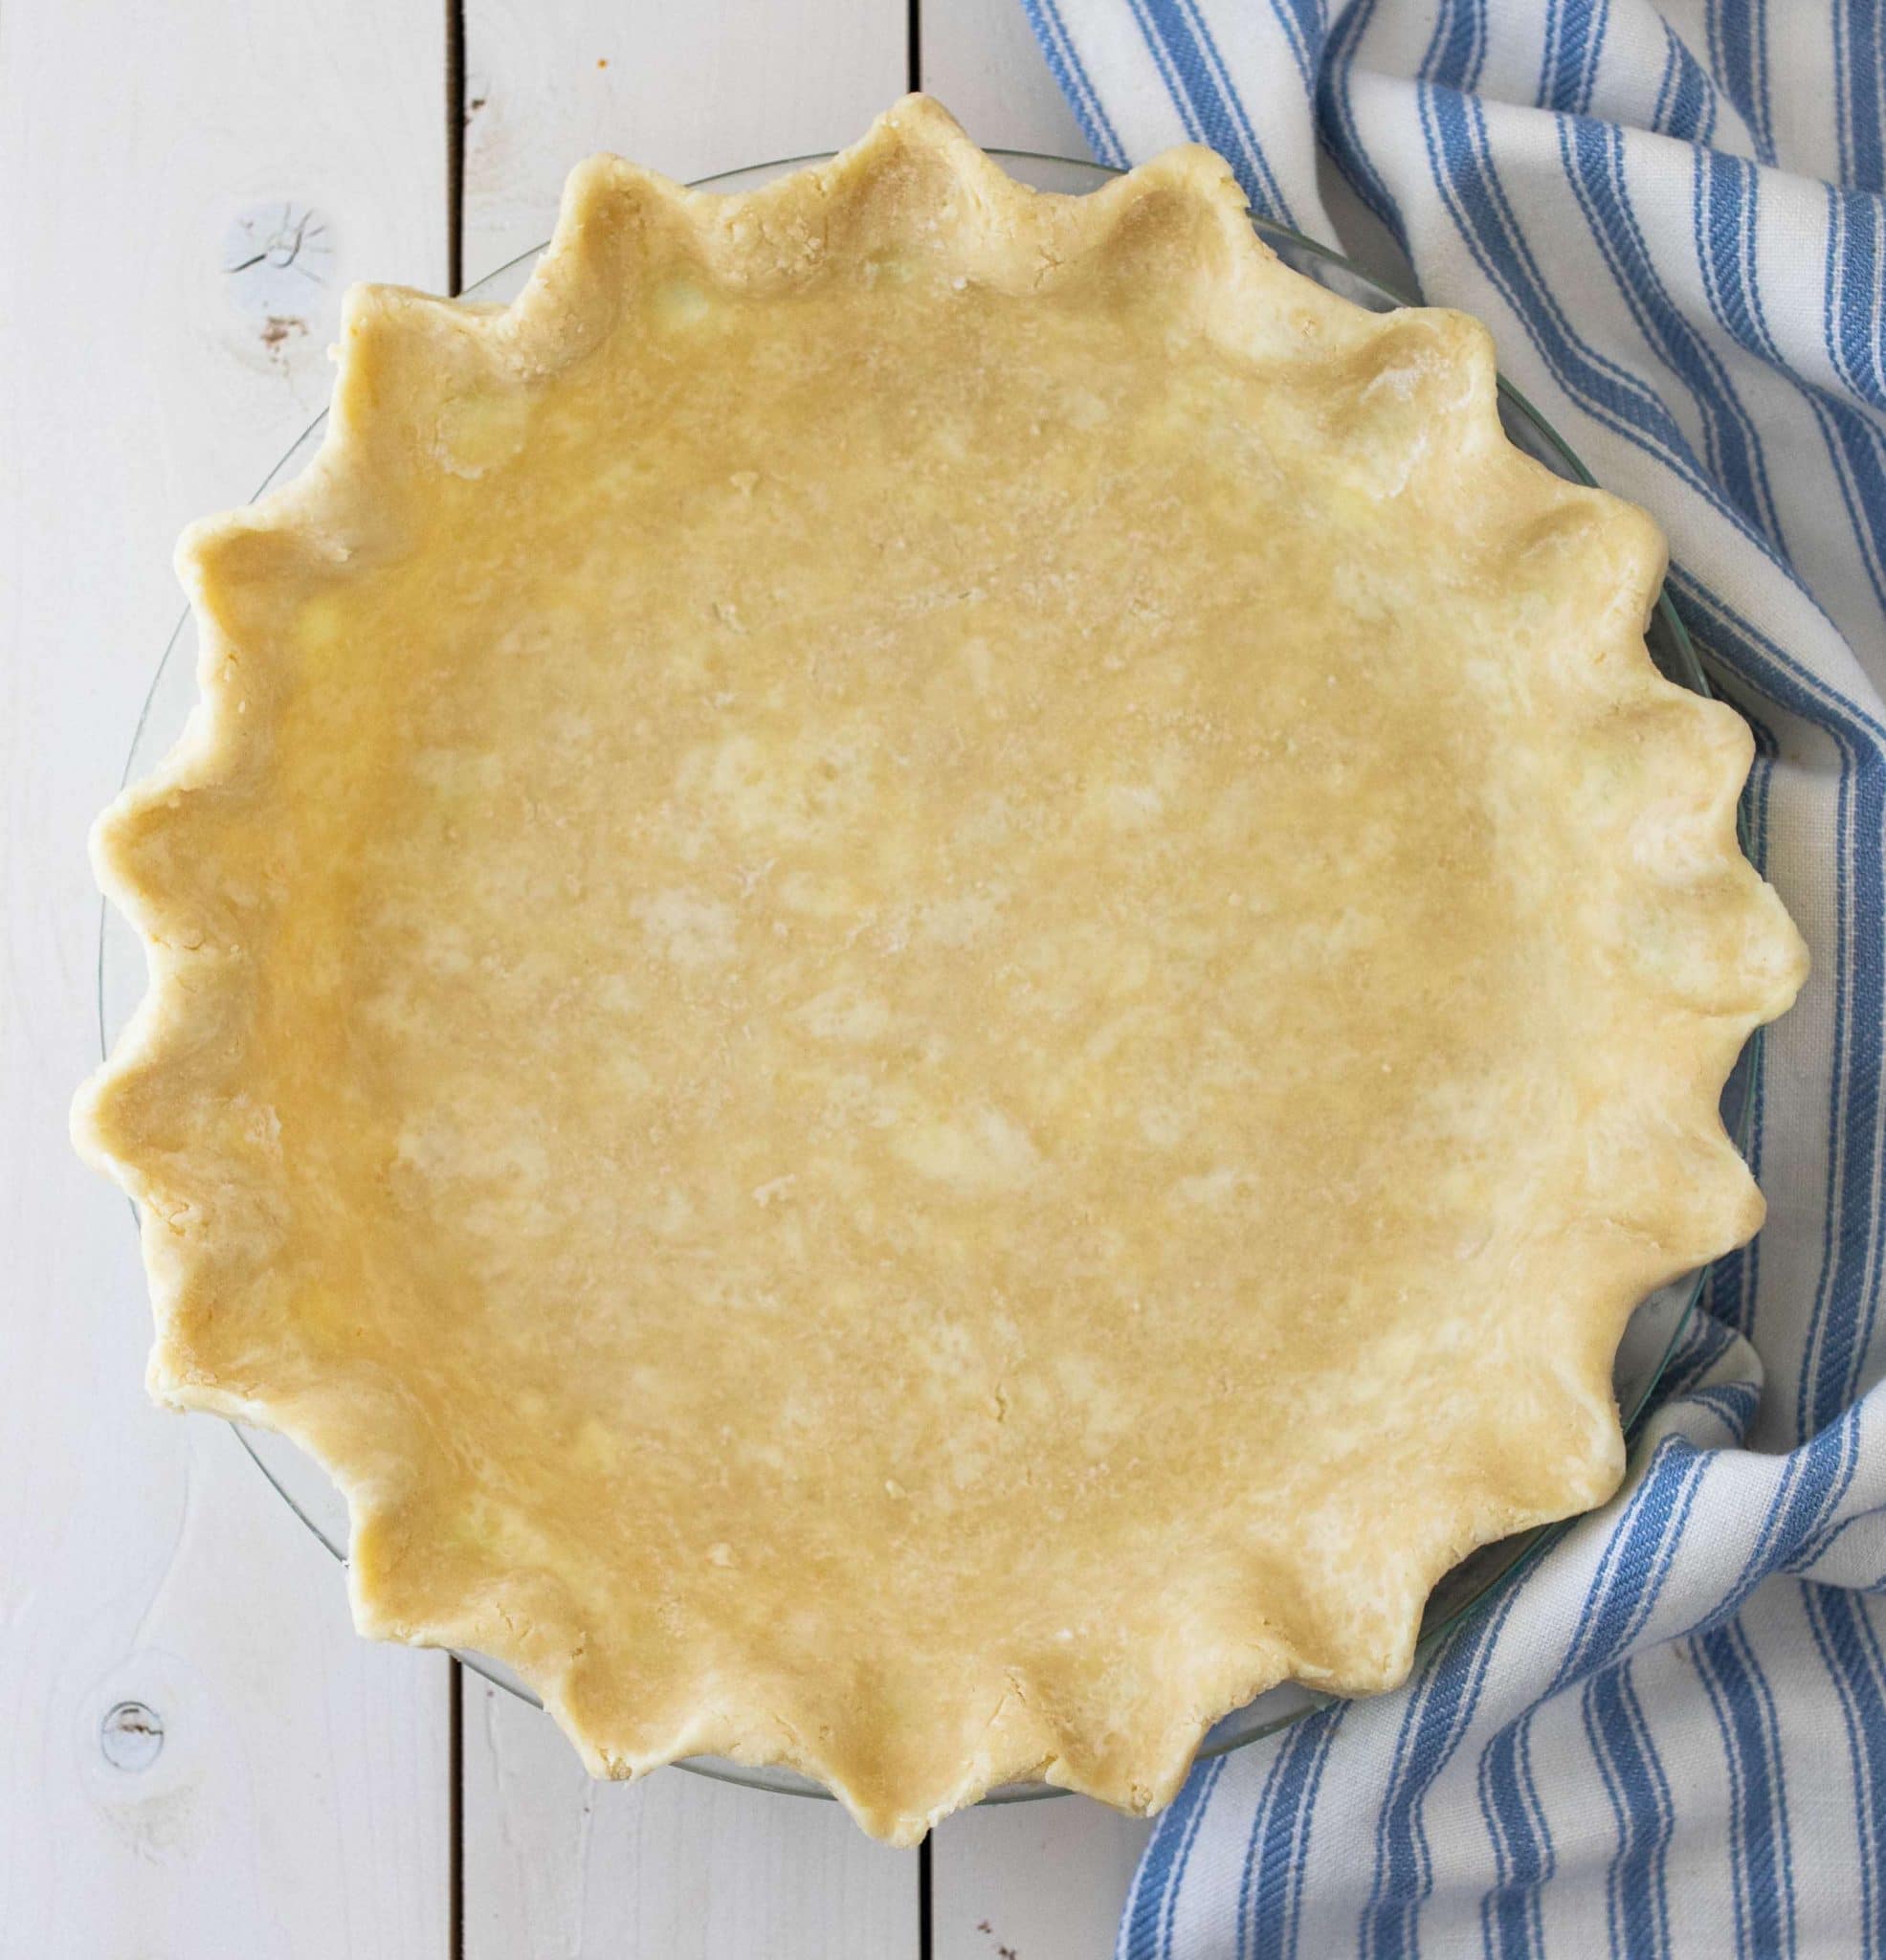
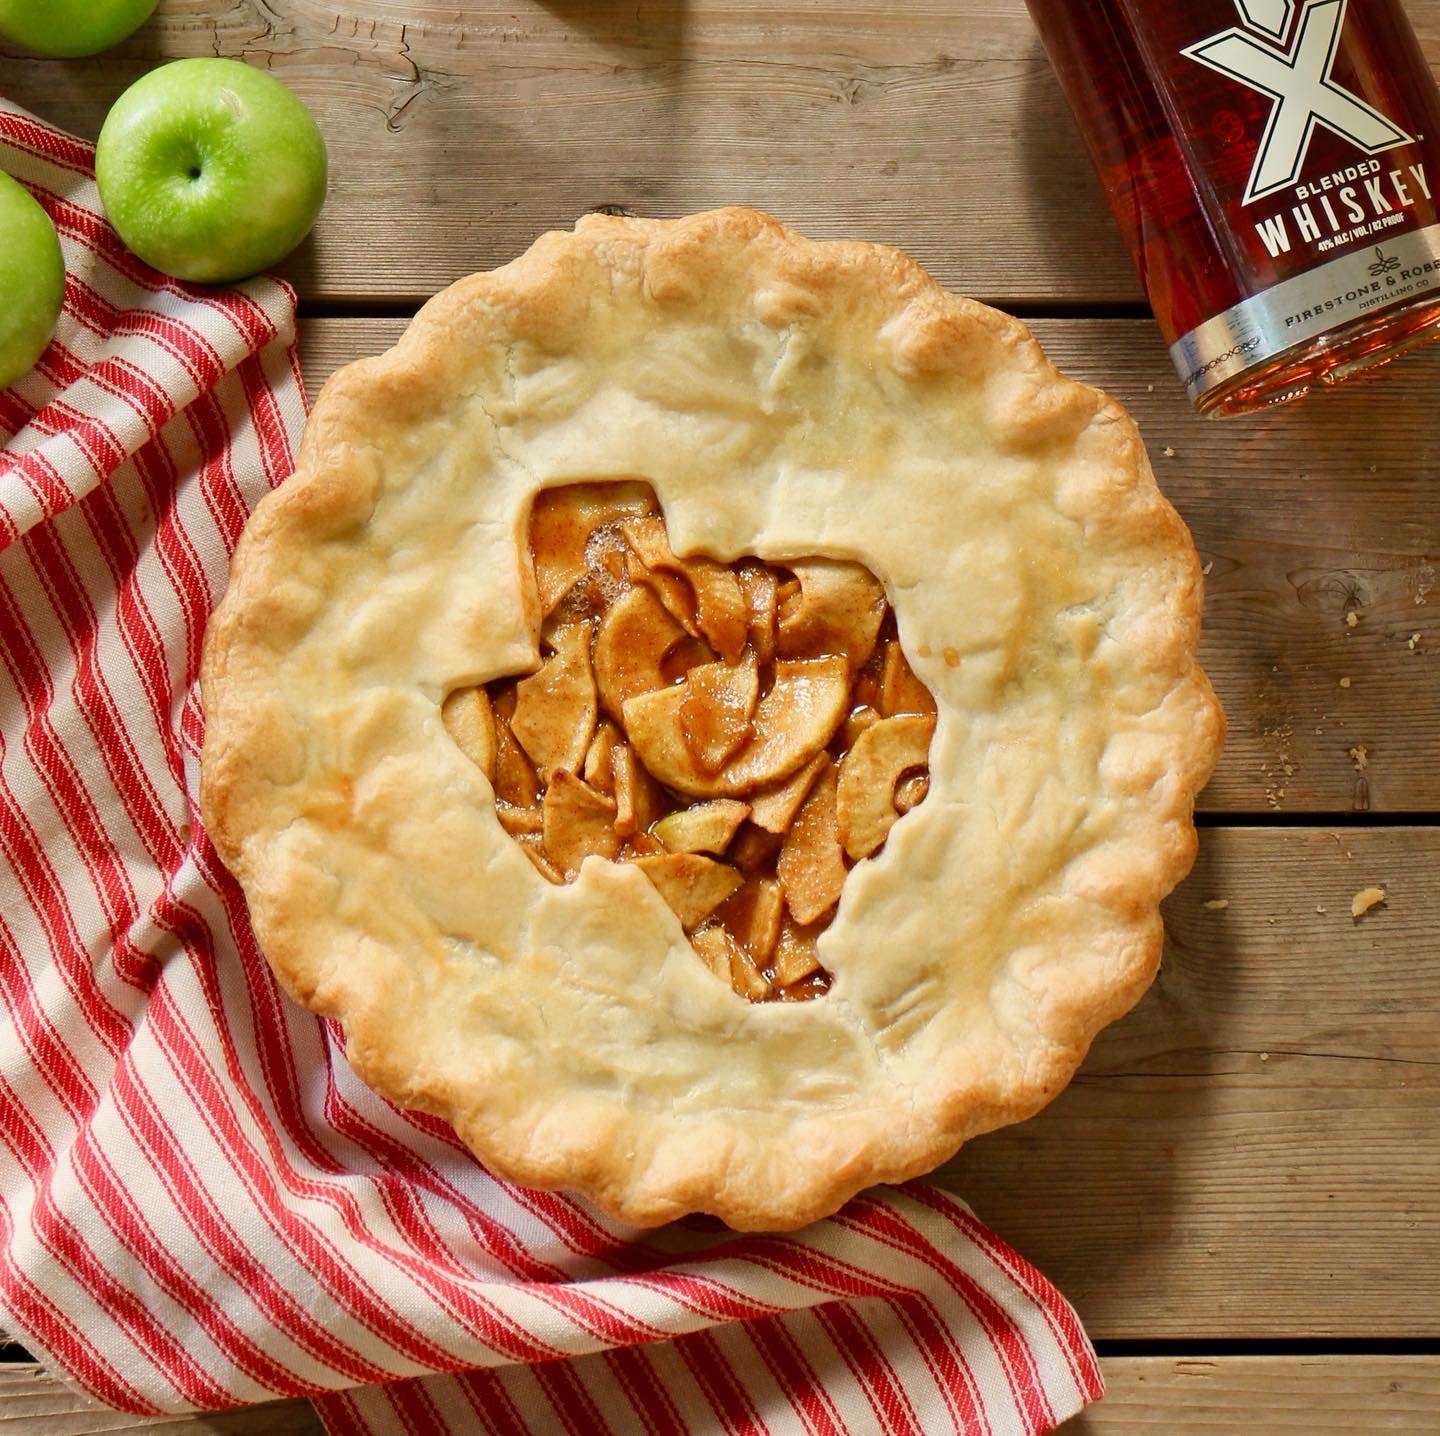
There’s just nothing like a homemade pie crust. Buttery, flakey and light — it’s the perfect complement to all kinds of sweet fillings — Chocolate Cream, Bourbon Pecan, Classic Pumpkin, Dutch Apple, Key Lime, Peach & Blueberry and more!
If you’ve never made a homemade pie crust, I’d suggest watching this video first. The video will give you a good overview of the process, and also provide some helpful visuals to go along with the recipe.
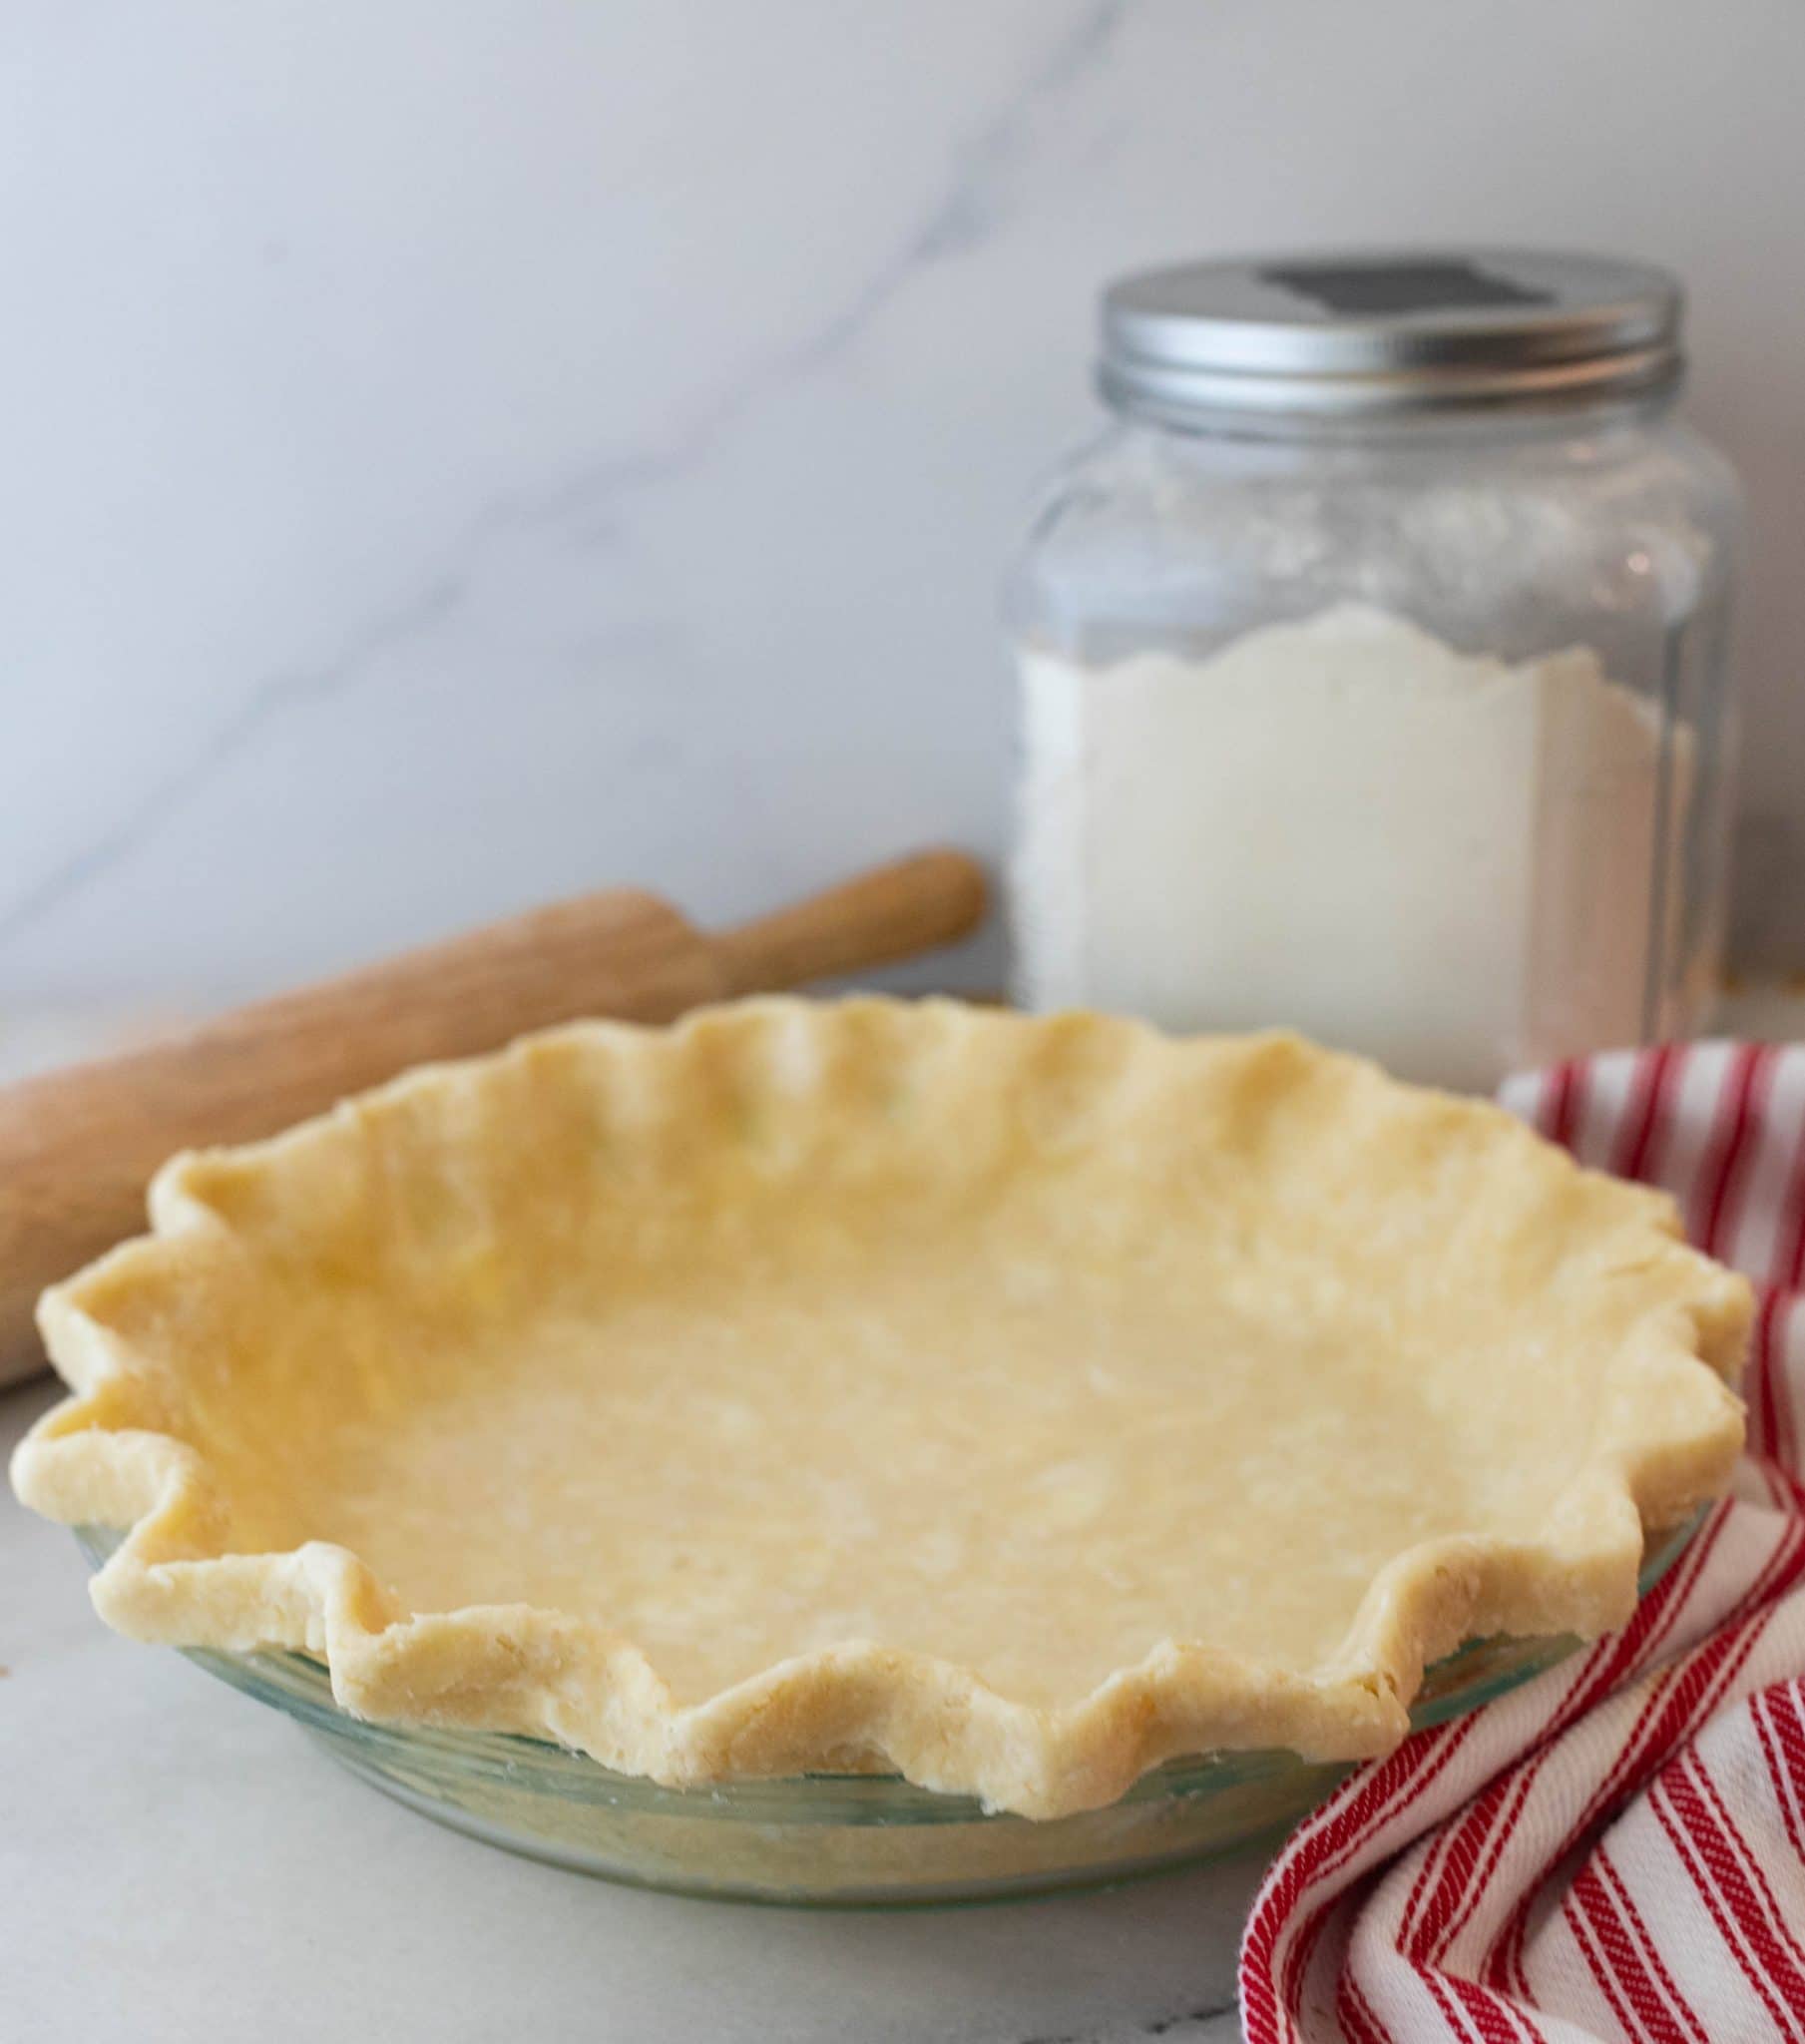
As I say in the video, there are two things to remember when you’re making a homemade pie crust: (1) Don’t over mix the dough; and (2) Keep the butter cold. Both of these guidelines are intended to keep the butter from combining too much with the flour, which will keep your crust flakey and light.
If you have questions or need help troubleshooting, feel free to email me at Marie@MarieSaba.com. I personally respond and would love to help!
And one additional note: Don’t expect perfection! No two pie crusts are ever alike, and just when you think your crust is the ultimate failure, it may turn out to be your best one yet. It’s happened to me many times! Happy baking!


33 Responses
Marie,
Where do I find the printed version of your blind bake pie crust recipe? Fabulous video!
Hi Vicki! Thanks so much of your comment! And I’m so glad you liked the video. I am a little behind on posting recipes but will get to that asap. Hopefully this weekend! Thanks for your patience. The crust recipe is the same as posted here, I’ll just add directions for the blind bake. Big hugs, Marie
What a terrific tutorial! I had just about given up on making pie crust, but you provided new and valuable steps that give me hope and I’ll try again! Great instructions. Thank you.
Hi Barbara! Thanks so much for watching and for taking time to leave a comment! I always love to hear from viewers 🙂 I’m excited for you to try a homemade crust! Stay tuned for more new pie recipes this fall. Hugs, Marie
Thanks so much. Very clear video. I’m making it now. Was fun and easy☺️😘
Hi Jane! Thanks so much for watching and for taking time to leave a comment! I always love to hear from viewers 🙂 Please let me know if you have any questions or requests, and stay tuned for new recipes this fall. Hugs, Marie
Thanks so much. You make it so easy that I feel to do the crust immediately but very important the temperature of the oven to bake it. Thanks again
Hi Laurice! Thanks for watching and for your comment. It’s so nice to hear from you 🙂 The baking temperature depends on what type of pie you are making. If you are blind baking a crust, that is a different time and temperature than if you are baking a custard, nut or berry filling. Do you have a recipe that you planned to use for the filling? That should determine the baking temperature. Please let me know if you need anything else, I’m happy to help! Hugs, Marie
Also, here is a link to an explanation of blind baking if needed: https://mariesaba.com/recipes/blind-baking-pie-crust/
I love your pie videos! When making a 2- crust pie, can I double the recipe; or should I make the recipe twice?
Hi Donna! Thanks for watching and great question! I prefer to make the recipe twice. It’s easier to mix everything evenly. Let me know if you need anything else. Hugs, Marie
Finally found a very good all butter pie crust recipe. Excellent tip of prep each crust individually. Made an apple pie today and crust came out very nice. This will be my go-to pie crust recipe going forward. Thank you!
Hi Joylene! Thanks so much for your note! I’m thrilled to hear you like the recipe and that it worked well for your apple pie. My mom taught me to make this crust. Sadly, she passed away two years ago, but I love that she lives on through people like you. For that reason, your comment means so much. If you want to send a photo of the finished pie, I’d love to see it! You can email me Marie@MarieSaba.com or tag me @mariesaba on instagram. Big hugs, Marie
Great video. I made your recipe in my food processor. I put the 5 Tblsp of cold water in it, but it seems like it was way too wet. Any suggestions?
Thanks
Hi Carrie! Thanks so much for watching and for your note! Glad to hear you enjoyed the video. Hm, I supposed I would first double check all the dry measurements. Are you using imperial or metric? My 1 1/4 cup of flour weighs about 175 g, so it’s a bit more than the standard cup/grams conversion. I thought that I had those included in the recipe but I’m not seeing them, so I’ll go back and add asap 😬 If you’re pretty sure the dry ingredients (as well as butter and water measurements) were accurate, then you might have over mixed the dough. The food processor can quickly warm up the butter, causing it to soften, and make the dough feel too wet. Do any of those sound like what happened? Let me know. I’m happy to continue to troubleshoot with you if not 🙂 Thanks again, Marie
Can you make it the night before
Hi Cathy! Thanks for your question. Yes, you can make the crust up to 2 days before. Wrap in plastic and store in the refrigerator. You can also make the crust up to 2 months in advance, wrap in plastic and store in the freezer. Thaw in the refrigerator the night before you plan to roll it out. Hope that helps! Hugs, Marie
If it turns out too wet is it still salvageable
Hi Amanda! Yes, it should be. After you chill it, add a little extra flour to the counter and let the crust soak it up a bit (on both sides) before you roll it out. Press the disc of dough gently into the flour so it absorbs better. That should even put your flour water ratio abd make it easier to roll. Use plenty of flour because it sounds like it will be sticky. Hope that helps. Hugs, Marie
Can one double the recipe for two pie crusts (no top crust)? or for when making a pie which requires a top crust? Does doubling your recipe make it too hard to handle; or require too much extra time to work all the butter into the flour … which may then cause the butter to lose that nice chill we need.
Hi Maggie! Yes, you are exactly right. I prefer not to double the recipe because it becomes difficult to evenly mix in the butter and water. I always just make two crusts, one after another. Sorry for the delayed reply and thanks so much for stopping by. Hugs, Marie
You are an EXCELLENT instructor and teacher. Thank you so much for this wonderful tutorial. I am thankful I found your channel. Blessings
I am going to be making an apple pie. I would like to try your recipe for the pie crust but was wondering if I need to put both pie crust in freezer first for 20 minutes or can I roll out pie crust, flute the edge, fill with apples and add the top crust.
Hi! Thanks for your note! I prefer to freeze the crust if possible. It’s just better to avoid letting the apple filling sit in the raw bottom crust, as the apple juices can make the bottom crust soggy before it even goes in the oven. Also, you won’t need to flute the edge until the top crust is attached. Once the full pie is assembled you can freeze the entire pie for a bit as well. Hope that helps! Hugs, Marie
Much easier with the butter if you just use a cheese grater to grate the cold butter directly into the flour. Automatically in small pieces from the grater, it makes it much quicker with a much better outcome.
Hi John! Thanks so much for the tip! – Marie
All, your tips werte helpful. Thanks!
My Mother can’t see, so her Blind Baking puts the house at risk!
Hi! Oh no! Sounds like she really loves her baking! Stay safe 🙂 Best, Marie
Love this tutorial. Very thorough and simple to do. Do you think adding lard or shortening to the butter is good?
Hi! Glad to hear the tutorial was helpfuL! I do think lard or shortening can create a flakier crust, but I’m not sure exactly how it might change the measurements. You are welcome to give it a try! Thanks for watching, Marie
Perfection!
Hi I’m Pamela from south Africa Cape Town I came across your video on you tube an decided to try your pie crust recipe I must say this is the most amazing delicious pie crust I have ever tasted it was so soft flaky an buttery this recipe is diffinately a winner I’m hooked thank you for sharing its appreciated.
Hi Marie – could I use this pie crust recipe for apple turnover pastry? Please advise.
Thank you so much for sharing your wonderful recipes!
Raquel
Los Angeles, CA
060626
Hi Raquel! Yes, this pie crust works very well for apple turnovers. I have a recipe for what I call “apple hand pies” here: https://mariesaba.com/recipes/apple-hand-pies/ . They are similar to turnovers. For an even flakier, doughier crust for turnovers you can use a store-bought puff pastry. Hope that helps! Hugs, Marie