Strawberry Hand Pies

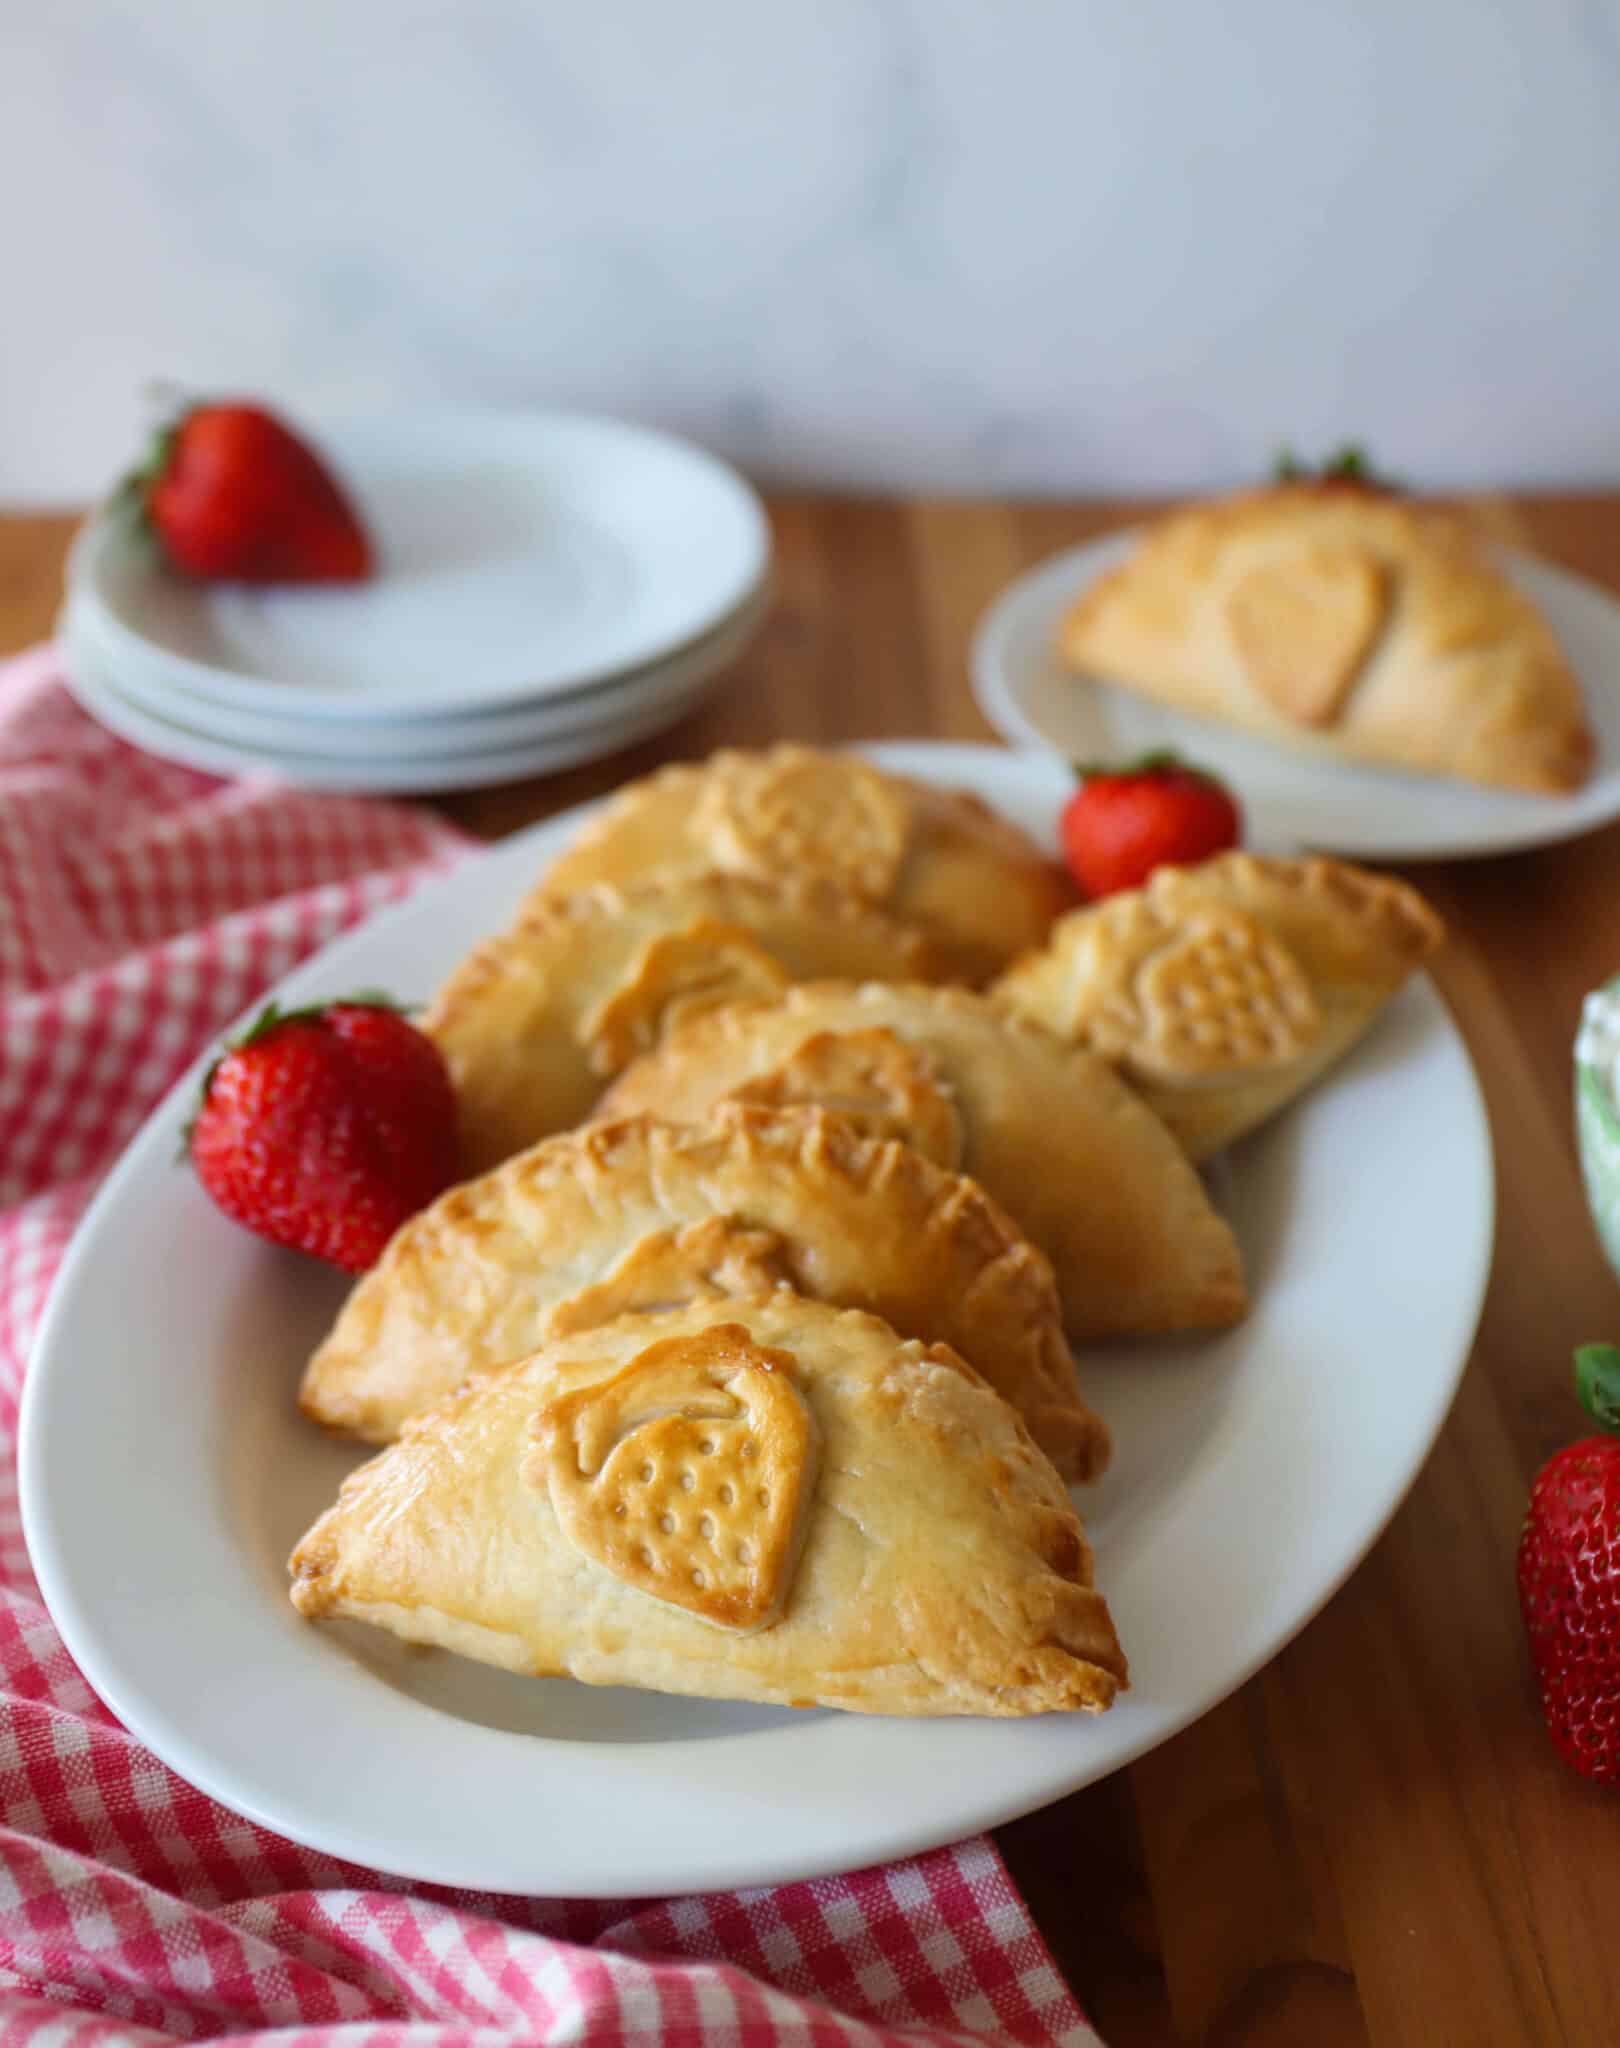
These strawberry hand pies have all the deliciousness of a strawberry pie but are so much easier to serve and share! And here’s the really great news — you can bake them in the oven or the air fryer! I love the air fryer, but if you don’t have one, the oven works just as well.

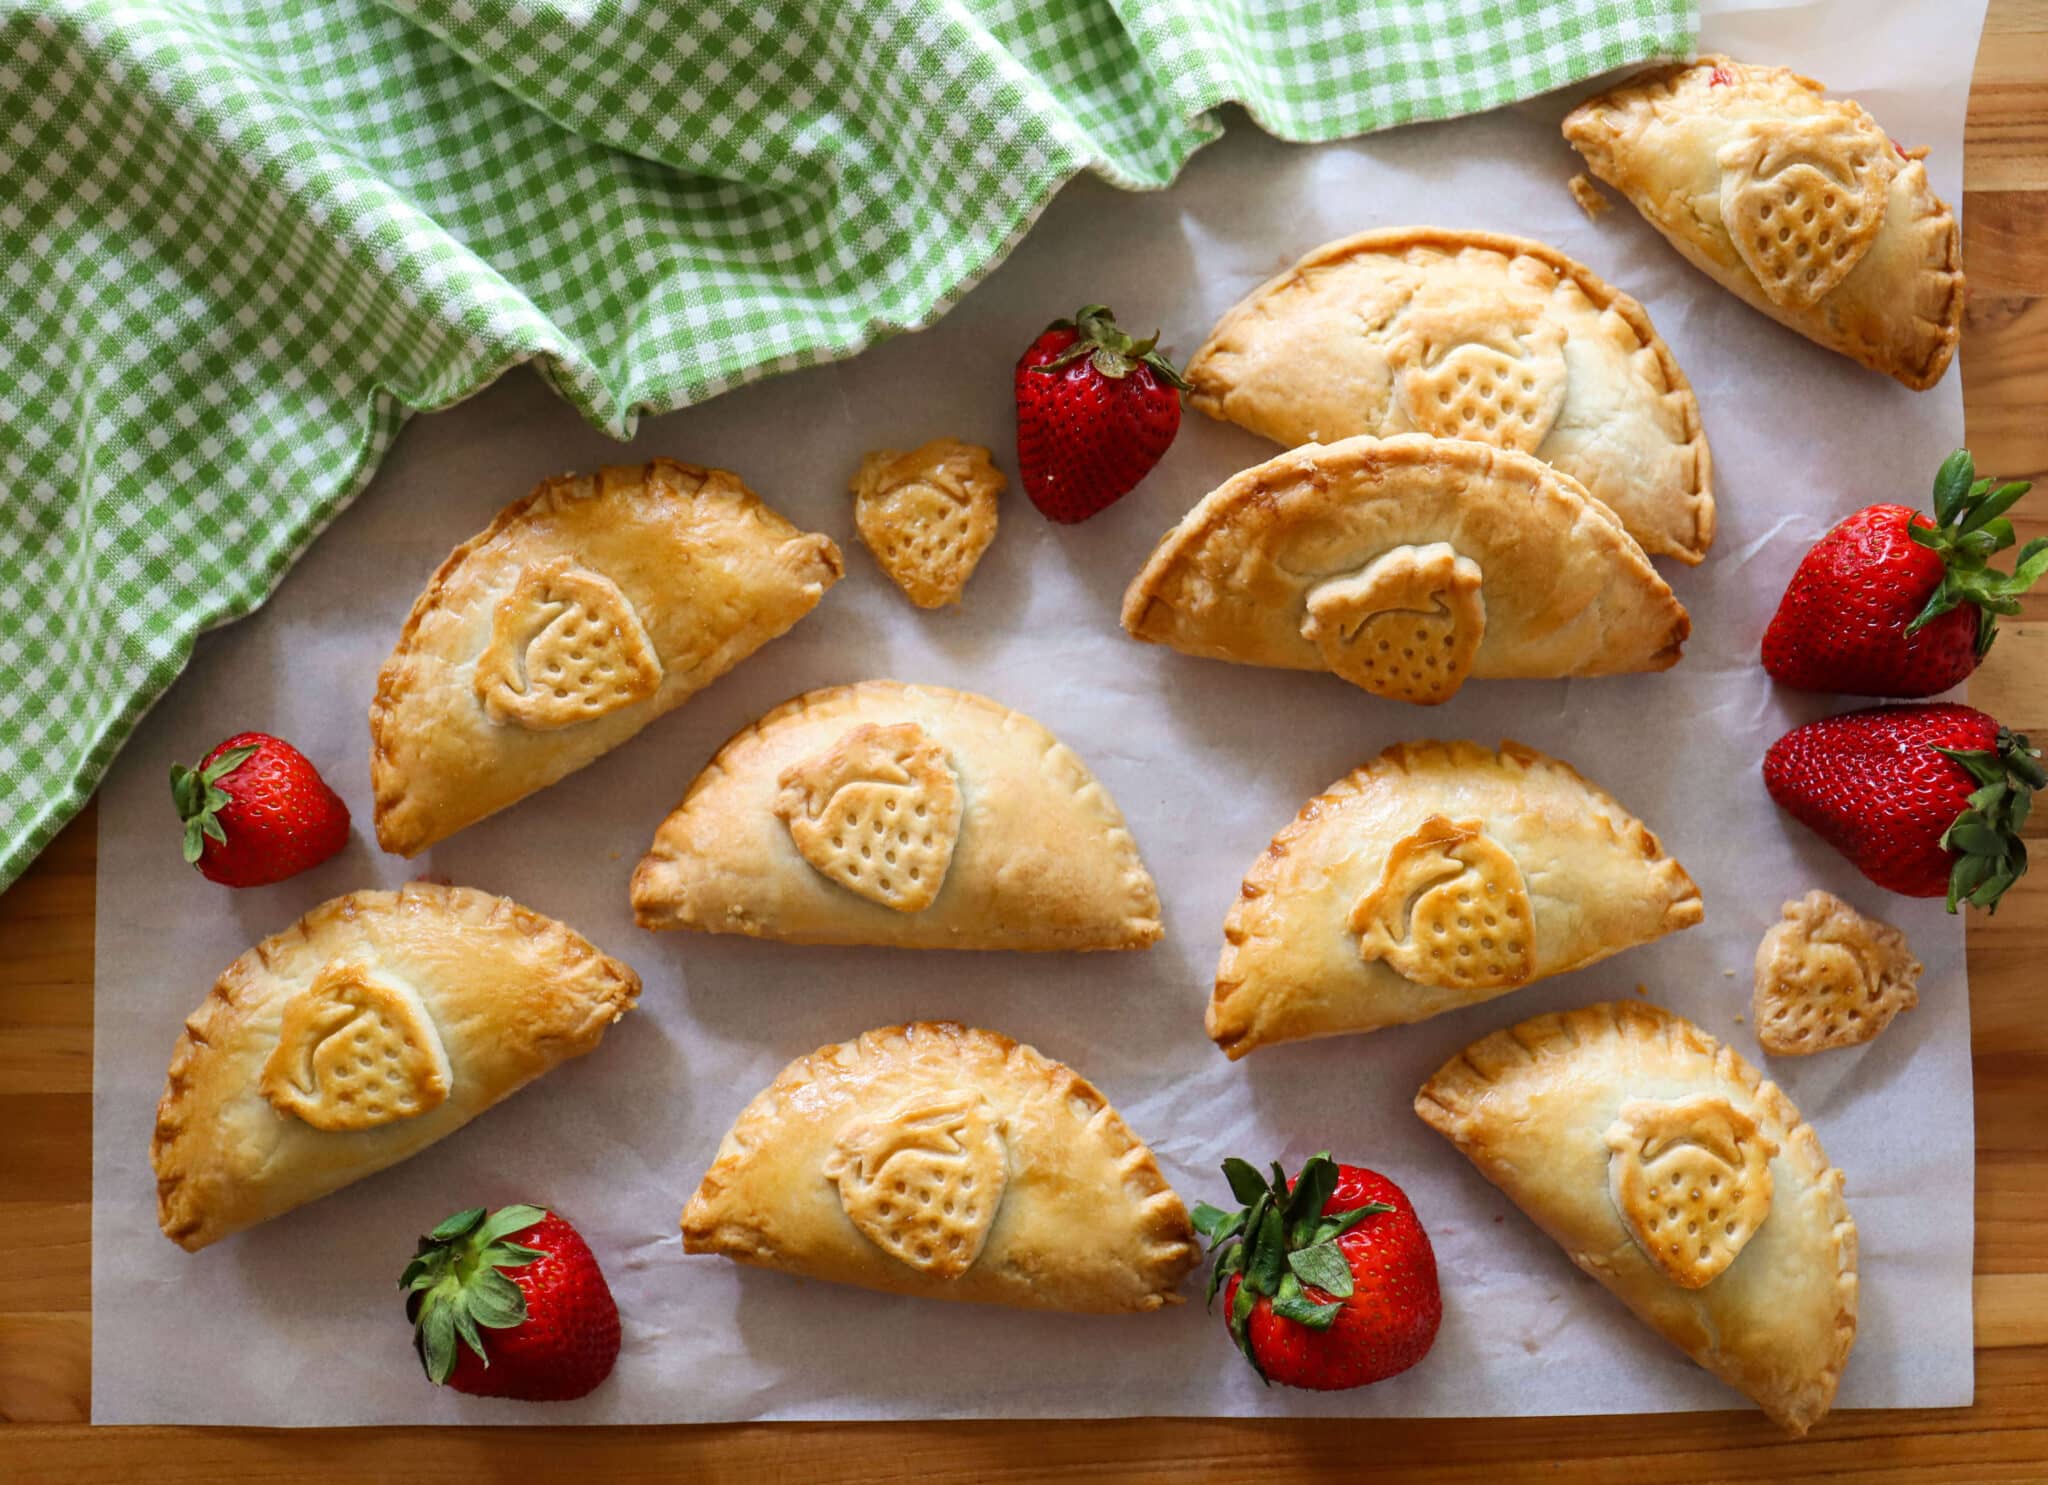
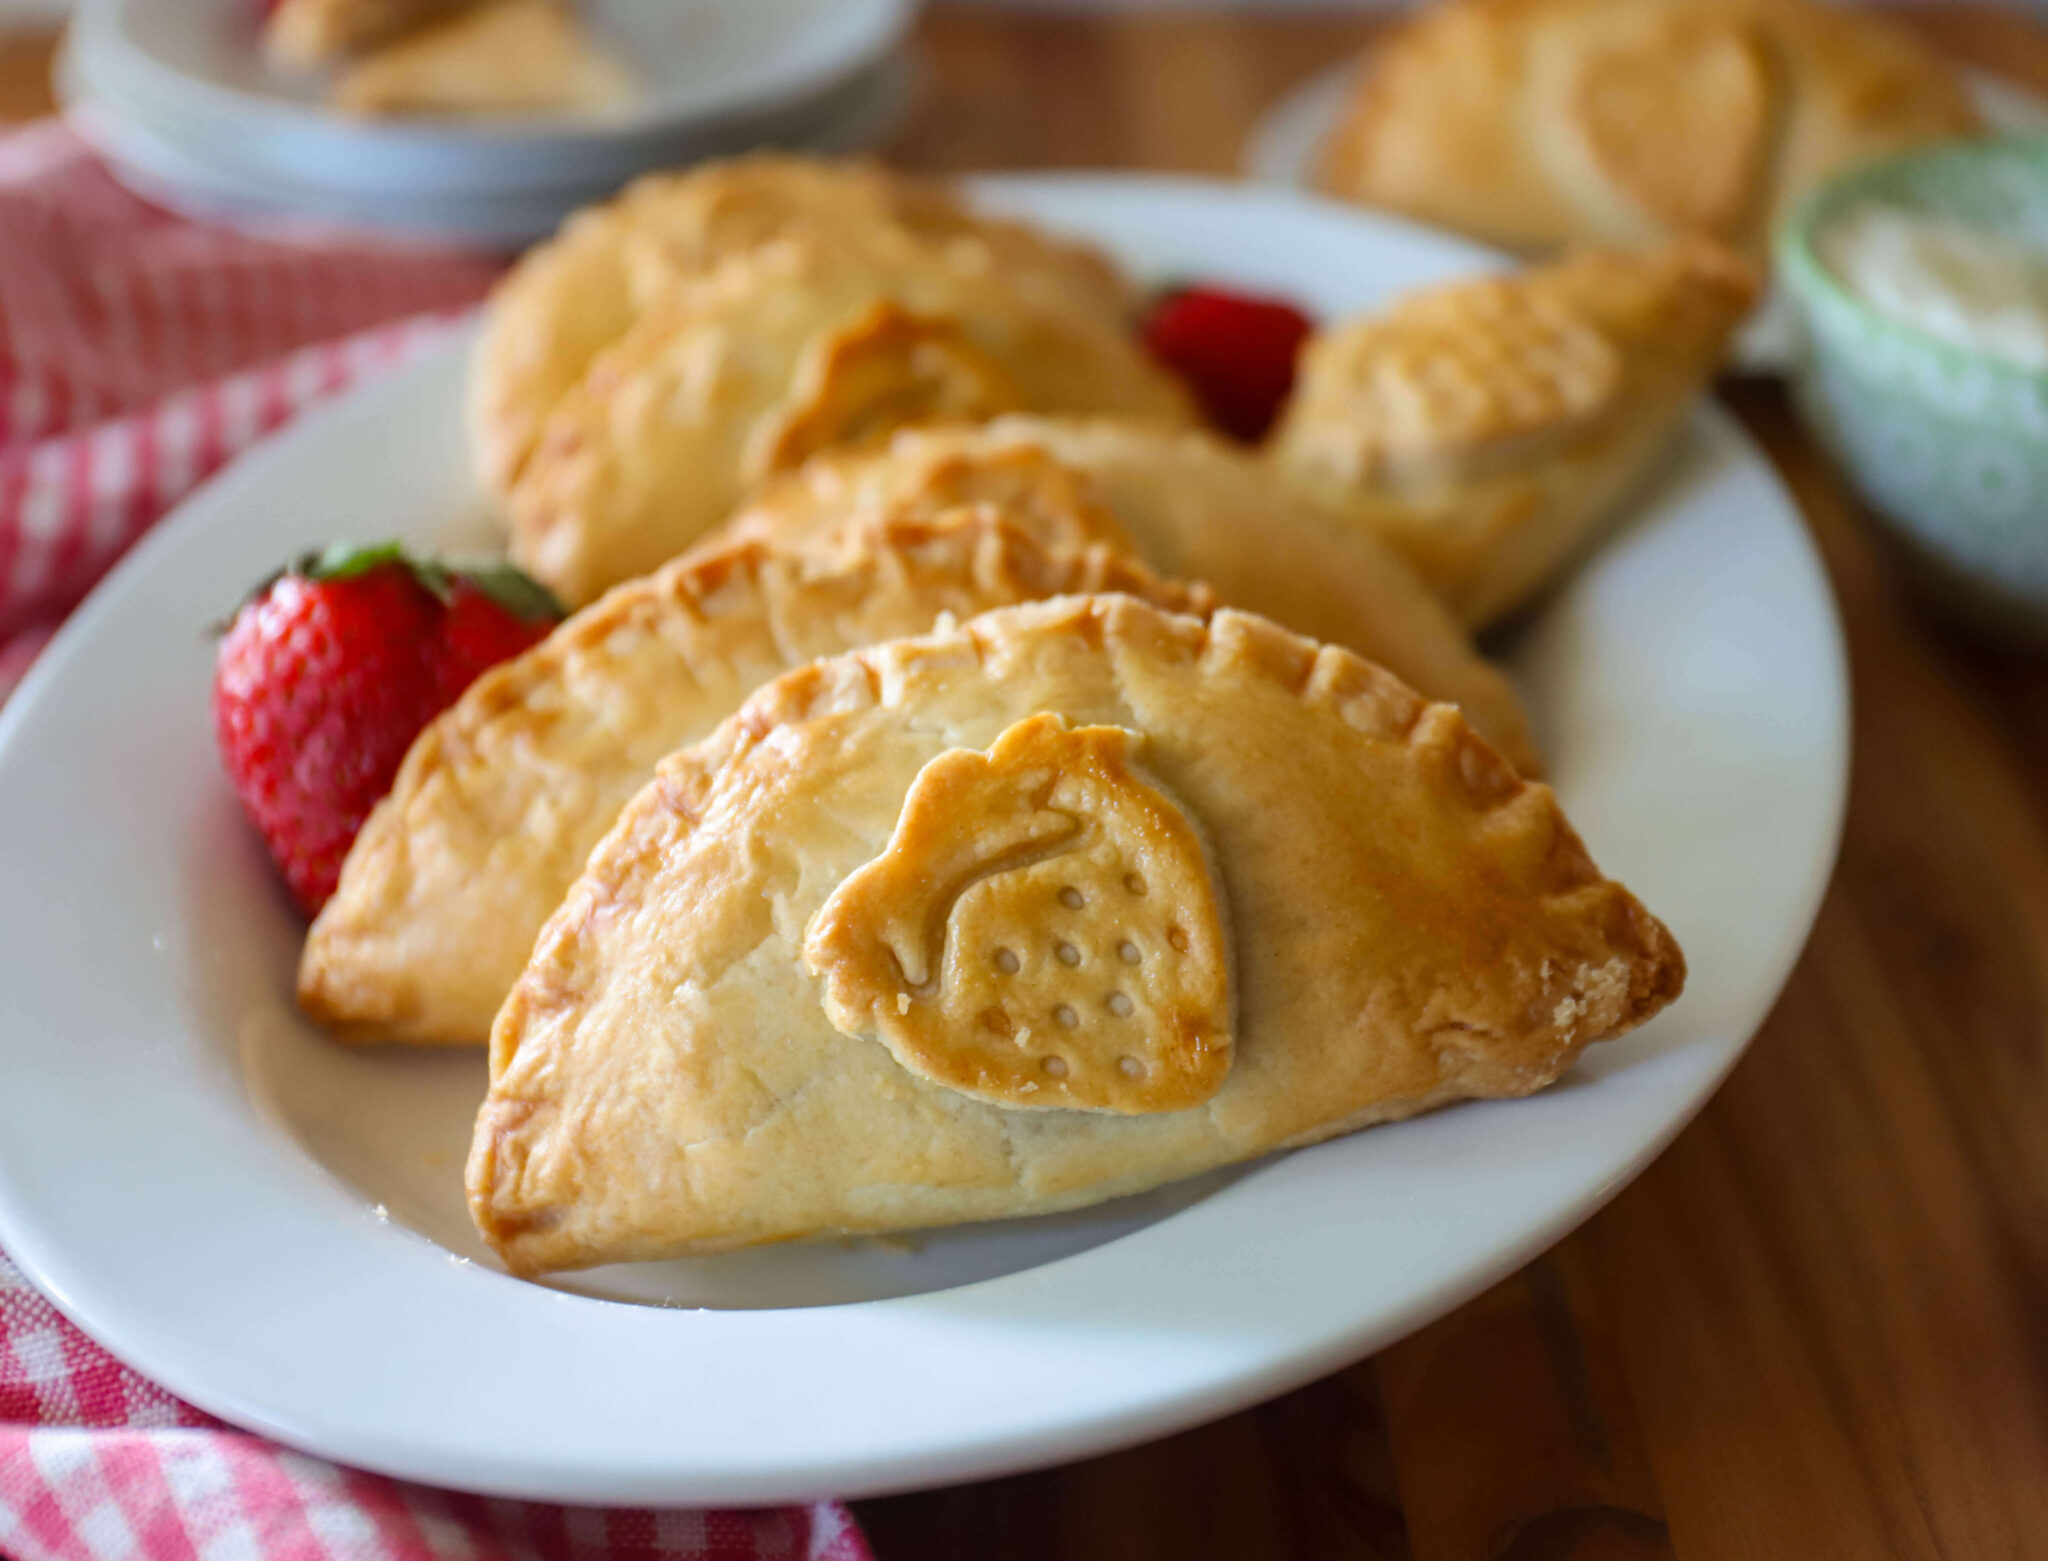
For the pie crust, you can use store-bought pie dough or make homemade. To cut out the circles, I love this Dough Press Set. You use the back to cut out the circles, and the front to press the dough together into a hand pie. For a full tutorial, check out my video here. For a fun decoration, I use the extra scraps of dough and a strawberry “cutter / stamper to add strawberry cutouts to the pies.

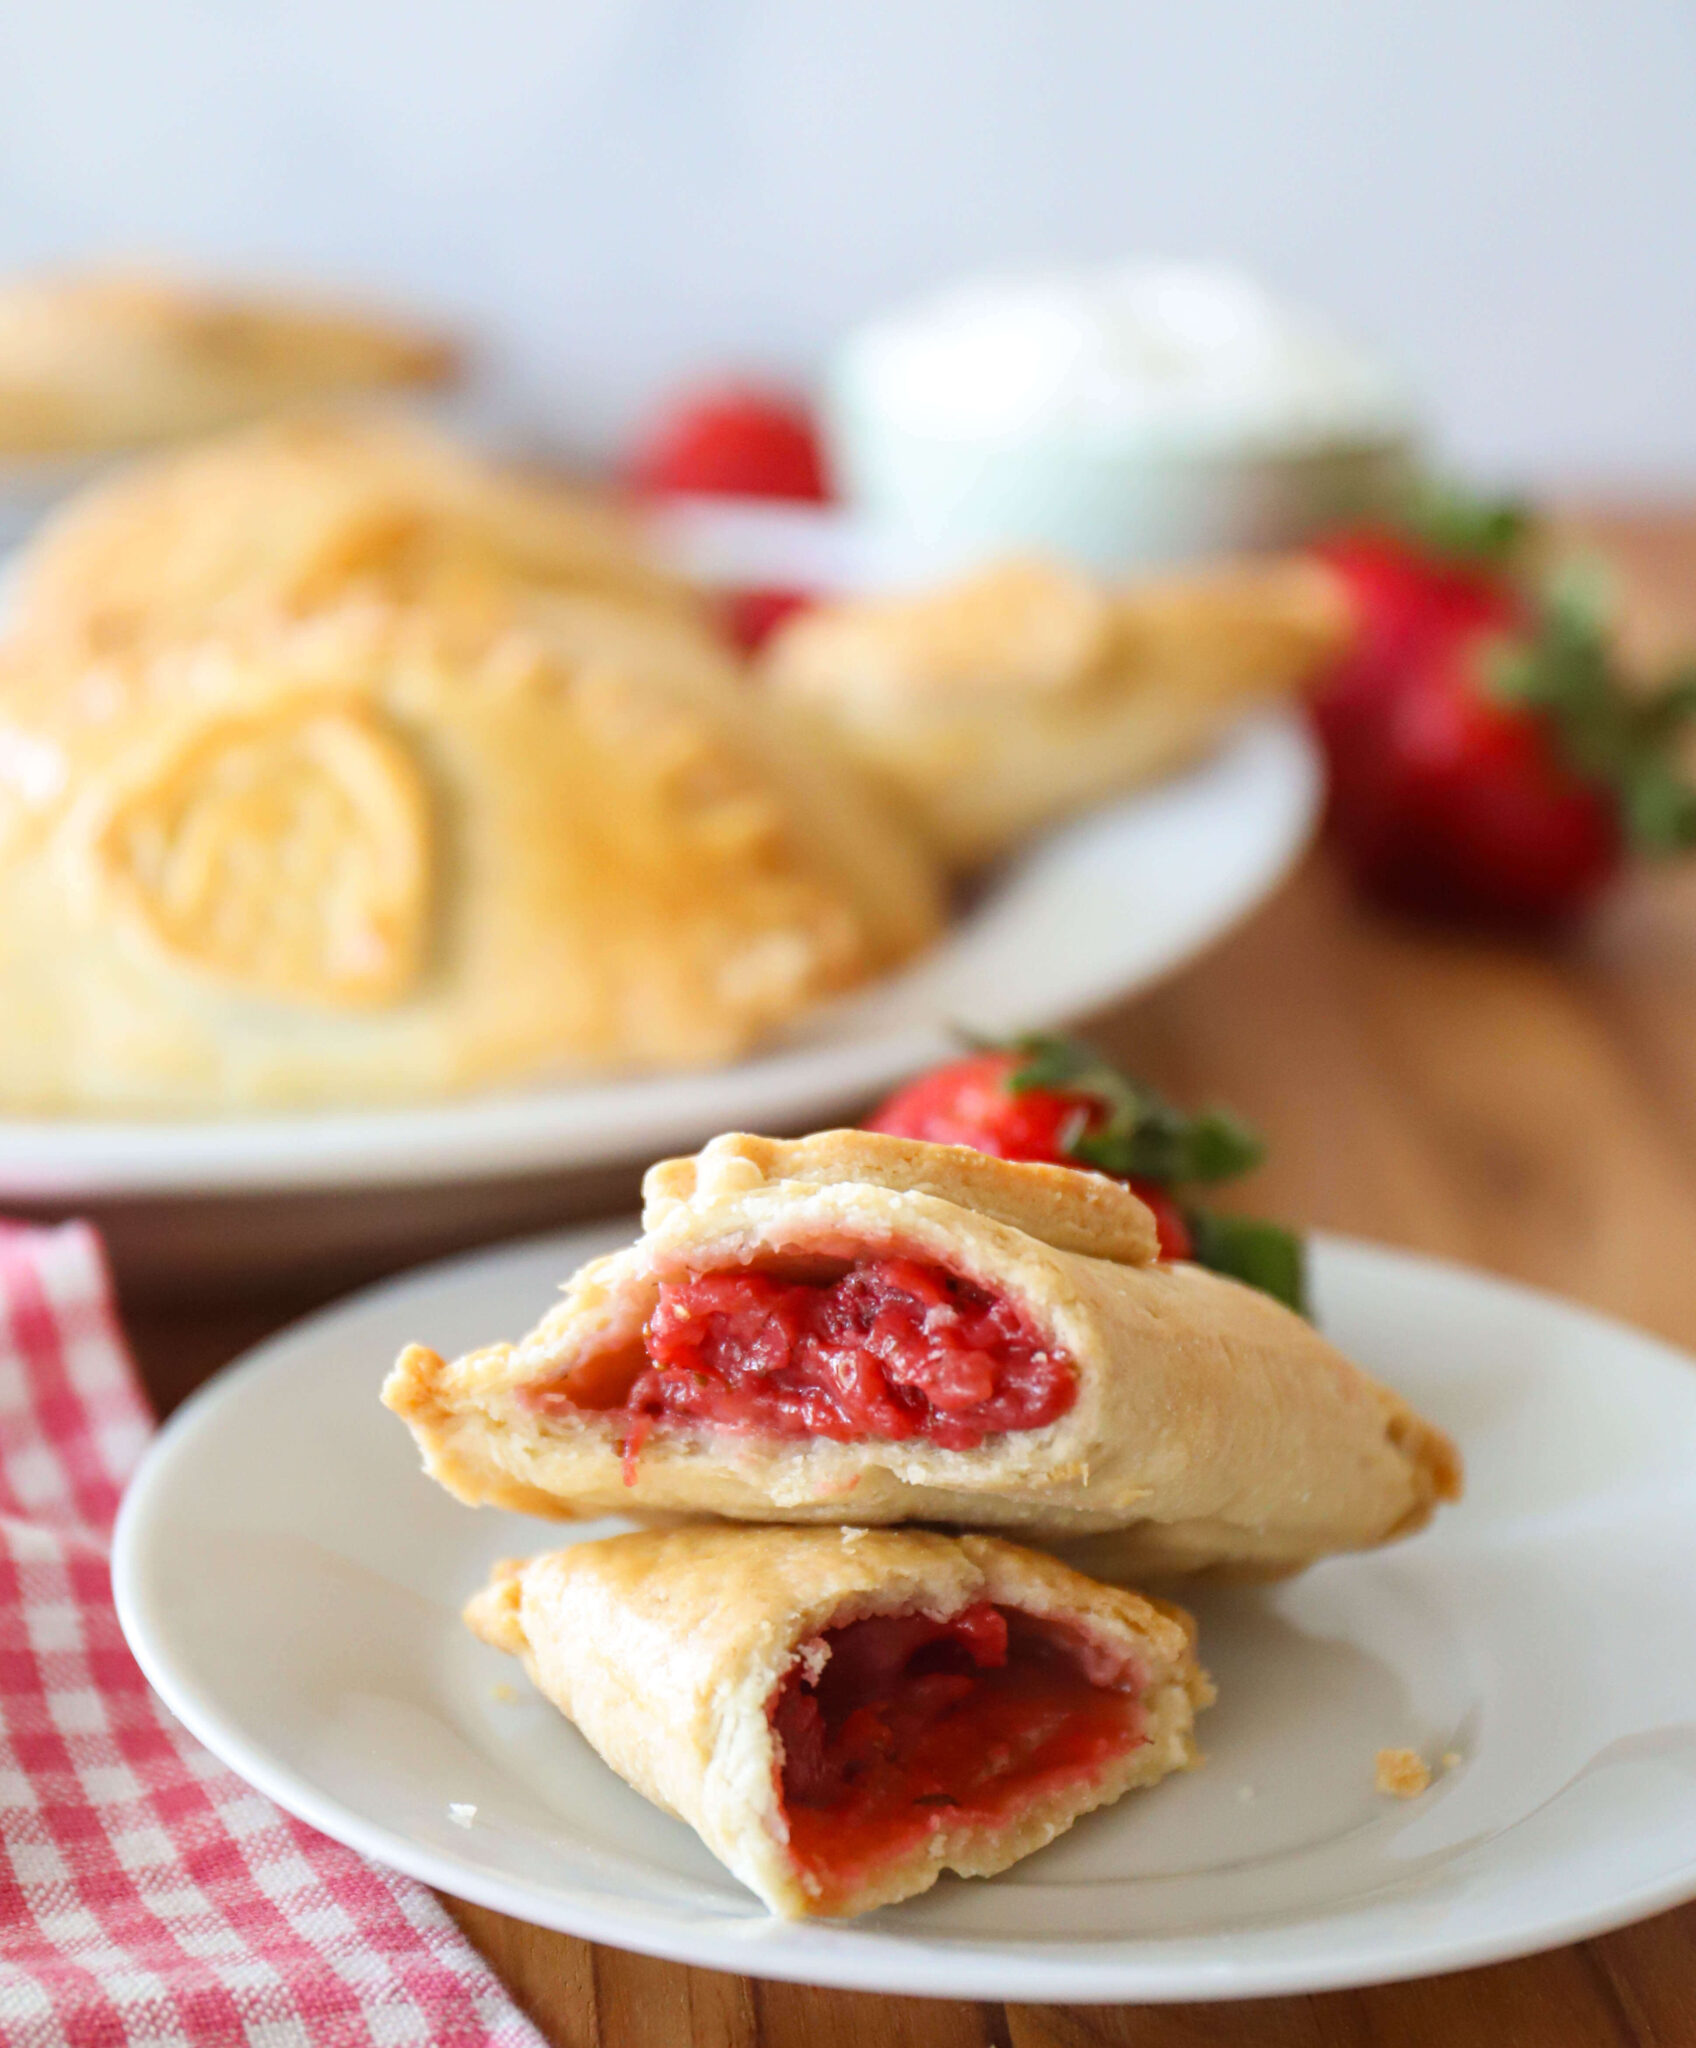
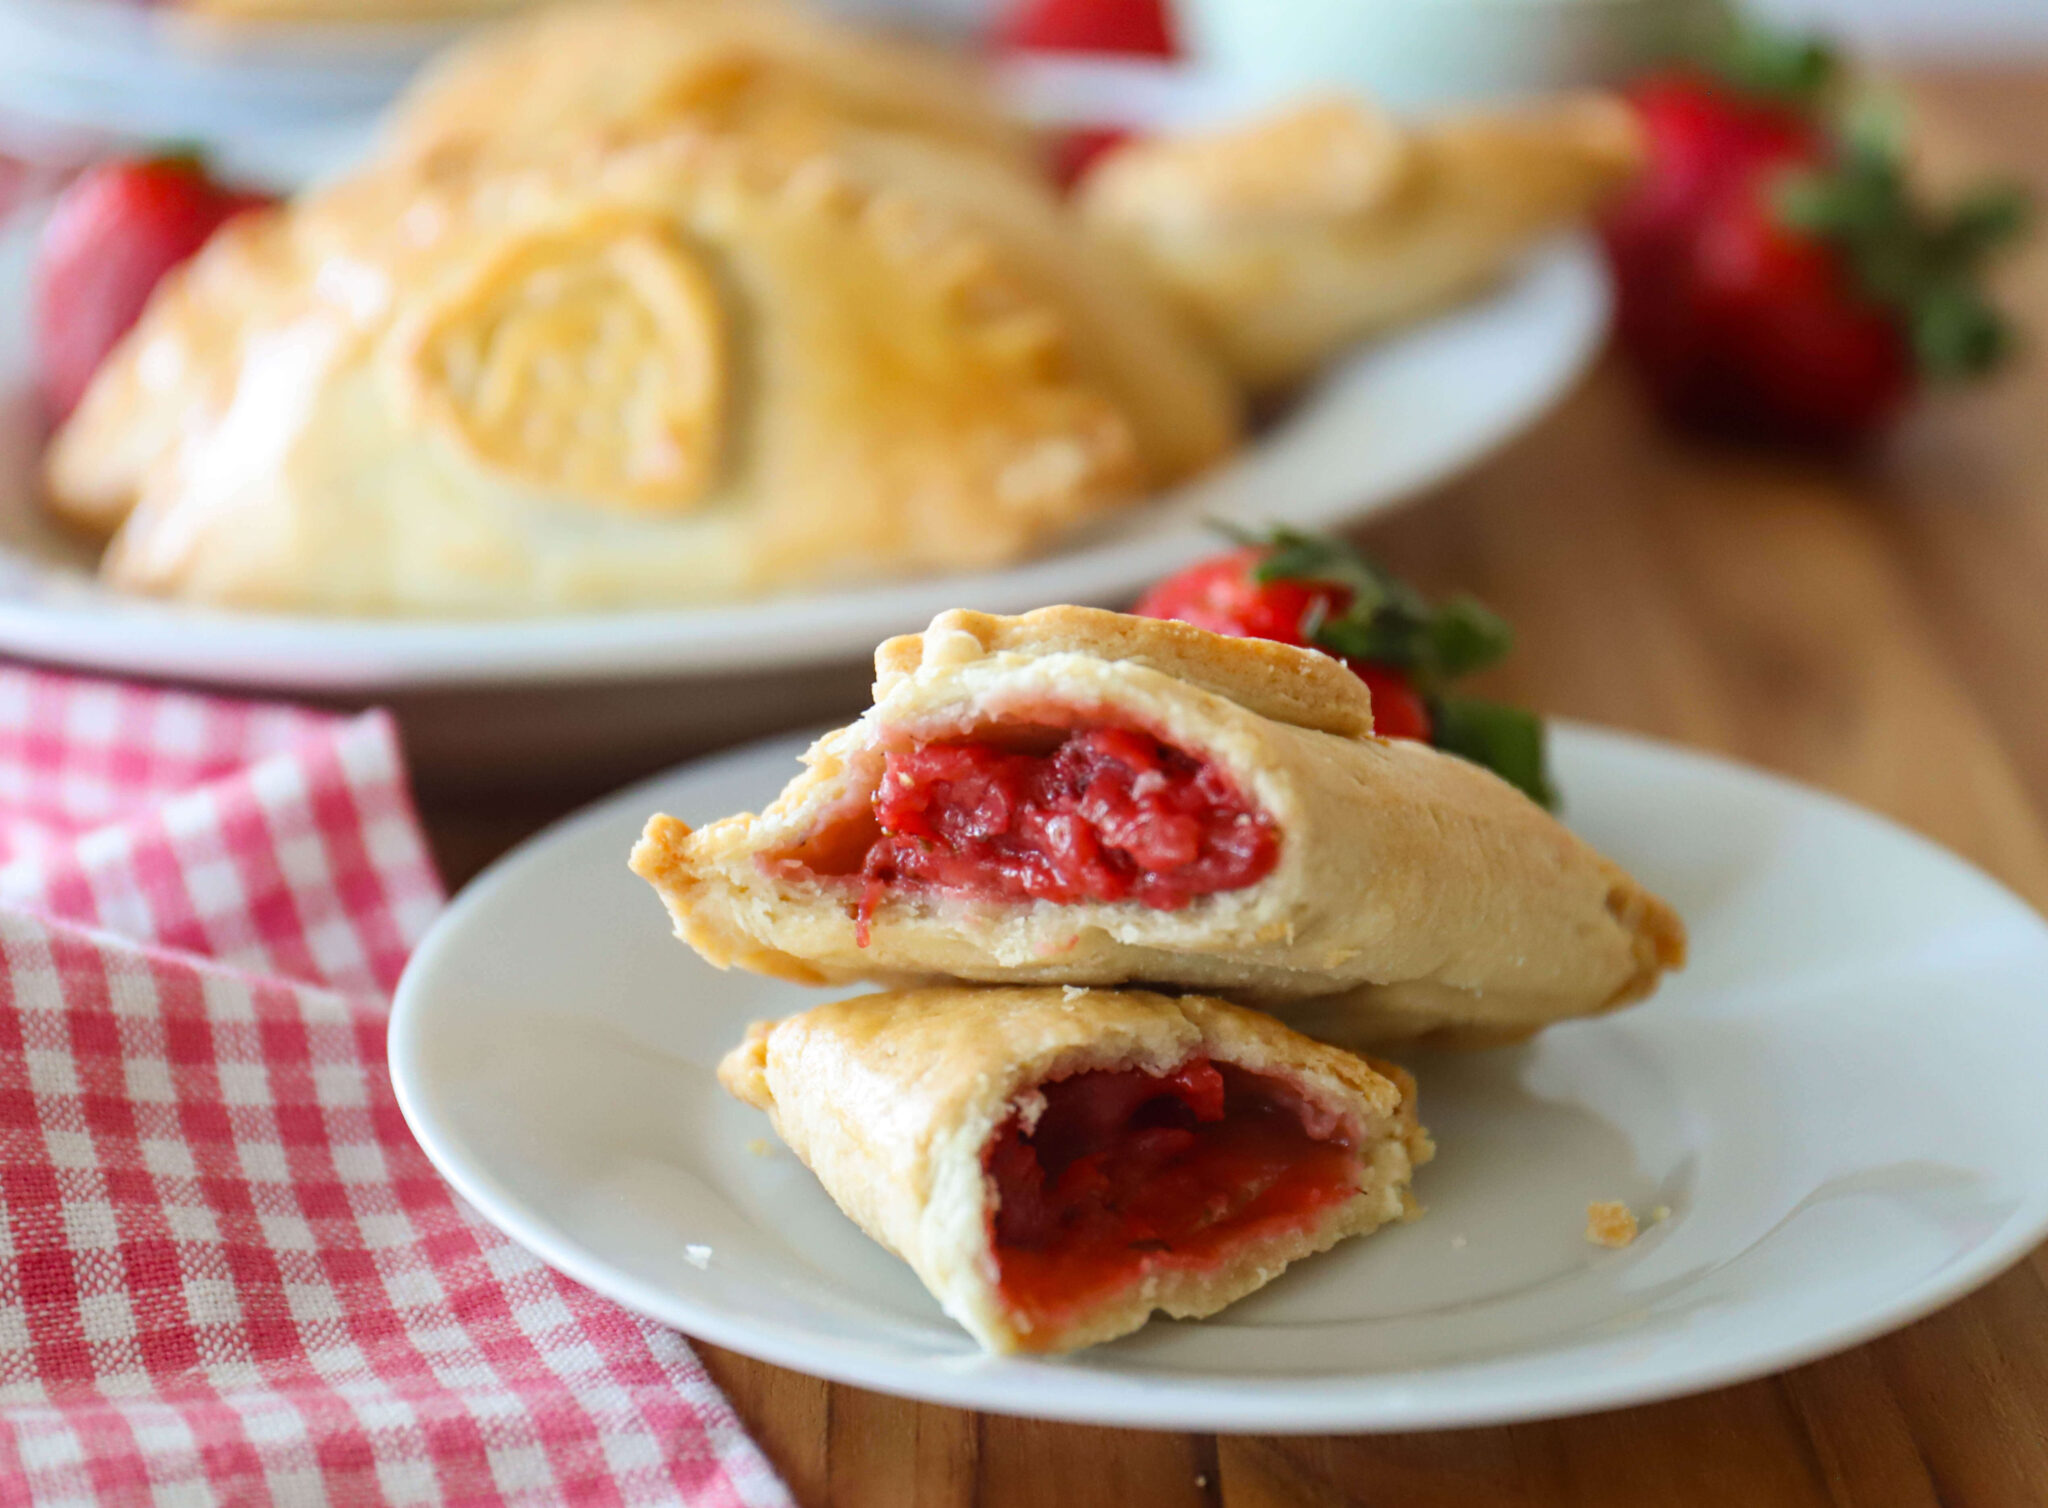
The filling is an irresistible mixture of strawberries, brown sugar, butter and vanilla, cooked until it forms a jam-like texture. Fortunately, the filling is ready in just 8 to 10 minutes and the flavor is incredible! You can also make the filling ahead and store in the fridge or freezer.

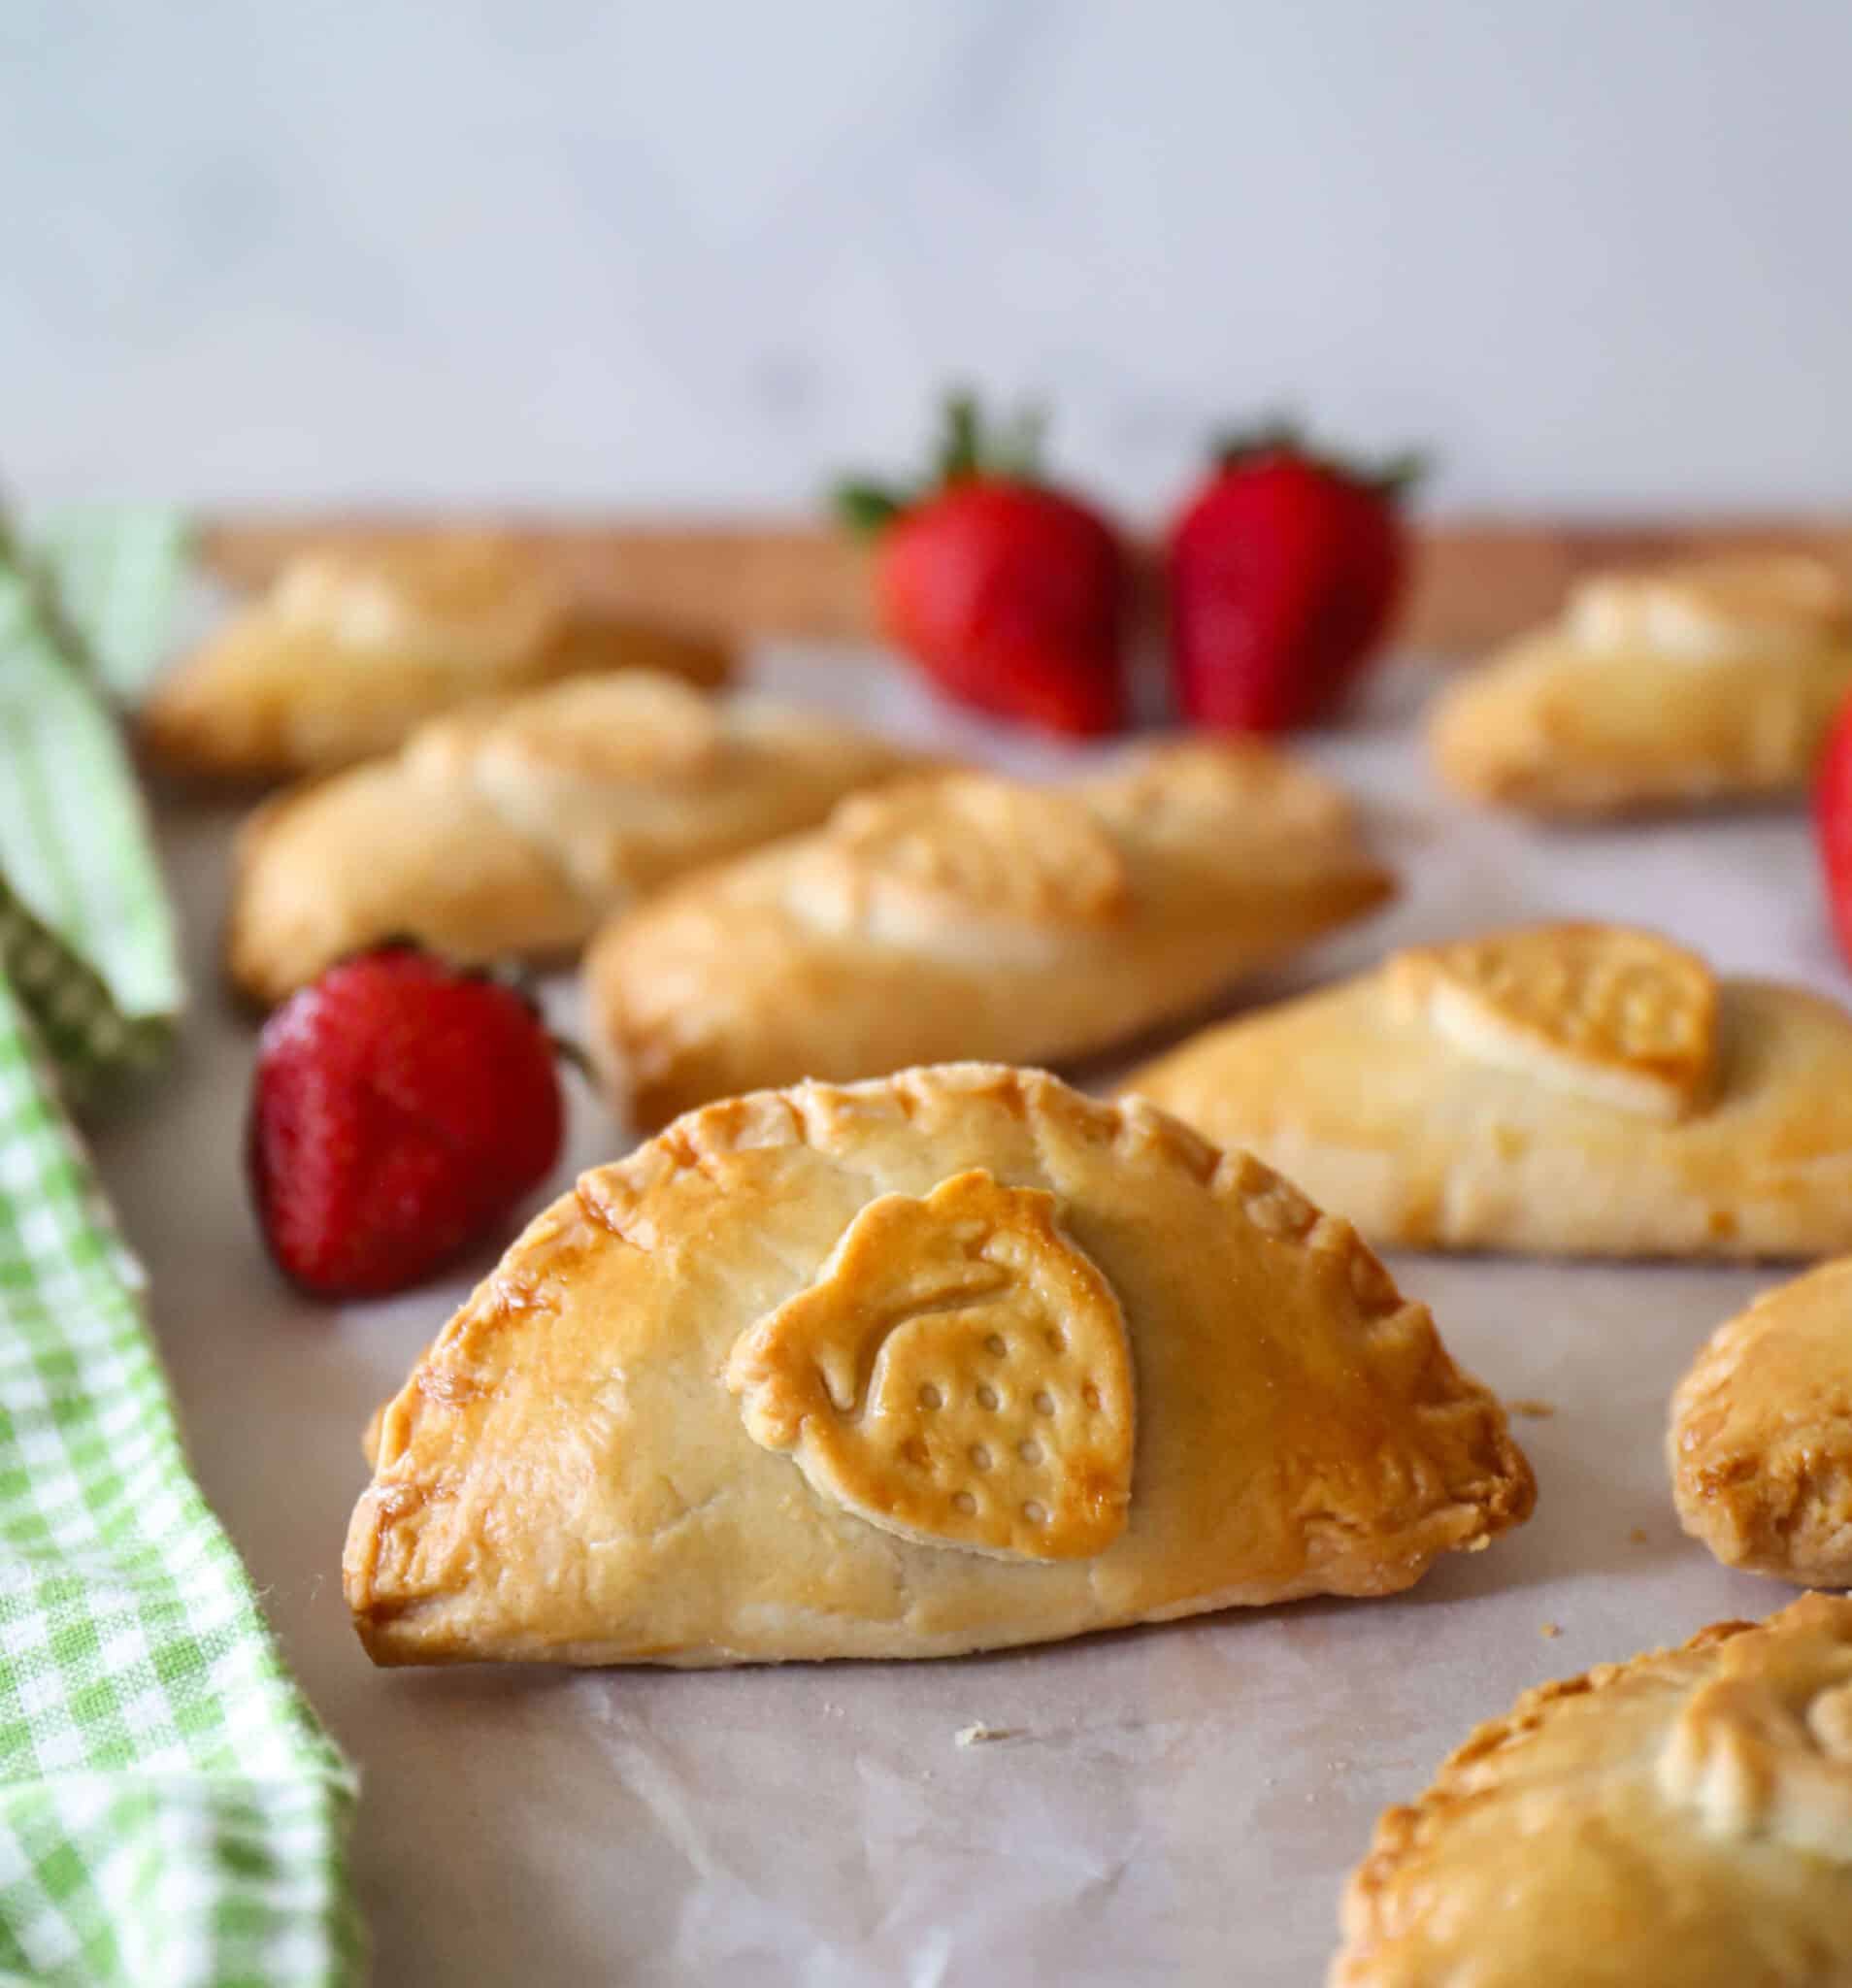
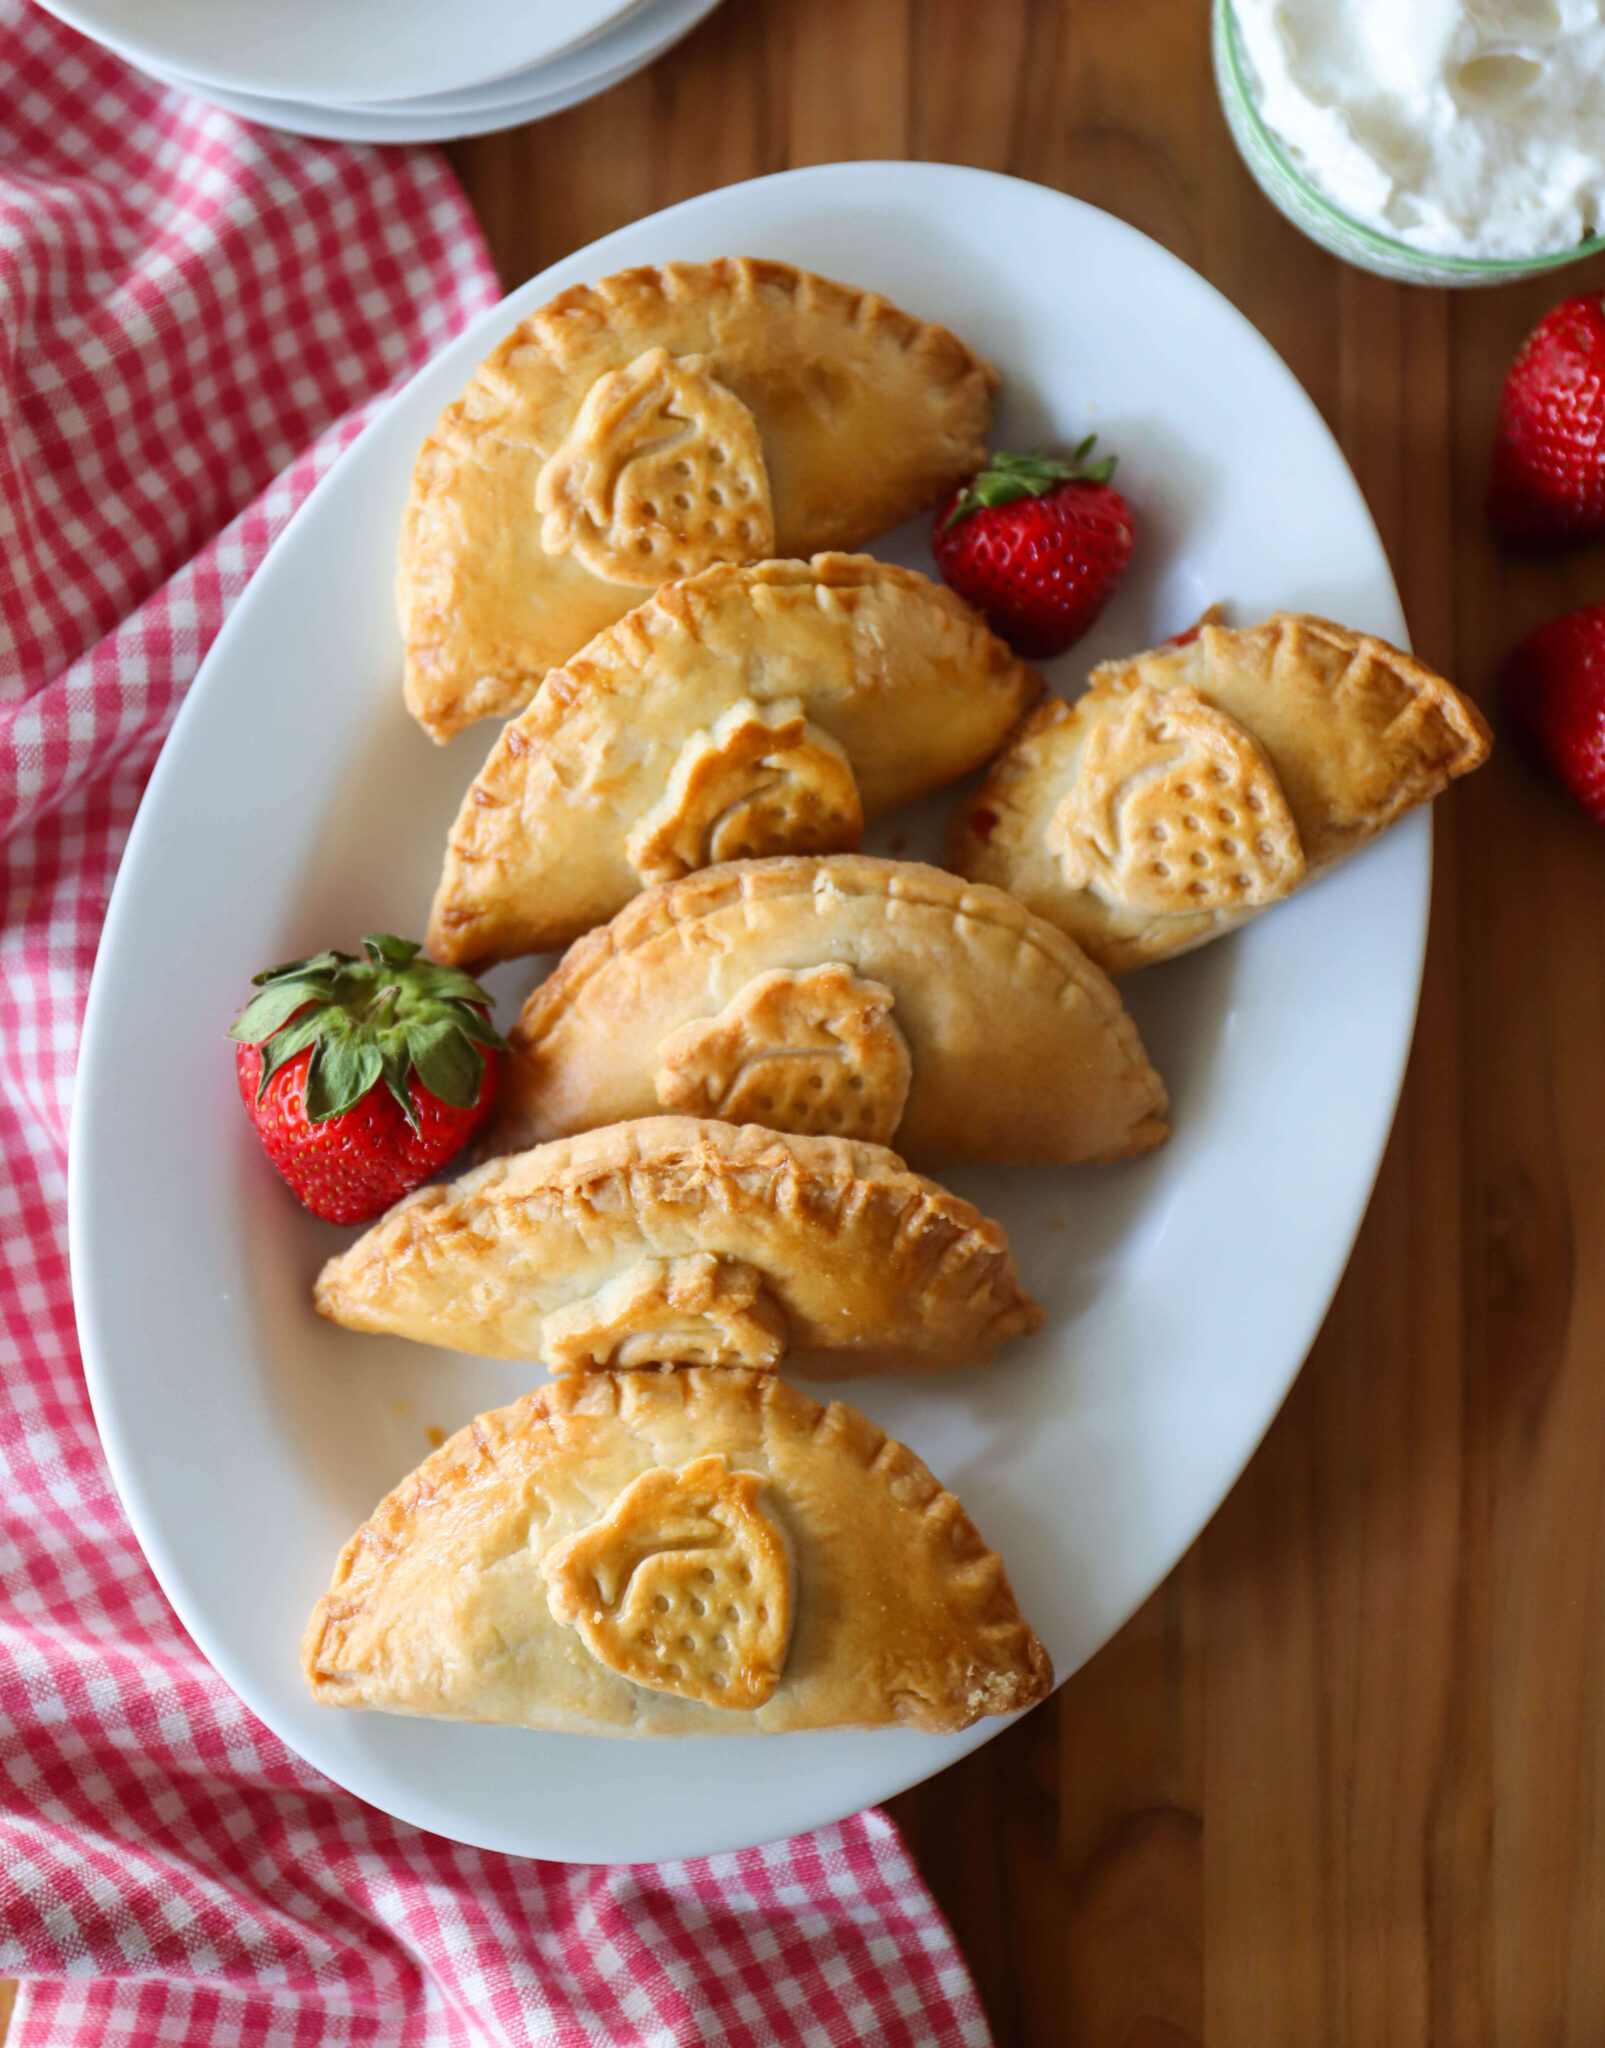
Be sure to brush the inner edge of the crust with egg wash to ensure a tight seal (otherwise filling will leak out), and then seal again with the tines of a fork. Then brush again with egg wash for a lovely golden finish! Looking for some other pies? Check out our Chocolate Cream Pie, Bourbon Pecan, Classic Pumpkin, Dutch Apple,  Key LimePeach & Blueberry, or No-Bake Dulce de Leche, or Grandma’s Apple Pie. So many to choose from! Hope you enjoy!

Strawberry Hand Pies

Ingredients

  • 1 1/2 cup (215 g) diced fresh strawberries (about 12-15 strawberries)
  • 1 Tablespoon (14 g) unsalted butter
  • 1 Tablespoon (11 g) light brown sugar
  • 1/8 teaspoon salt
  • 1/2 teaspoon (2 g) vanilla extract
  • 1 Tablespoon (15 mL) water
  • 1 unbakedpie crust, rolled into 12-inch circle
  • Heavy cream or half-and-half for brushing on tops


For Serving: vanilla ice cream or sweetened whipped cream

Instructions

  1. For filling, in a large skillet, add strawberries, butter, sugar, salt, vanilla and water. Cook over medium heat, stirring often, until the strawberry mixture creates a thick, jam-like texture, about 8 to 10 minutes. Transfer to a separate container and refrigerate to cool.
  2. For the crust, roll the crust into a 12-inch circle. Use a lid or pie cutter (about 5 inches in diameter), cut out 4 circles of dough. Gather scraps, roll out again and cut 1 more circle. With remaining scraps of dough, use a strawberry “cutter / stamper” to cut out decorations.
  3. Spoon about 1 heaping tablespoon filling onto each circle, slightly off center. Brush outer edge of each circle with cream. Fold dough over filling and press gently to seal around the edges. Use the tines of a fork to create a decorative edge. brush the back of the strawberry cutout with cream and press gently onto the center of the pie. Brush tops of the pie, including the strawberry cutout, with cream just before baking.
  4. AIR FRYER: To cook pies in the air fryer, place 3-4 pies in the basket of an air fryer. Cook at 350 F (157 C) for 12-15 minutes or until pies are golden. Repeat with remaining pies.
  5. OVEN: To cook pies in the oven, preheat oven to 400 F (204 C) and line a baking sheet with parchment. Transfer pies to baking sheet and bake until pies are golden, about 15 minutes.
  6. Cool before serving. Goes well with vanilla ice cream or lightly-sweetened whipped cream!


Make-Ahead Tips:

  • Strawberry filling can be made up to 2 days in advance. Store in a tightly-covered container in the refrigerator. Filling can also be frozen for up to 3 months.
  • Pie crust can be made in advance. Store, wrapped in plastic wrap, in the refrigerator for up to 2 days, or in the freezer for up to 3 months. If frozen, thaw in the refrigerator overnight.
  • The pies can be made in advance and frozen. Make the pies but do not apply the cream to the outside of the pie. Arrange pies on a parchment lined baking sheet and freeze. Once pies are frozen, wrap individually in saran wrap and store in a freezer bag. When ready to enjoy, unwrap pie and thaw on counter for 5 minutes. Then add cream and cook as instructed above, adding 2 minutes to the bake time.

*I use affiliate links for my favorite products. If you click and purchase, I may receive a small commission at no extra cost to you. Thanks so much for helping me keep this website up and running!

Share With A Friend

Welcome!

Hi! I’m Marie. Mama, wife, homebody. I’m a self-taught chef and cookbook author. 

I love sharing fast, fresh, family-friendly recipes that will, hopefully, make your life a little easier.

Above all, I love spending time in the kitchen with family and friends. Come join us!

Contact

Watch & Cook With Me!

Leave a Reply

Your email address will not be published. Required fields are marked *

Marie Saba

From My Kitchen To Yours