Vinegar Pie Crust

This recipe for Vinegar Pie Crust is just like my classic recipe for an all-butter pie crust, except it includes a touch of vinegar.

When water interacts with flour, it prompts the formation of gluten (a network of proteins that strengthens dough, which is great for bread but not for pie crust). The acid in vinegar slightly slows gluten formation, which in turn, makes the dough easier to handle and keeps the finished crust flakey and tender.

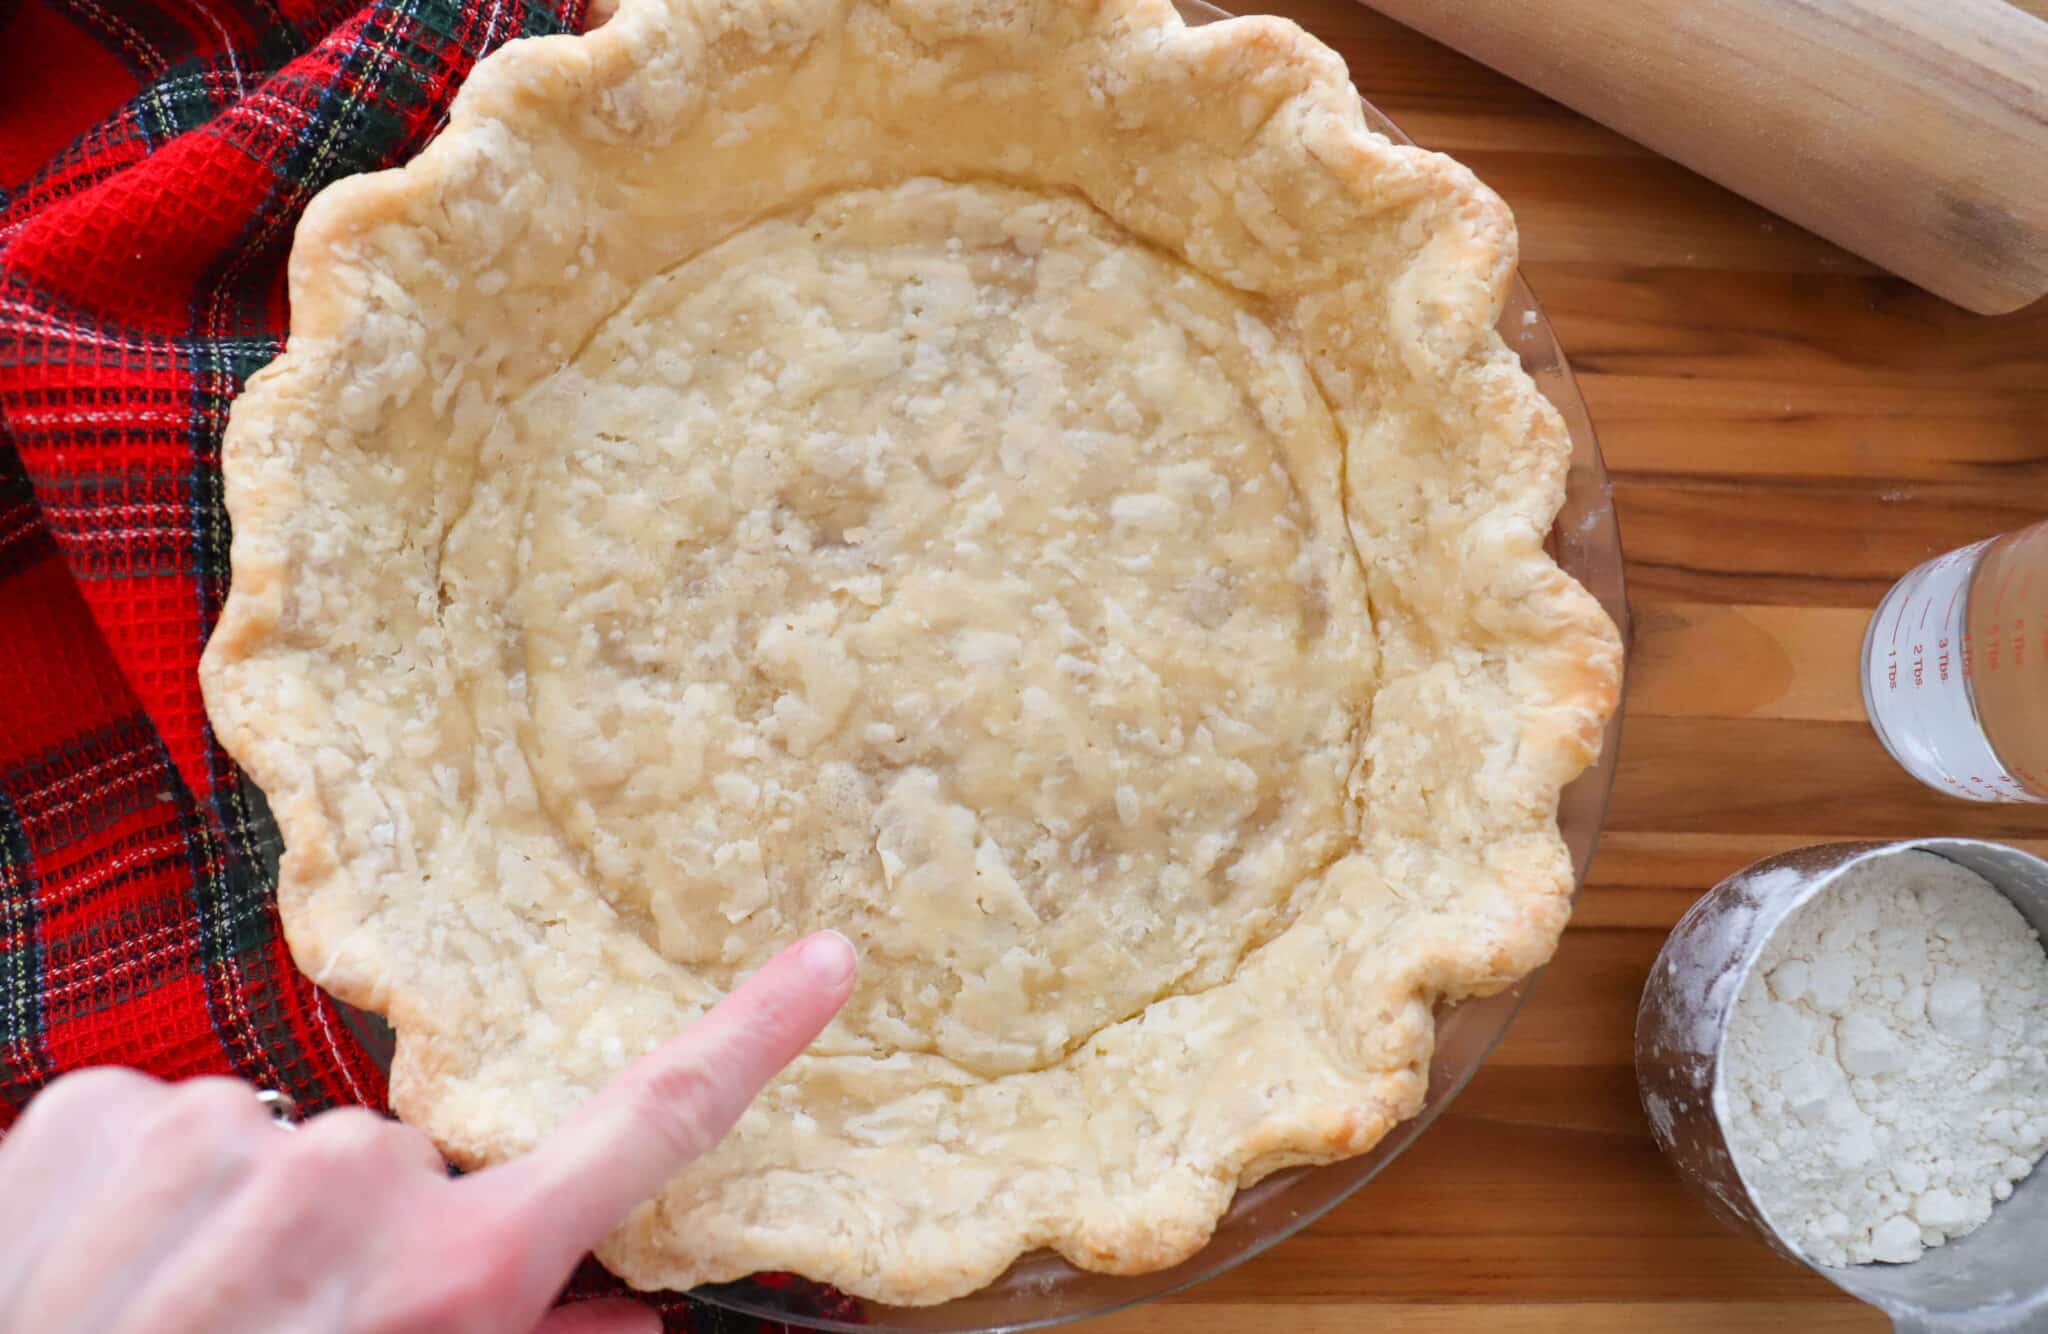
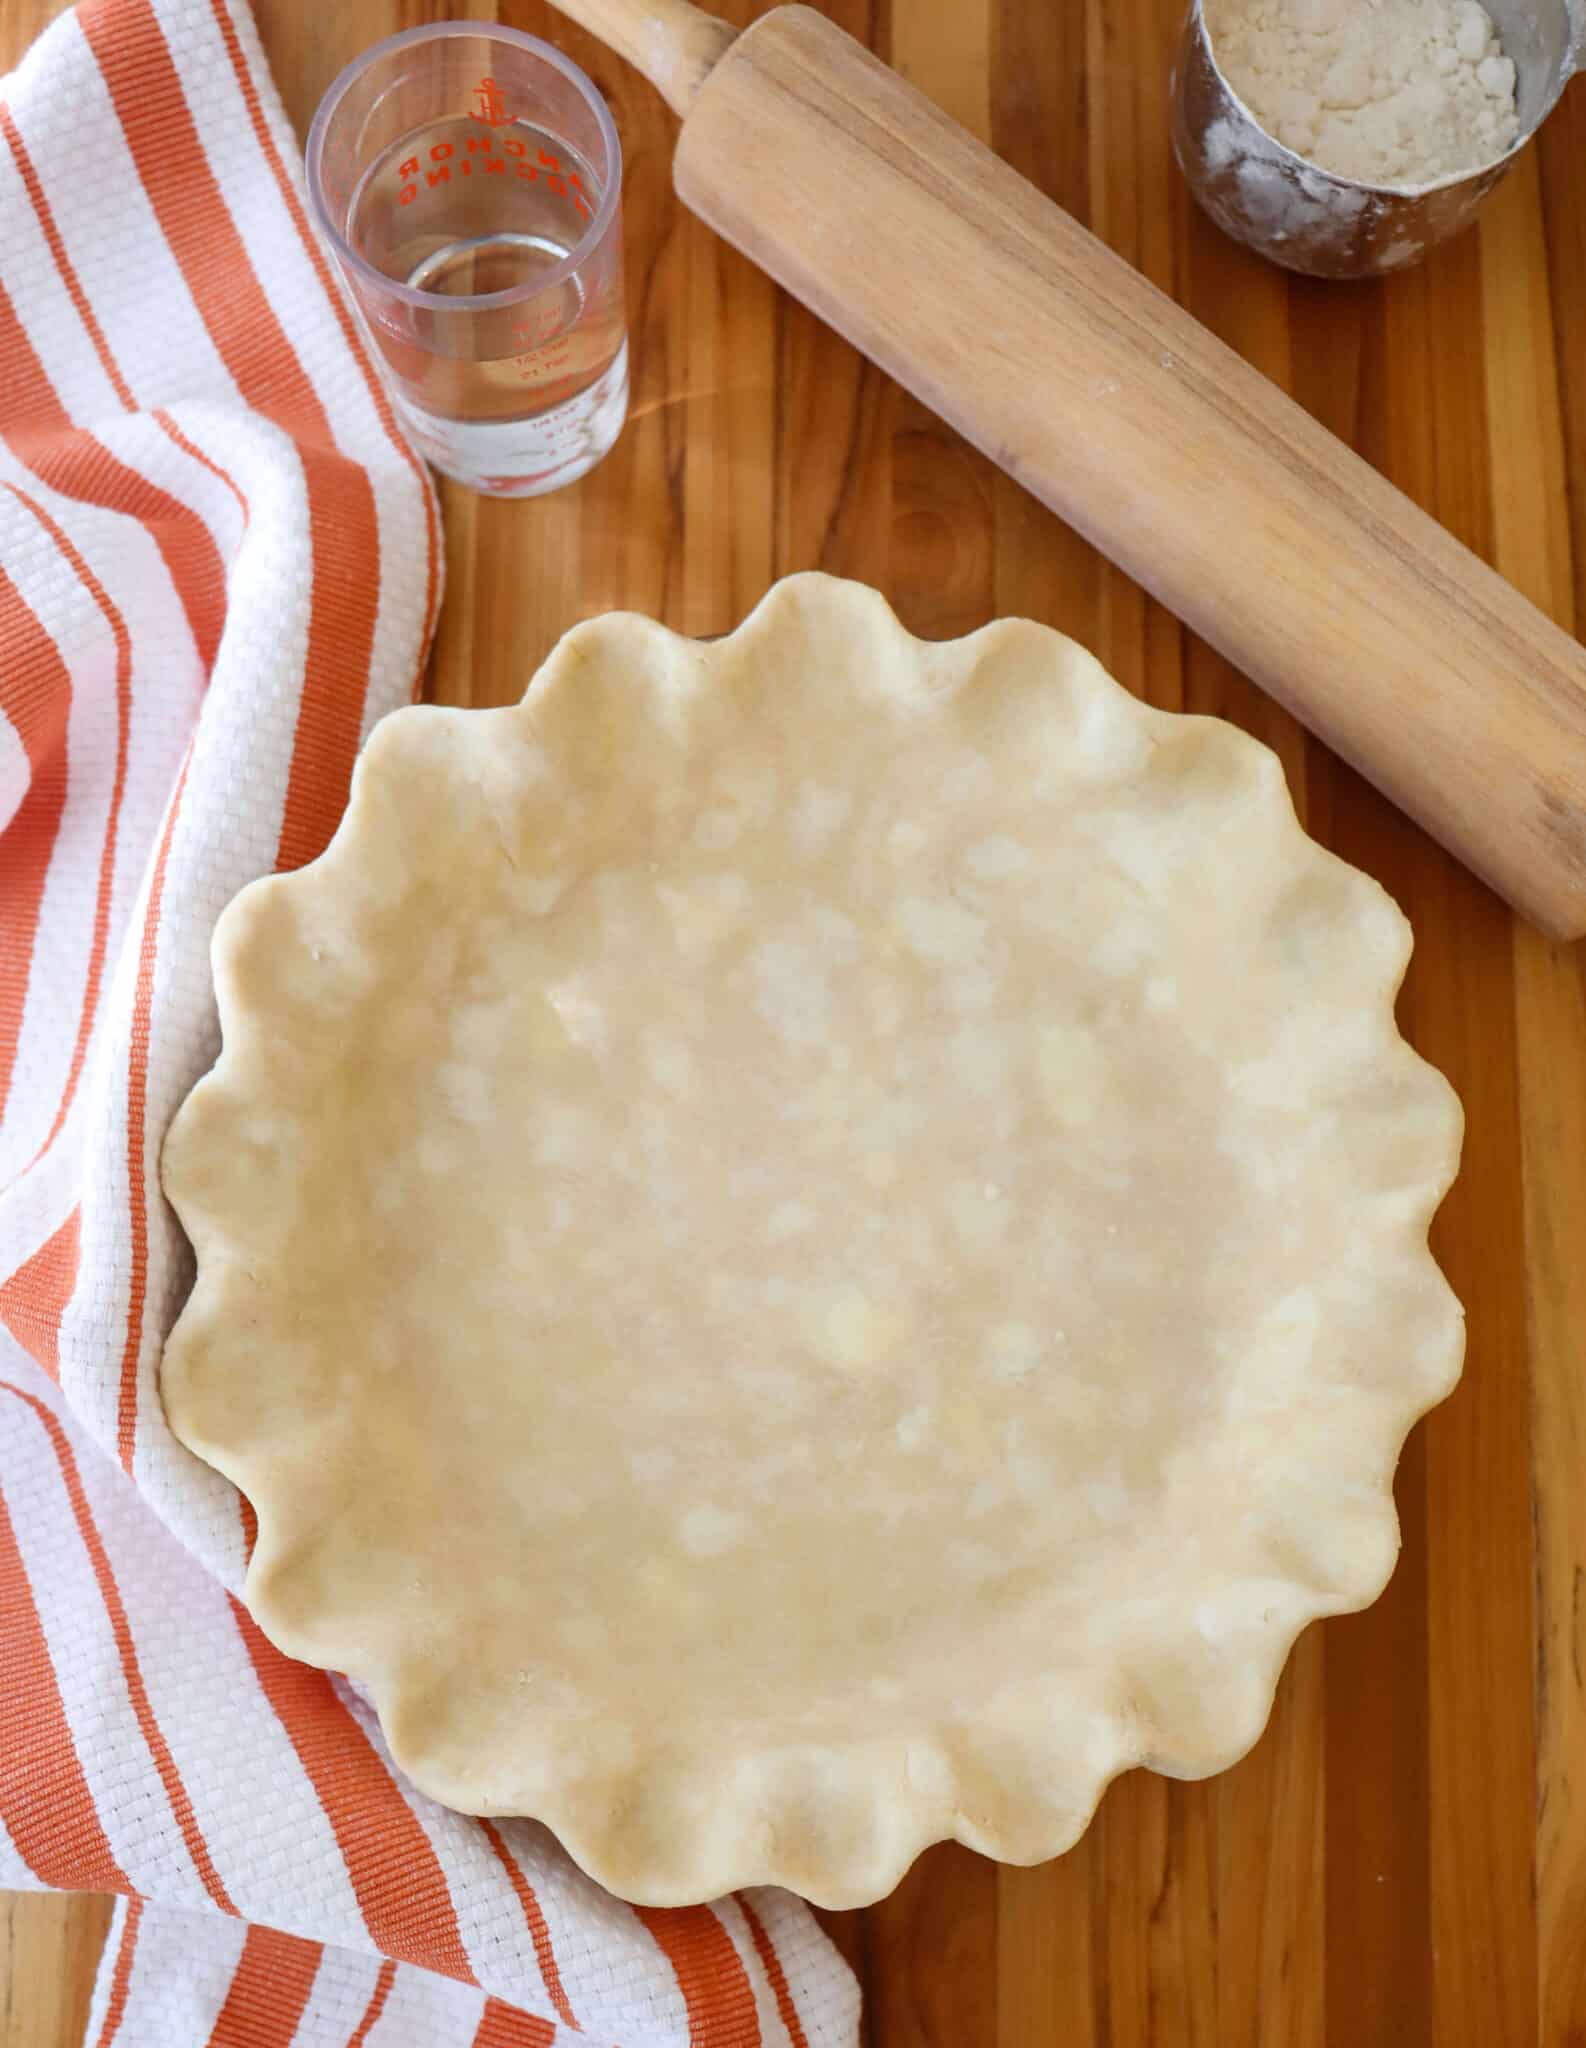
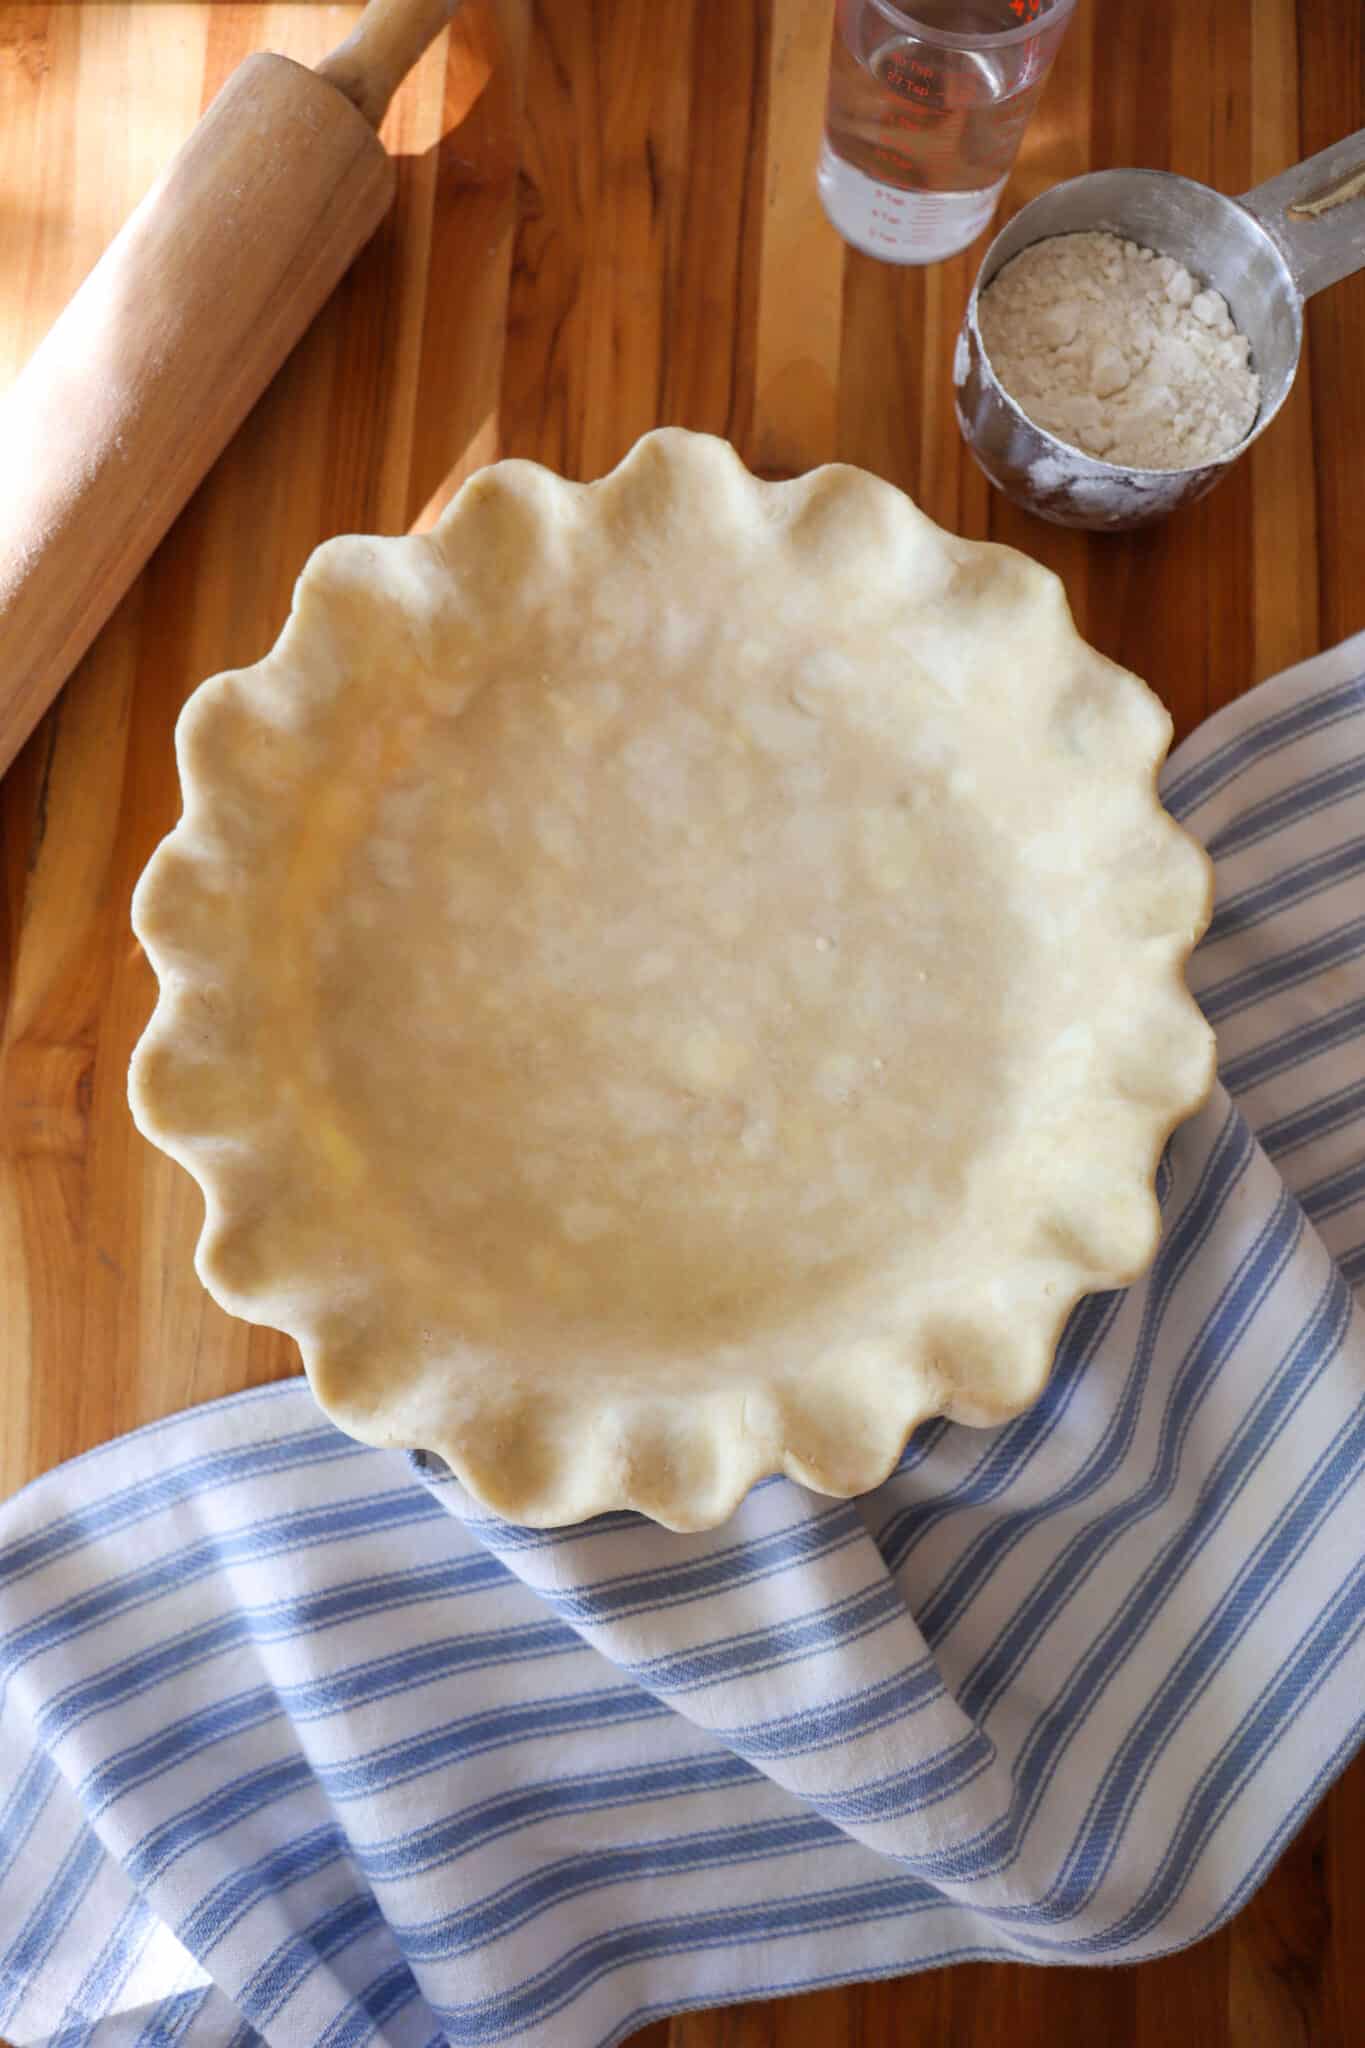
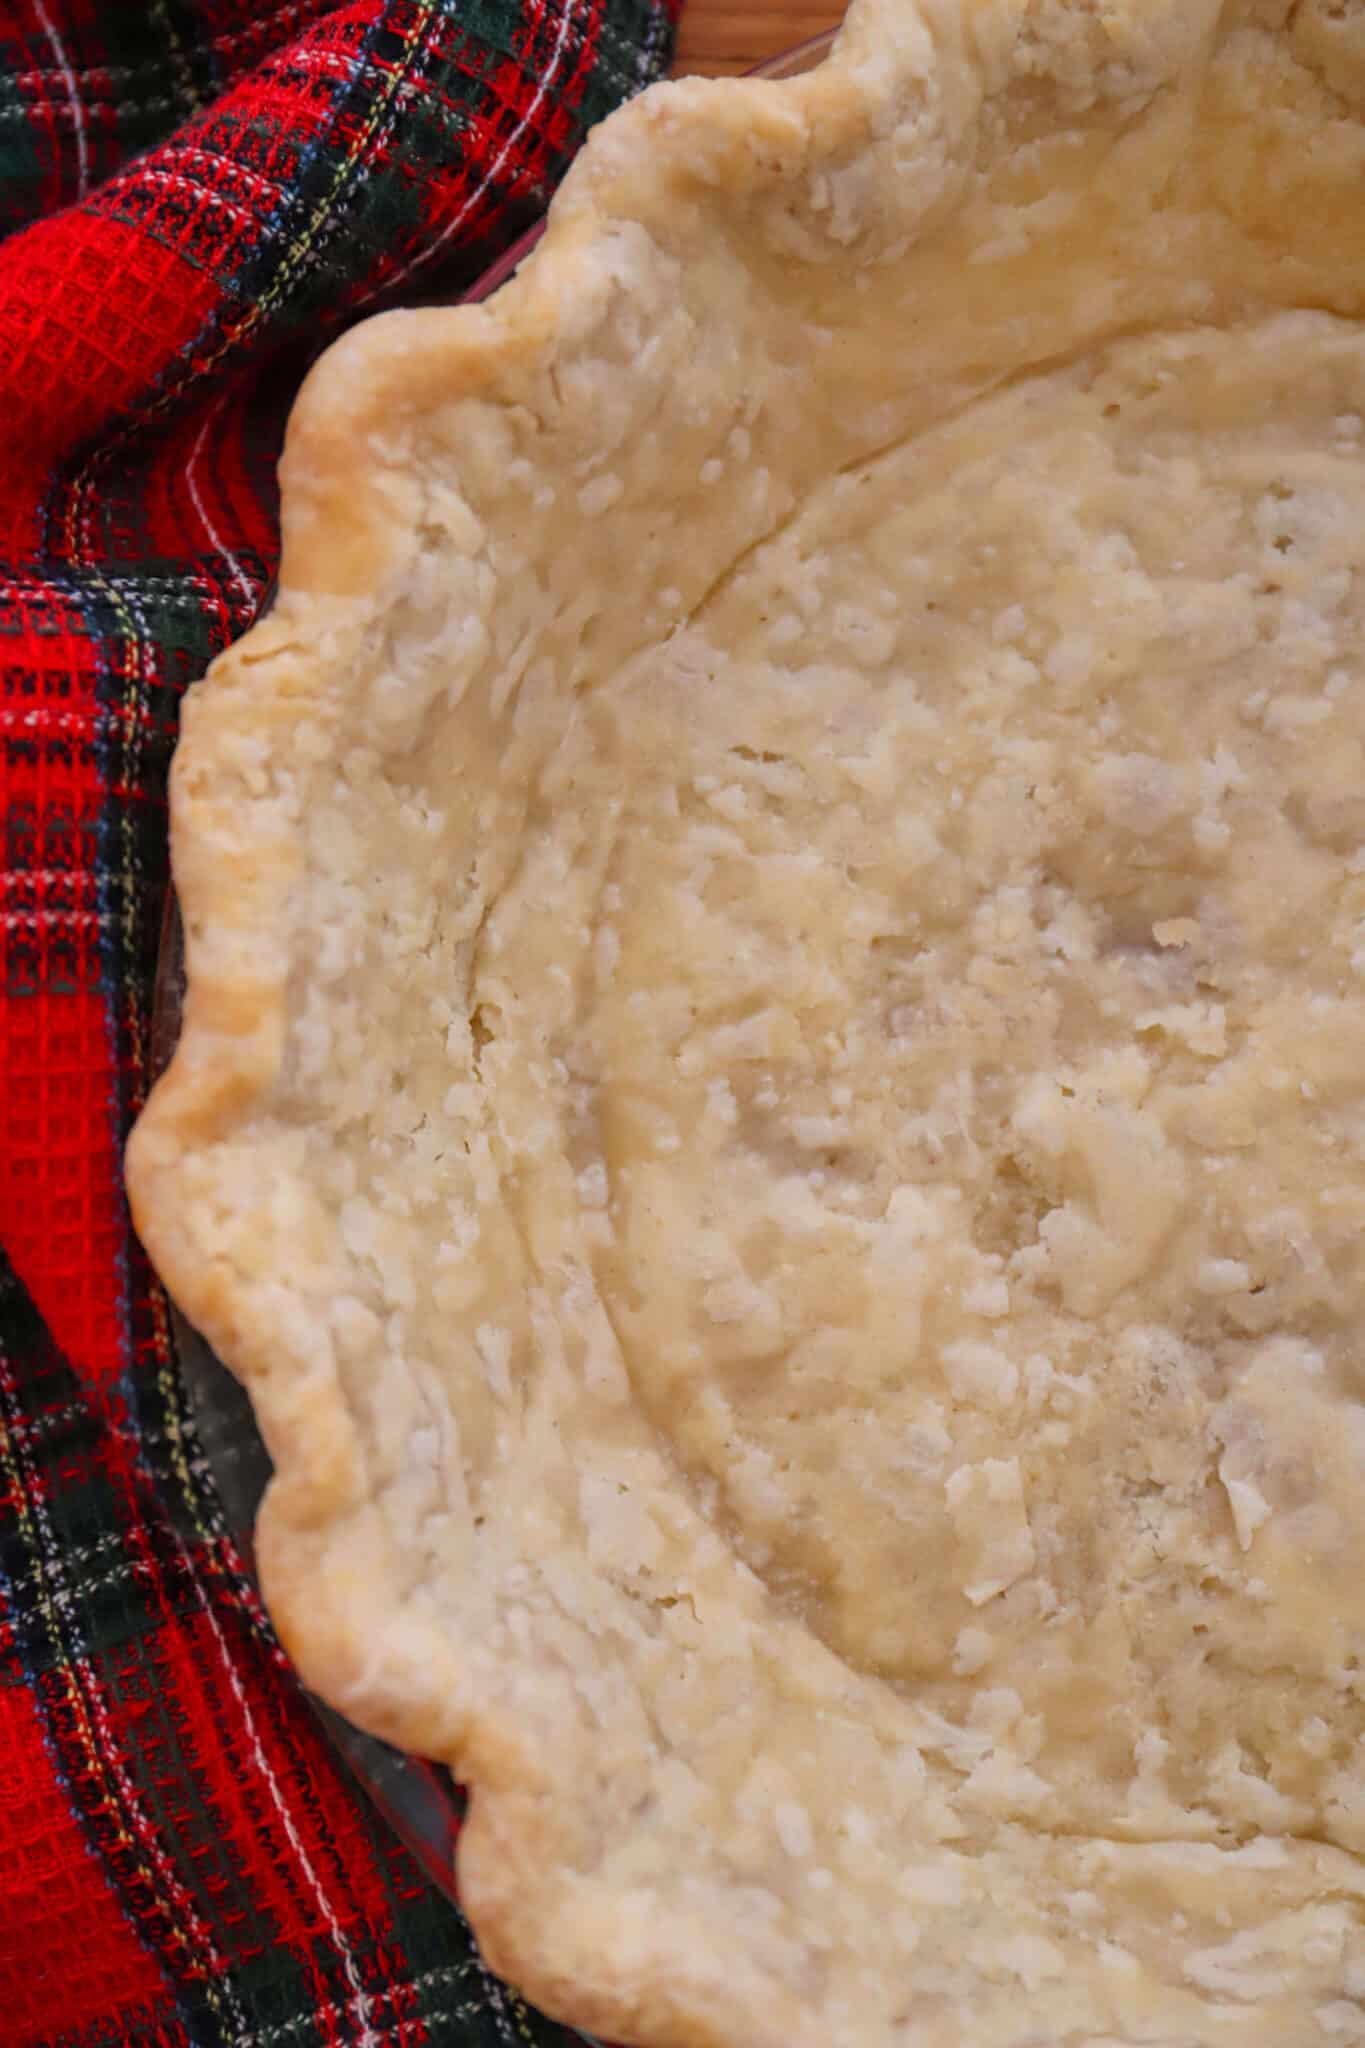
If you’re new to pie making, this recipe for Vinegar Pie Crust is for you. While I’m hesitant to call any recipes “foolproof,” this is about as close as it gets. You can take a deep breath and feel confident that even if the butter gets a little warm, or even if the dough feels a little sticky, or even if your water isn’t ice cold, you’ll still end up with a deliciously tender, flakey, buttery pie crust.

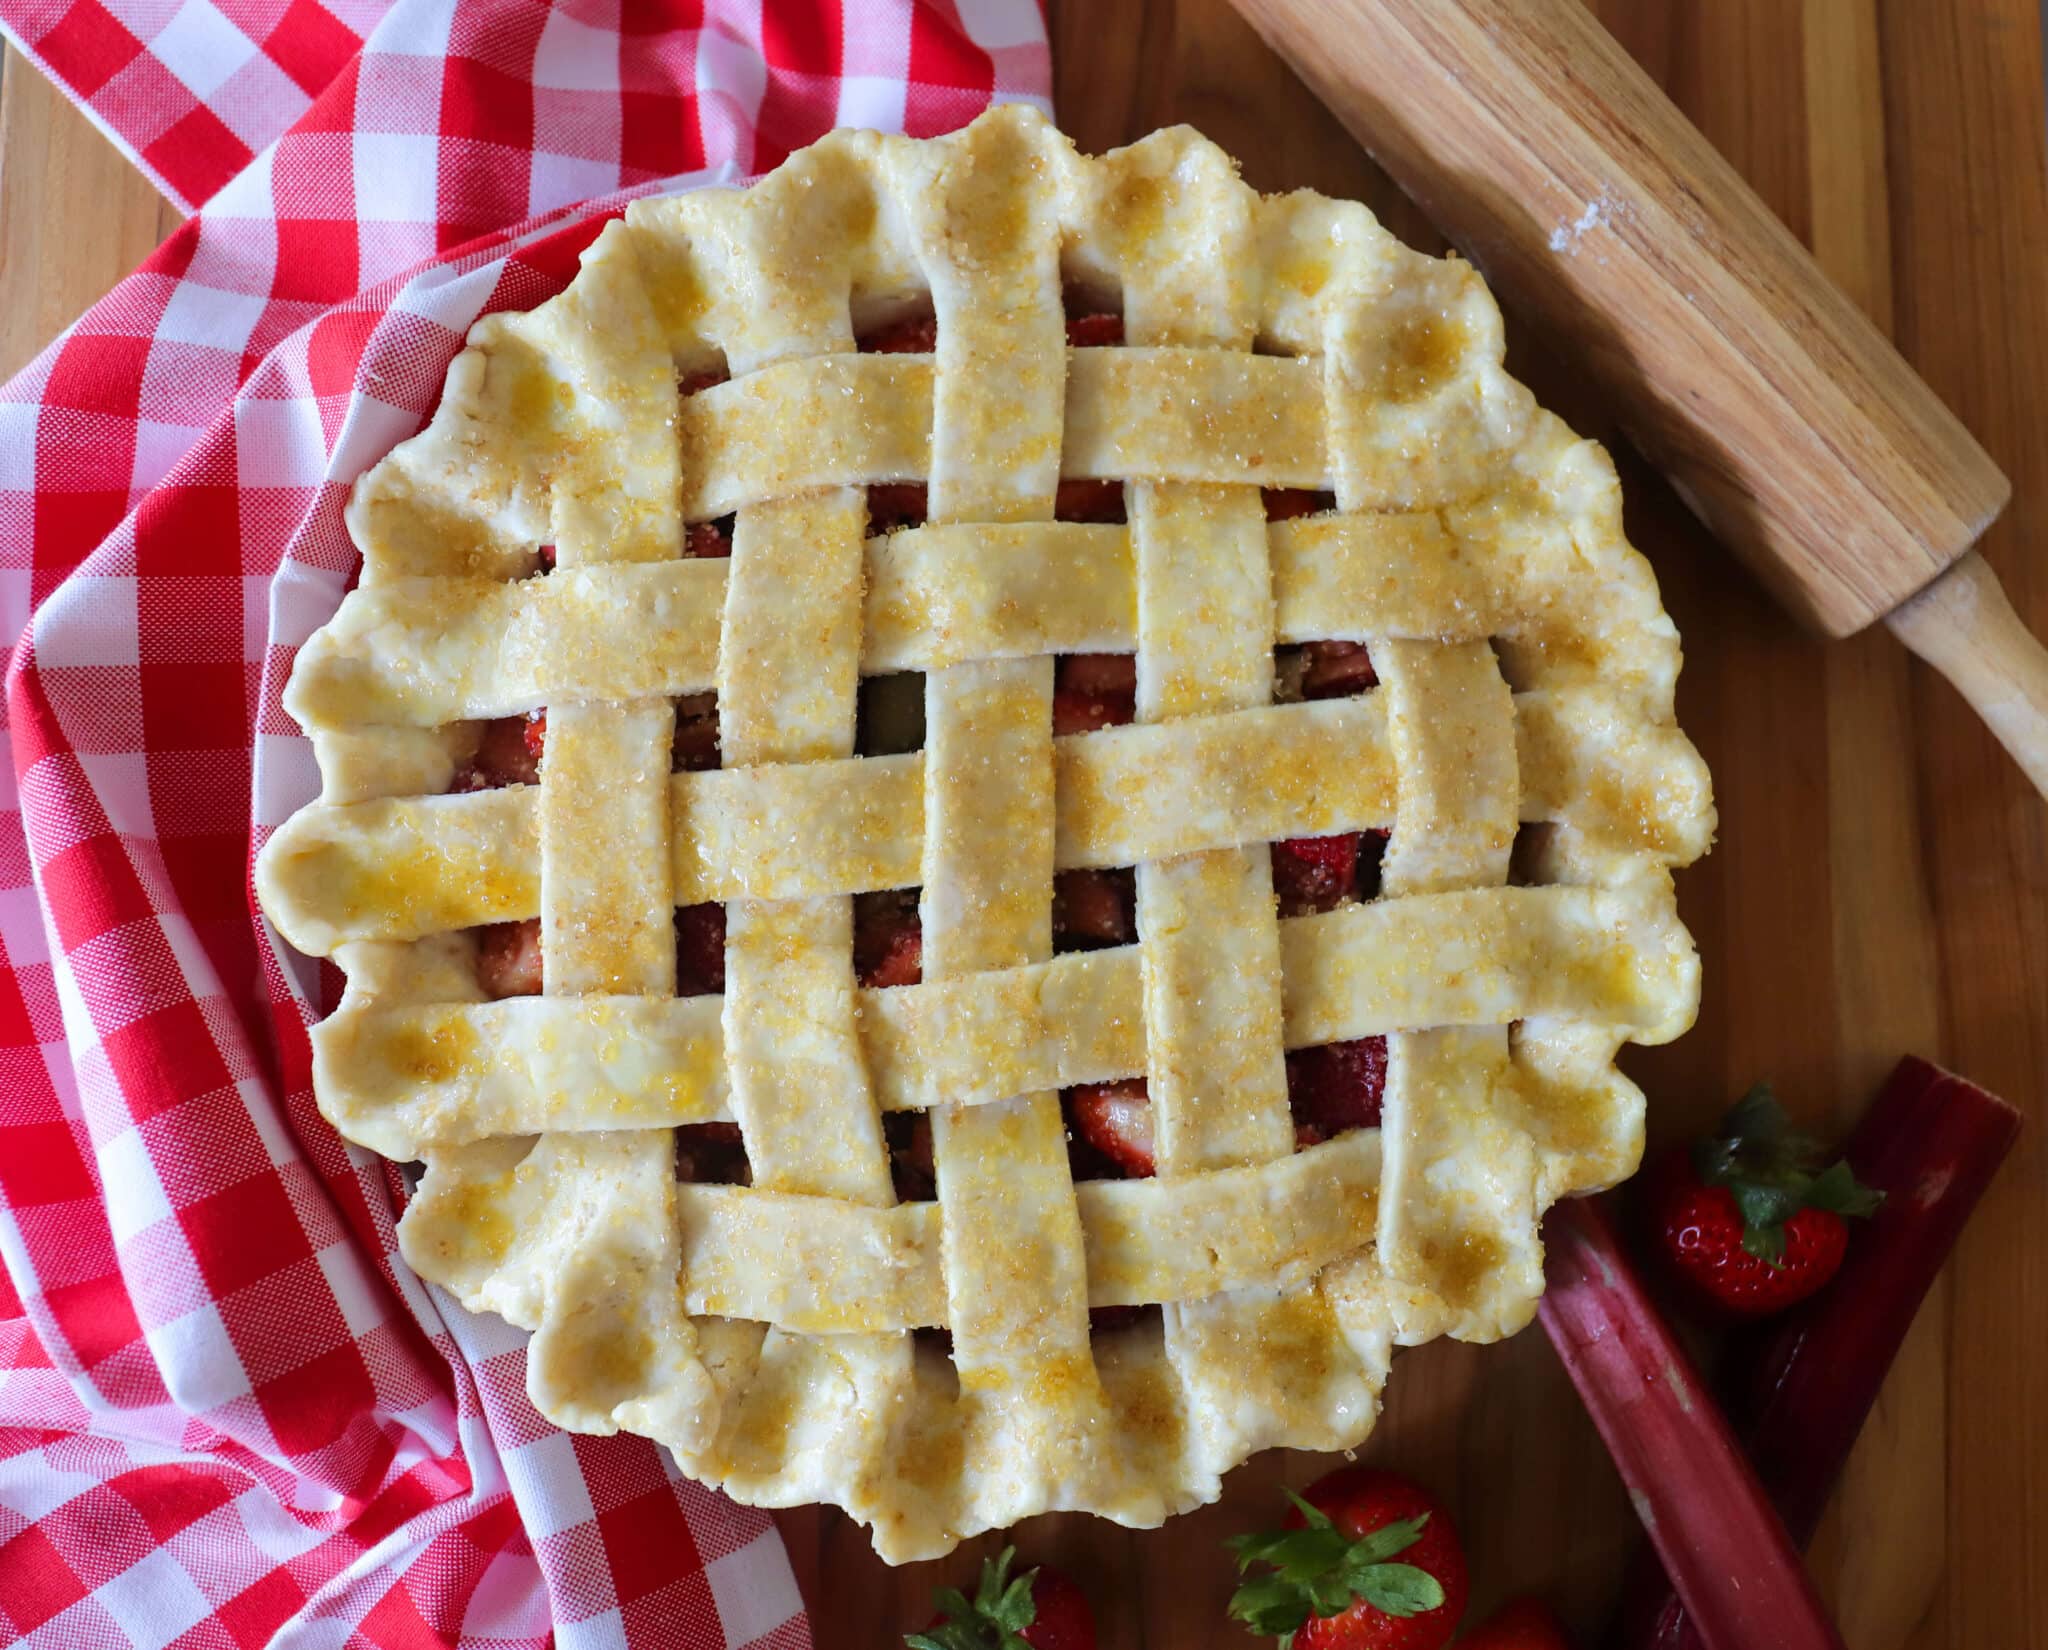
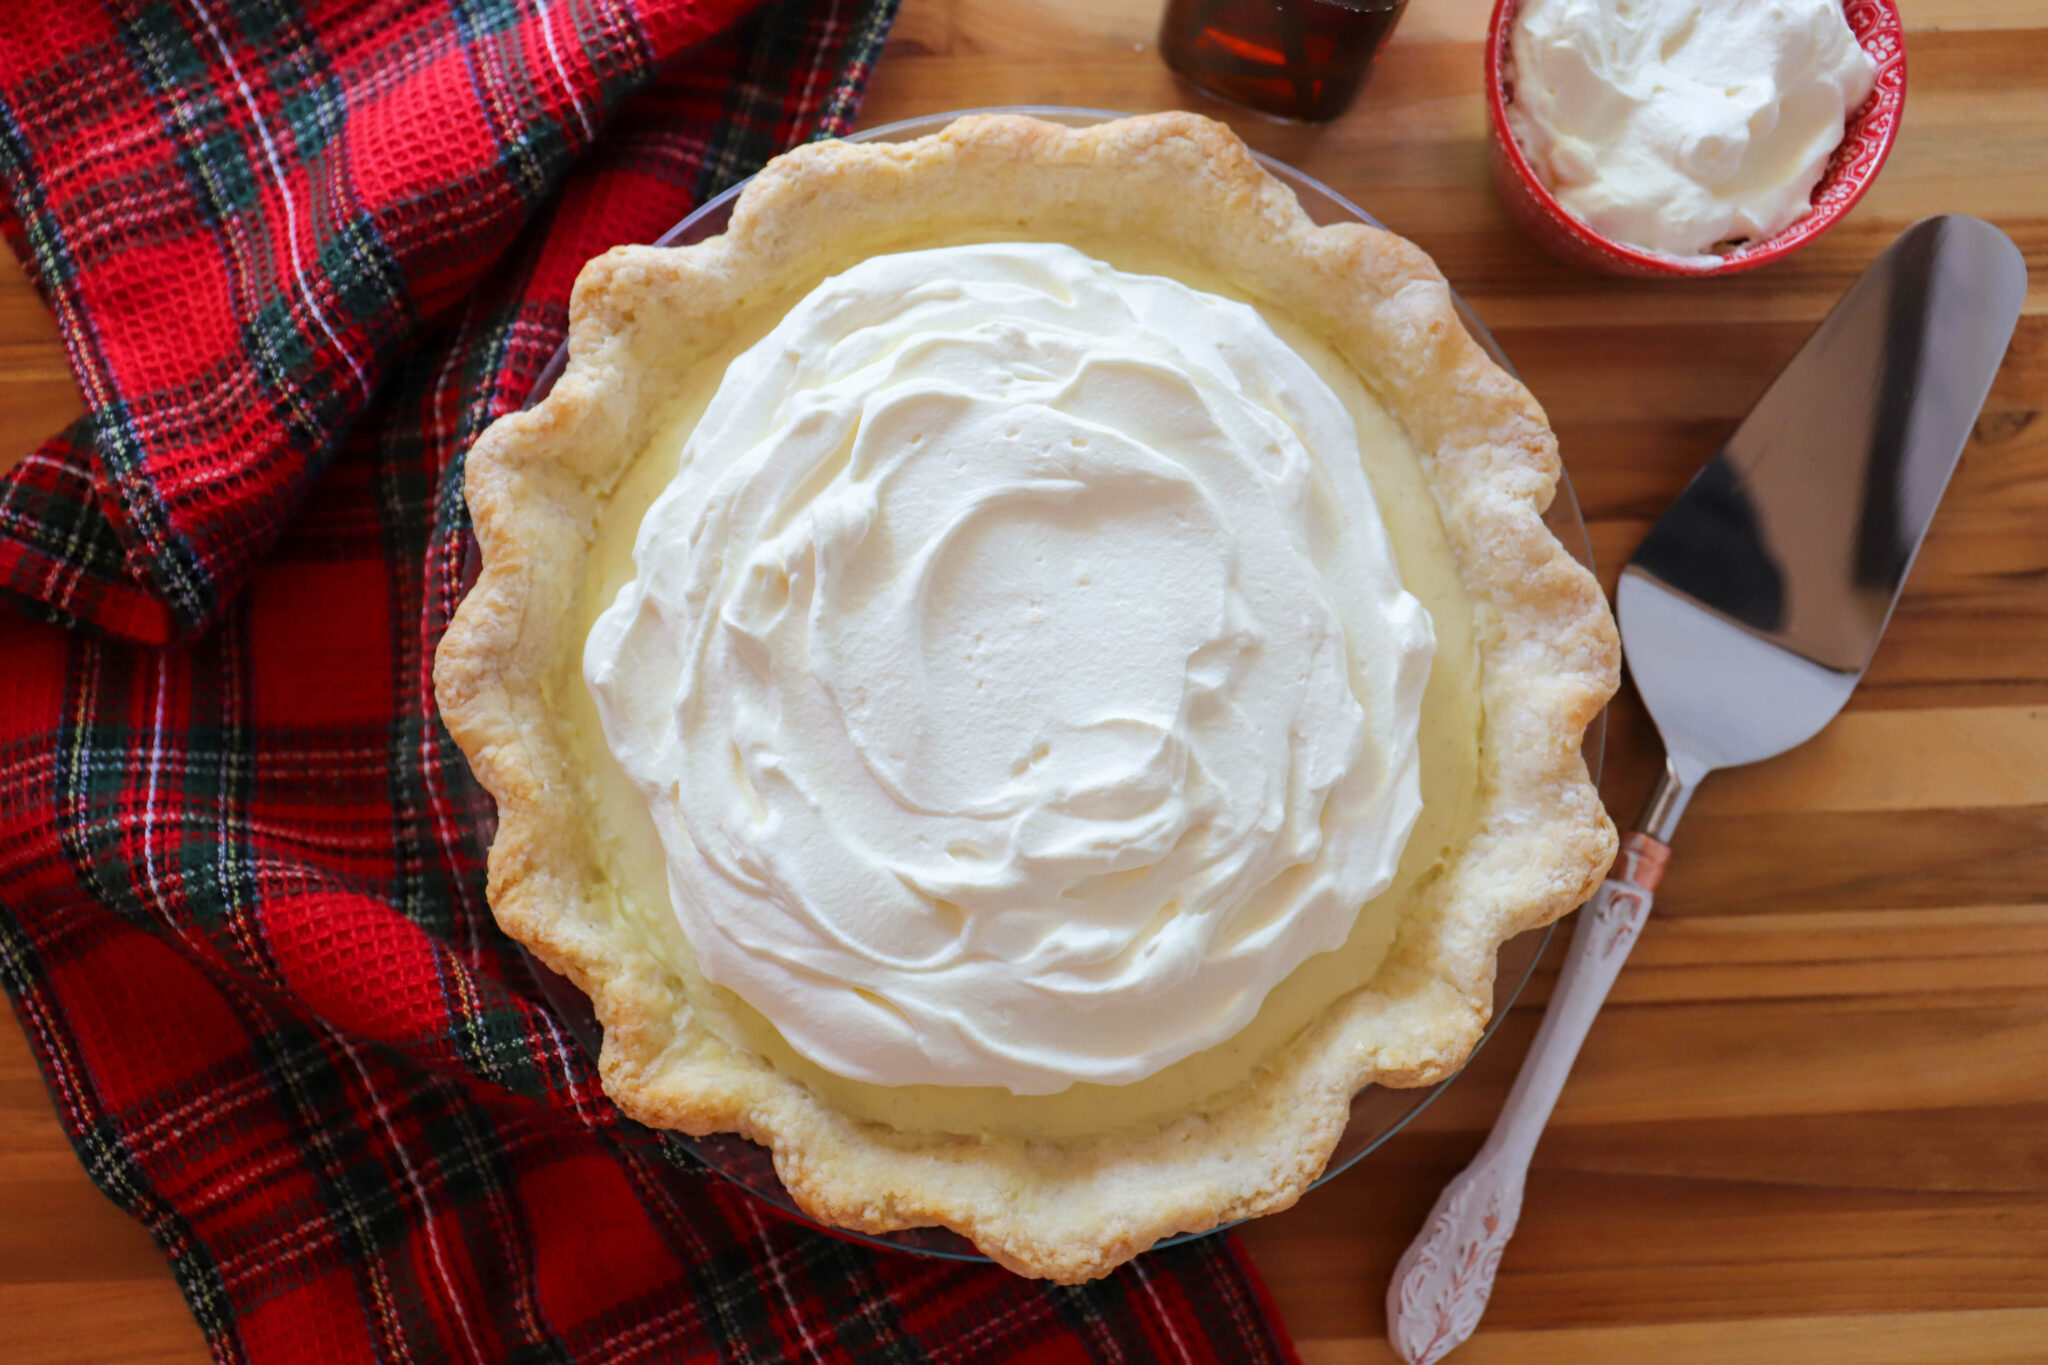
So what are you waiting for? Bust out the vinegar! Let’s make some pies! Need a filling idea? I’ve got you covered: Coconut Cream, Chocolate Cream, Bourbon PecanClassic PumpkinDutch AppleKey LimePeach & Blueberry and more!

Vinegar Pie Crust

Ingredients

  • 1 1/4 cup (170 g) all-purpose flour (plus extra for rolling out the dough)
  • 1 Tablespoon (15 g) sugar
  • 1/4 teaspoon (2 g) Kosher salt
  • 1/2 cup (113 g) unsalted butter (cold), cut into cubes
  • 1 Tablespoons (15 mL) apple cider vinegar
  • 4 Tablespoons (60 mL) cold water


NOTE: This recipe makes 1 pie crust. If making crust for a double crust pie, I prefer to make 1 pie crust at a time, one after another. I find it is easier to evenly mix in the butter and liquids when working with just one crust a time.

Instructions

  1. Place flour, sugar and salt in a bowl. Stir to combine.
  2. Press the butter into the dry ingredients with your fingertips until the butter is coated in flour and in various sizes (ranging from pea size to almond size).
  3. Add 4 tablespoons cold water and 1 tablespoon vinegar. Use a fork or spatula to toss the butter and flour with the water, until there are no more dry patches. The dough should hold together in a ball when you squeeze it in your hand. (If it does not hold together, add 1-2 teaspoons additional water and toss again.)
  4. Spread a large piece of plastic wrap on the counter (approximately 1 1/2 feet long). Gently dump the dough (it will be crumbly) onto plastic wrap. Pull plastic wrap together around the dough and mold it with your hands so the dough forms a disc inside the wrap. Refrigerate dough for at least 20 minutes, and up to 2 days.
  5. When you are ready to roll out the crust, remove dough from refrigerator, unwrap and let sit at room temperature for about 5 or 10 minutes.
  6. Use your hands to flatten the dough slightly so it will be easier to roll out. Toss some flour on your countertop. Place dough in the center. Using a rolling pin, roll out the dough into a circular shape that has about the same thickness all the way around. To keep the dough from sticking and to help keep the dough in a round circle, turn the dough ¼ turn clockwise after each roll. Continue rolling and turning until the circle is evenly rolled out.
  7. Once the dough is large enough to fit your pie plate, gently place in the pie plate with edges hanging over. Gently press the dough into the bottom of the plate. Using your hands, tuck any dough that overhangs the plate into an even edge that rests on the lip of the plate.
  8. Use your hands to even the edge if needed. Finally, crimp the edges with your fingers for a decorative scalloped shape. Wrap in saran wrap and store crust in freezer for at least 20 minutes or up to 1 month.
  9. When you are ready to bake a pie, simply remove the pie crust and pie plate from the freezer, let sit at room temperature for 5 minutes, add the filling and bake. Baking the crust from frozen will help the pie crust keep its shape as it bakes. If you are making a pie that requires blind baking (baking the crust without a filling), follow the instructions here.


NOTE: This recipe makes 1 pie crust. If making crust for a double crust pie, I prefer to make 1 pie crust at a time, one after another. I find it is easier to evenly mix in the butter and liquids when working with just one crust a time.

*I use affiliate links for my favorite products. If you click and purchase, I may receive a small commission at no extra cost to you. Thanks so much for helping me keep this website up and running!

Share With A Friend

Welcome!

Hi! I’m Marie. Mama, wife, homebody. I’m a self-taught chef and cookbook author. 

I love sharing fast, fresh, family-friendly recipes that will, hopefully, make your life a little easier.

Above all, I love spending time in the kitchen with family and friends. Come join us!

Contact

Watch & Cook With Me!

Leave a Reply

Your email address will not be published. Required fields are marked *

Marie Saba

From My Kitchen To Yours